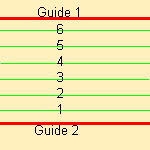
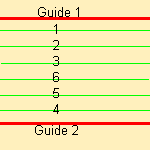
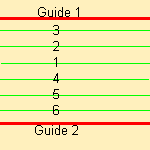
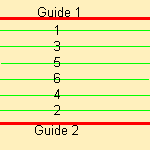
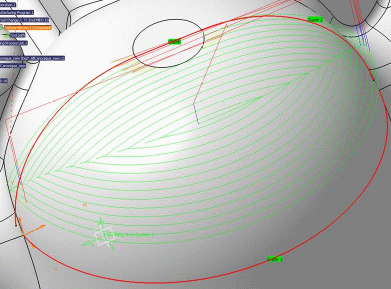
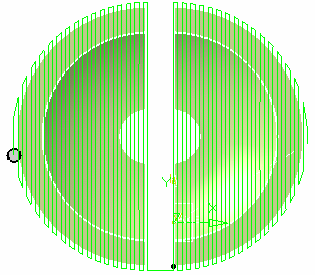
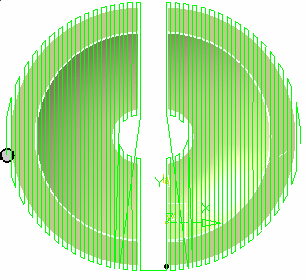
In addition to the Guiding Strategy, those parameters are found in the following tabs:
By default, all those tabs are displayed with all their parameters.
However, most operations only require a reduced list of those
parameters.
-
Click <<Less button to display only those parameters.
-
Click More>> button to re-display all parameters.
-
You can also use the modal option User Interface Simplified mode in the
Tools > Options > Machining > Operation tab.
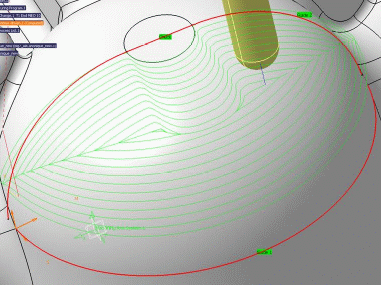
Between Contour: Guiding Strategy
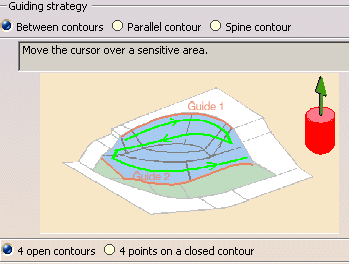
4 open contours (i.e. that are not necessarily perfectly connected to each other)
- With Stepover set to Constant 3D or Maximum 3D.
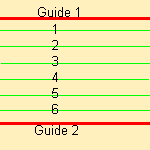
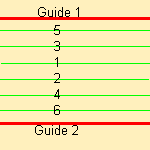
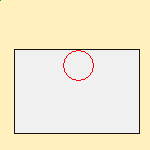
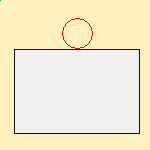
Guide 1 and Guide 2 are the two contours between which you are going to machine.
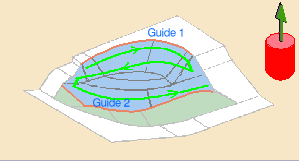
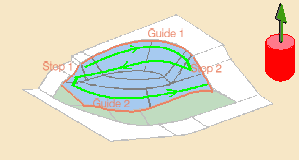
- With Stepover set to Constant 2D or Via scallop height.
Stop 1 and Stop 2 delimit the ends of the machining paths.
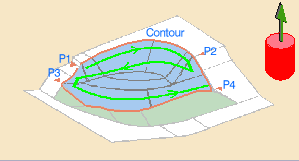
4 points
on a closed contour, with all stepover types.
Select four points on the contour in the order that you see in the
sensitive icon.
- P1, P2, P3 and P4 are the four points that you
select on the contour within which you are going to machine.
By default, all tabs and all parameters are displayed:
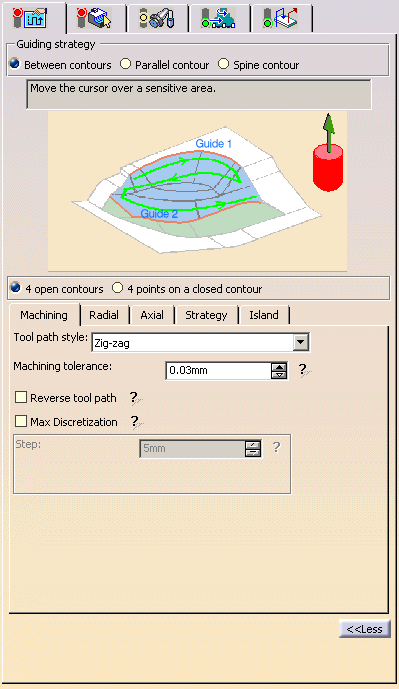
Click <<Less to display a reduced list of tabs
and parameters:
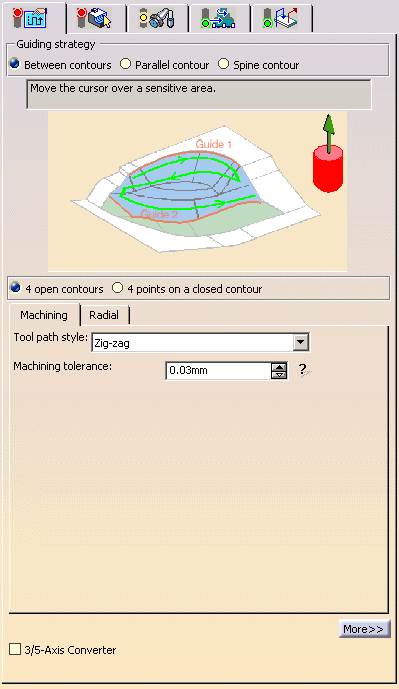
Click here for information about the 3/5-Axis Converter option.
Between Contours: Machining Parameters
- By default, or when the More>> button is pressed:
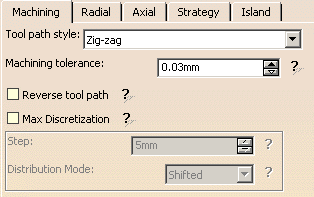
- When the <<Less button is pressed:

The parameters to define are:
- Tool path style:
- One-way next: the tool path always has the same direction during successive passes and goes diagonally from the end of one tool path to the beginning of the next.
- One-way same: the tool path always has the same direction
during successive passes and returns
to the first point in each pass before moving on to the first point in the next pass. - Zig-zag: the tool path alternates directions during successive passes.
-
Machining tolerance:
Maximum allowed distance between the theoretical and
computed tool path.
consider it to be the acceptable chord error. - Reverse tool path: Hidden when the <<Less button is pressed.
-
Max Discretization:Hidden when the
<<Less button is pressed.
For some surfaces, such as flat surfaces, the tool path can suffer from a lack of points.
By setting the maximum discretization distance, the gaps will be filled by the exact surface points resulting in a better distribution of points, a smoother tool path and then a better machining quality.
In addition, two Distribution Modes are available to improve the quality of the machined surface.
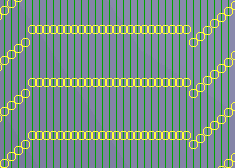
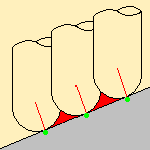
- With Aligned, the points of the tool path are aligned (as best as possible)
with those of the tool paths below and above.
Resulting surface
(Zoom on details)
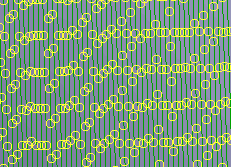
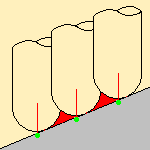
With Shifted, the points of the tool path do not form a line with those of the tool paths below and above.
Resulting surface
(Zoom on details)
- This parameter is available with a spherical tool only.
- This parameter is available with the Constant 3D option only.
- The number of points of the tool paths will vary with the distribution mode.
Between Contours: Radial parameters
- By default, or when the More>> button is pressed:
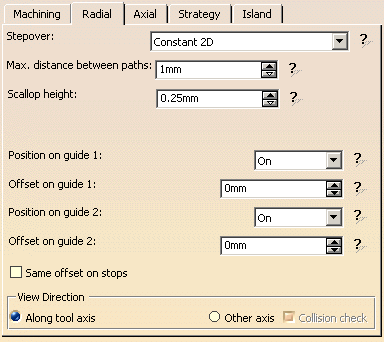
- When the <<Less button is pressed:
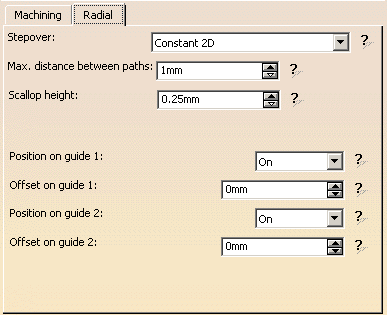
Stepover: the types are available:
- Constant 2D,
- Via scallop height,
- Constant 3D,
- Maximum 3D.
Use the list to select one of them. The corresponding parameters will be displayed accordingly.
The Stepover types Constant 3D and Maximum 3D are more suitable for machining areas with vertical walls.
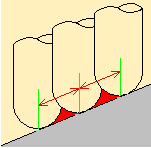
Constant 2D: Has
a maximum stepover distance defined in a plane and projected onto
the part.
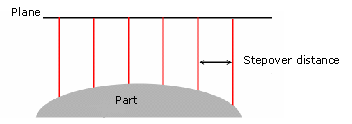
The parameters to define are:
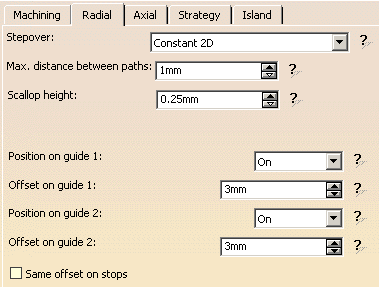
-
Scallop height
defines the maximum allowable height of the crests of material left uncut after machining.
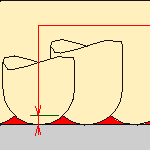
If you enter a Scallop height, the Max. distance between paths is computed automatically.
The stepover is computed from the scallop height you have set, within the
range defined by
Max. distance between paths and Min. distance between paths.
The stepover depends on the scallop height that you choose.
All selected geometries are taken into account in the stepover computation
even if these geometries are not milled.
For example, filled holes or vertical walls outside the limiting contour
influence the stepover computation and
may generate useless paths. The by-pass consists in not selecting these
useless geometries to compute the toolpath.
The parameters to define are:
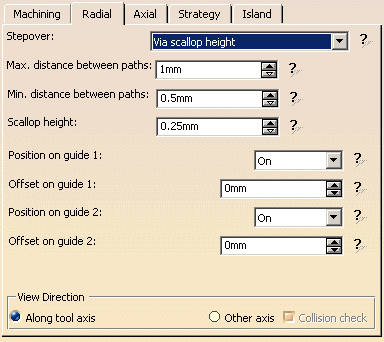
- Max. distance between paths and
Minimum
distance between paths
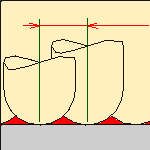
- Scallop height i.e. the maximum thickness remaining between two paths.
Constant 3D: Stepover
with a constant distance measured relatively to the tool tips in 3D space.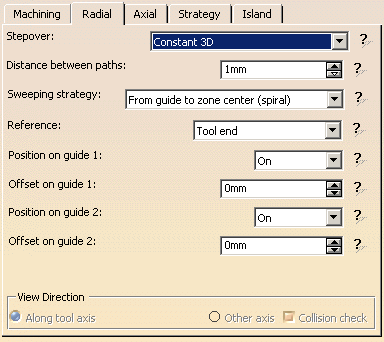
and
Maximum 3D: stepover
limited to a maximum distance measured relatively to the tool tips in 3D
space.
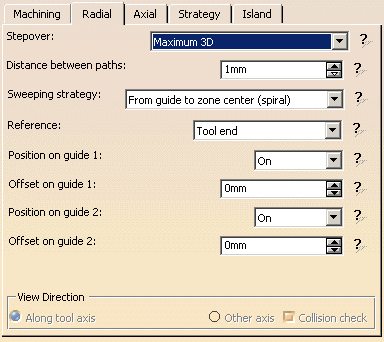
The parameters to define are:
|
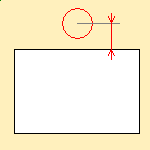
- You can define a different offset and a different
position on each guide for
the four types of Stepover (Maximum 3D, Constant 3D, Constant 2D, Via scallop height). - The default values of guide 2 are those of guide 1.
- If you open a process created with a previous version of V5, the
Offset on guide and Position values
defined in this process are propagated automatically to guide 1 and guide 2. - If 2 negative offsets are defined and if the offset guide contours
intersect each other,
the replay is stopped and an error message is displayed. - If 2 positive offsets are defined and if stop contours are selected,
stop contours are extended
(linear extension) so as to define a closed domain. - If at least 1 negative offset is defined, stop contours are ignored.
- View Direction
(Hidden when the <<Less button is pressed, active with a Constant 2D or a stepover Via scallop height)- Along tool axis is used to compute the stepover distance, as if you were looking along the tool axis.
- Other axis is used to compute the stepover distance, as if
you ware looking along an axis other than the tool axis.
The icon at the top of the tab for axis selection has changed and you can now select an axis
(the oblique axis in the icon) other than the tool axis for the view direction.

Other axis can only be used with a ball-nose tool.
- Collision check
When Other axis is active, select this check box to search for toolholder-part collisions.
Between Contours: Axial Parameters
The tab is hidden when the <<Less button is pressed.
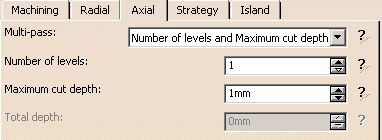
The parameters to define are:
- Multi-pass Use the list to select the mode of input:
-
Maximum cut depth and total depth: Enter the
Total depth and the
Maximum cut depth
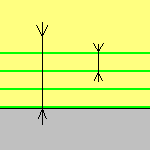
-
Number of levels and total depth: Enter the
Number of levels
and the Total depth
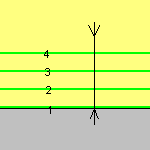 .
. -
Number
of levels and Maximum cut depth: Enter the Number of levels
and the Maximum cut depth.
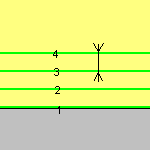
- Only two can be selected at time, you select which two via the input mode
choice.
The example below was obtained with 3 levels at a cut depth of 5mm, but could just as easily have been obtained by:- A cut depth of 5mm and a total depth of 15 mm,
- or a total depth of 15 mm and 3 levels.
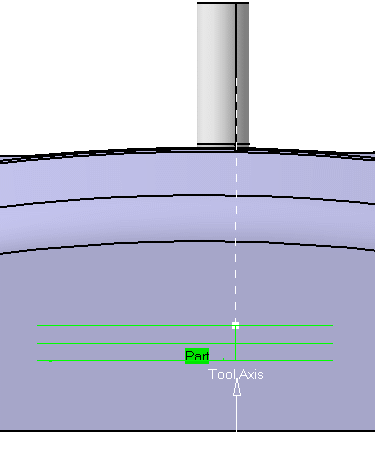
-
Maximum cut depth and total depth: Enter the
Total depth and the
Maximum cut depth
Between Contours: Strategy Parameters
The tab is hidden when the
<<Less button is pressed.

The parameters to define are:
|
Between Contours: Island Parameters
The tab is hidden when the
<<Less button is pressed.

The parameters to define are:
|
|
Feedrate length is only active if the Direct check box is selected. |
