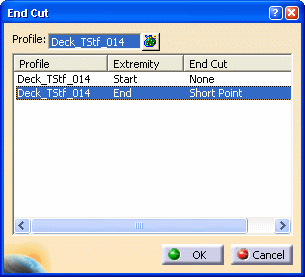
You can edit and delete end cuts by:
- Using the Stiffener Dialog Box
- Using the End Cut Command
To learn how to place end cuts, see Placing End Cuts.
Using the Stiffener Dialog Box
This method is used for editing and deleting end cuts on a stiffener only.
2.
Double-click the stiffener with the end cut to be edited.
The Stiffener dialog box displays. See Using the Stiffener Dialog Box.
Right-click the End Cut to be edited, and select Define End Cut.
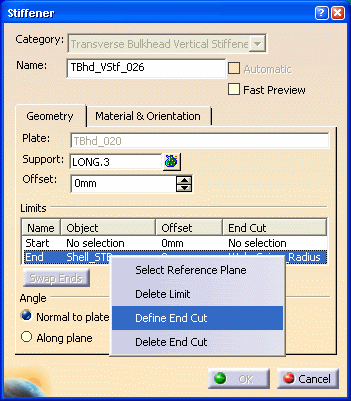
The End Cut dialog box displays.
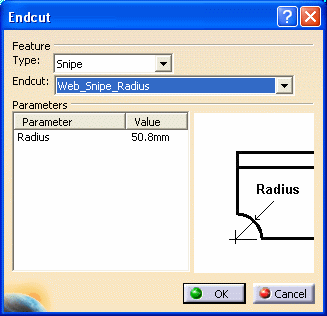
Click OK to return to the Stiffener dialog box, then click OK to close the Stiffener dialog box.
Double-click the stiffener with the end cut to be deleted.
The Stiffener dialog box displays.
Right-click the End Cut to be deleted, and select Delete End Cut.
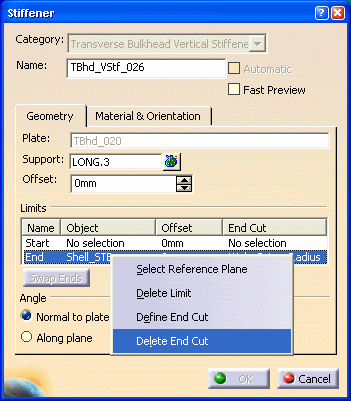
The end cut is deleted. In the image below, the Web Snipe Radius end cut is deleted and a Short Point is displayed in the End Cut column. A Short Point is created when a stiffener limit is defined. In the image below, the stiffener End is limited by a shell.

Click OK to close the Stiffener dialog box.
Using the End Cut command
Click the End Cut button
![]() . The End Cut dialog box
displays.
. The End Cut dialog box
displays.
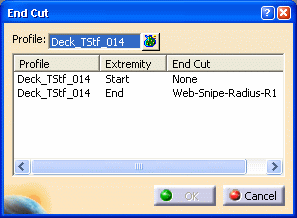
You can also select more than one profile. You can also pre-select the profile and then click the End Cut button.
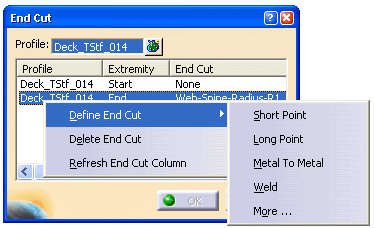
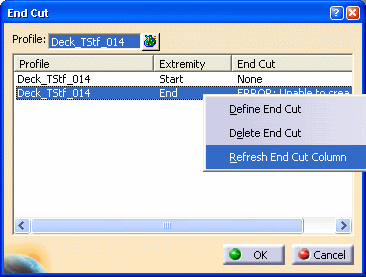
If the stiffener does not have limits, then on selecting a cutback end cut, an error message is displayed in the End Cut dialog box. Right-click and select Refresh End Cut Column to start again. You can define the limit by selecting More. For more information, see Placing End Cuts.
You can change the Type and End Cut. For built-in and UDF end cuts (Standard and Contextual), you can also change the parameter values, as required.
Standard UDF end cut

For UDF contextual end cuts, you can also change the shape required as input by selecting a different shape in your 3-D session. The selected shape is displayed as Object in the Inputs tab.
For Cutback end cuts, such as Short Point, you can also change the limit of the stiffener.
Cutback end cut
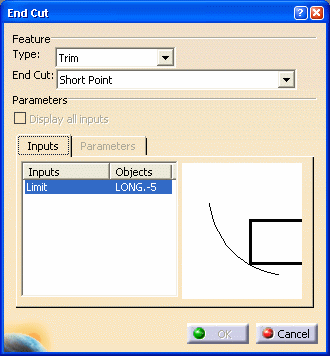
Click the Inputs tab. The current limit is displayed as Object. Select a different limit in your 3-D session. The new limit is displayed in the Inputs tab and the end cut is now placed at this limit. In the image below, the short point limit is changed from LONG -5 to LONG -17.
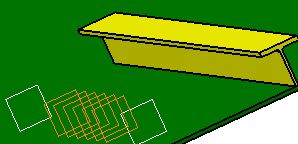
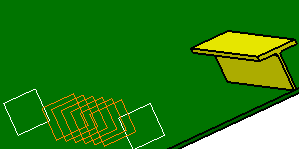
Click the End Cut button
![]() , and then
the stiffener.
, and then
the stiffener.
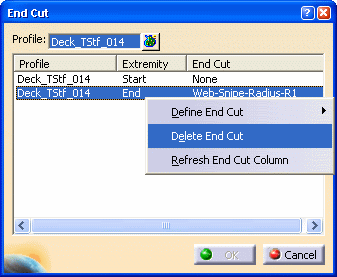
The end cut is deleted and a Short Point end cut is placed on the stiffener. The Short Point indicates that a limit has been defined on the stiffener.
