![]()
This task shows how to create slide curve joints in a V5 mechanism.
![]()
Open the
SlideCurve_without_kin.CATProduct document.
![]()
When you create joints, you can define the mechanism within the same dialog box. Remember though, that you create a mechanism independently from the joints by selecting Insert > New Mechanism... from the menu bar.
-
Click the arrow within the Revolute Joint icon in the Kinematics Joints toolbar.
-
Undock the Kinematics Joints toolbar.

-
Select Slide Curve Joint
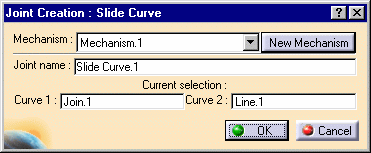
 .The
Joint Creation: Slide Curve dialog box is displayed
.The
Joint Creation: Slide Curve dialog box is displayed -
Click New Mechanism. The Mechanism Creation dialog box is displayed:
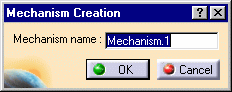
In our example, keep the default name Mechanism.1.
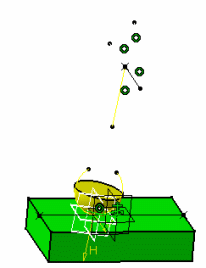
-
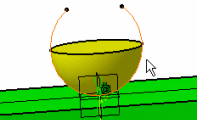
Select Curve 1 either in the geometry area or in the specification tree. In our example, select the yellow sphere arc as shown below:
-
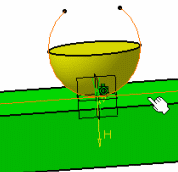
Select Curve 2 either in the geometry area or in the specification tree. In our example, select the line on the green part as shown below:
-
Click Ok to end the slide curve joint creation.
Now create a second joint (revolute joint) and a third joint (prismatic joint)
")
For more information, refer to About Joints, Creating Revolute Joints and Creating Prismatic Joints.
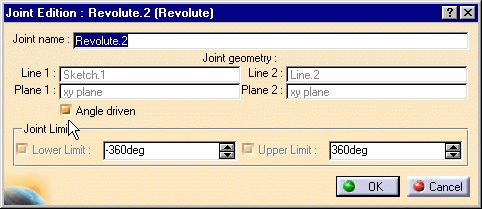
Revolute.2:
-
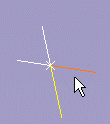
select line .1 (right white lines)
-
select line.2 (left white lines)
-
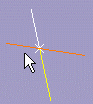
select xy plane ( green) (plane 1)
-
select xy plane (white lines) (plane2)
-
when done click OK
Prismatic.3
-
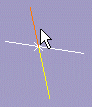
select line.1
-
select line.2 as shown below:
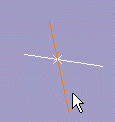
select xy plane (white lines) (plane 1) select xy plane (yellow sphere) (plane2)
when done click OK
-
-
You forgot to assign the command:
-
Double-click Revolute. 2 in the specification tree
-
Select the Angle driven check box in the Joint Edition: Joint. 2 dialog box displayed
-
When done, click Ok
This is what you obtain:
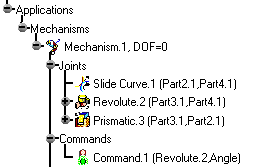
-
-
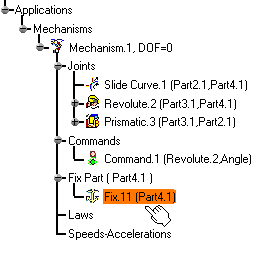
Click Fixed Part
 in the DMU Kinematics toolbar or select Insert > Fixed
Part... from the menu bar. The New Fixed Part dialog box
is displayed.
in the DMU Kinematics toolbar or select Insert > Fixed
Part... from the menu bar. The New Fixed Part dialog box
is displayed.
-
Select the fixed part either in the geometry area or in the specification tree. Here, select the green sphere. The specification tree is updated accordingly.
The mechanism can be simulated.
-
Double-click Mechanism.1 in the specification tree
The Kinematics Simulation - Mechanism 1 dialog box is automatically displayed.Note: if there are laws defined in the mechanism, the simulation with laws functionality will be launched automatically. 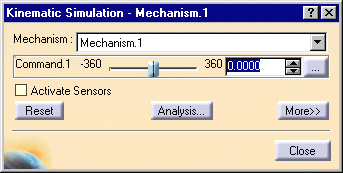
Manipulate the slider of the command 

Open the SlideCurve_ with_kin.CATProduct to check your result.
![]()
It is impossible to create slide curve joints if the parts
involved in the joint are not well positioned.
For more detailed information, refer to
Tips for Curve or Surface Joints Creation
![]()