![]()
It is impossible to create point curve, roll curve, slide curve, point surface jointd, if the parts involved in the joint creation are not well positioned.
This section provides two examples and a tips summary table
showing you how to quickly solve this problem:
![]()
No sample document is provided.
Scenario 1: Creating a roll curve joint
|
|
-
Select the Roll Curve Joint icon in the Kinematics Joints toolbar.
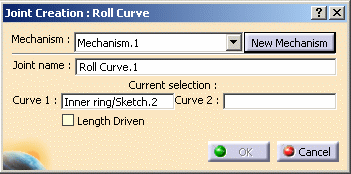
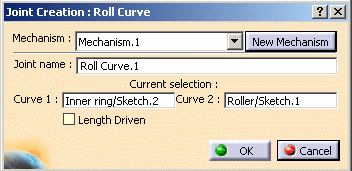
The Joint creation: Roll curve dialog box is displayed -
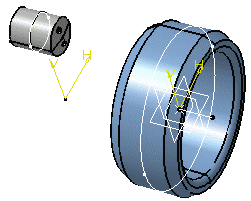
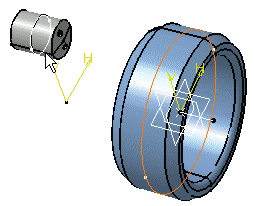
You cannot select the Curve 2 in the geometry area. It is impossible to create the roll curve joint because the parts are not well positioned:
-
Click Cancel to exit the Joint creation functionality.
-
Select Digital Mockup > DMU Navigator from the Start menu.
-
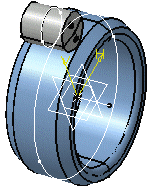
Reposition the parts using the Snap capability. This is what you obtain:
-
Select the Roll Curve Joint icon again in the Kinematics Joints toolbar.
The Joint creation: Roll curve dialog box is displayed. You can now create the roll curve joint: the parts are correctly positioned.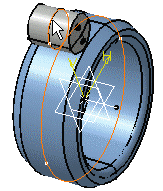
-
Click Ok to end the joint creation
![]()
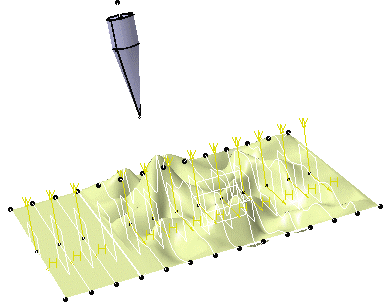
Scenario 2: Creating a point surface joint
-
Select the Point Surface joint icon in the Kinematics Joints toolbar.
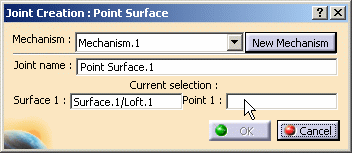
The Joint creation: Point Surface dialog box is displayed: -
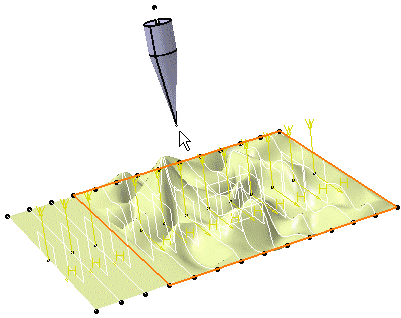
You cannot select Point 1 in the geometry area. It is impossible to create the point surface joint because the parts are not well positioned:
-
Click Cancel to exit the Joint creation command
-
Select Digital Mockup > DMU Navigator from the Start menu
-
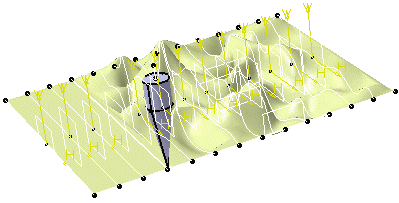
Reposition the parts using the Snap icon. This is what you obtain:
-
Select the Point Surface Joint icon in the Kinematics Joints toolbar.
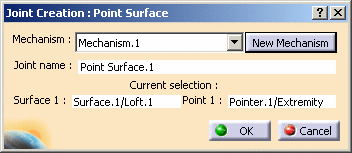
The Joint creation: Point surface dialog box is displayed.This time you can create the point surface joint because the parts are correctly positioned.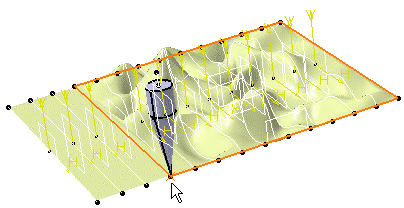
-
Click OK to end the joint creation.
Tips: summary table
The following table aims at giving you tips for creating point and/or curve joints.
Joint types |
Creation Conditions |
Tips: |
|
for positioning parts |
in specific context |
||
| Point surface
Point curve |
The point must be located on the curve. | in ENOVIA: If the parts involved in the joint are not well positioned, create the mechanism on positioned assemblies. | |
| Roll curve Slide curve |
The two curves must be coincident and tangent in one point. | Roll Curve joint
|
|
![]()
