-
Right-click the detail view and select Activate View.
-
Click Aligned Section Cut
") in the Views toolbar (Sections sub-toolbar).
in the Views toolbar (Sections sub-toolbar). -
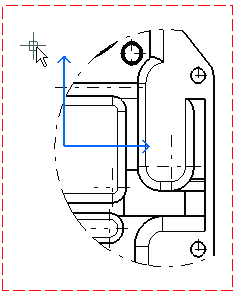
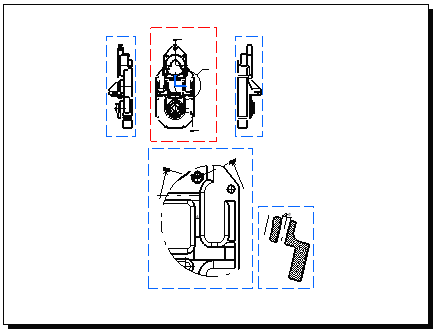
Select the holes and points to define the cutting profile.


-
Note that selecting a circular edge, a linear edge, an axis line or a center line (for example, a hole) makes the cutting profile associative by default to the 3D feature. If you select a circle, the profile will go through the circle center. If you select an edge, the profile will be parallel to the selected edge.
-
Also note that SmartPick assists you when creating the profile. For more information, refer to Using SmartPick.

If you are not satisfied with the profile you create, you can, at any time, use the Undo  or Redo
") icons.
icons. -
-
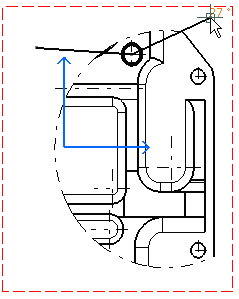
Double-click to end the cutting profile creation.
A preview of the view to be created appears. Positioning the section cut either to the right or to the left defines the section cut direction (as if it were a projection view).
-
Click to generate the section cut. A progress bar appears while the view is being created.
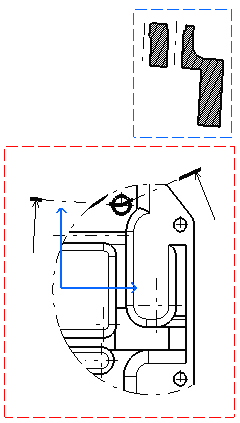
- Once the section cut has been generated, you can modify its position relatively to the detail view: right-click the section cut and select View Positioning > Position Independently of Reference View from the contextual menu.
- Selecting an existing edge within the view lets you define automatically the direction of the cutting profile. You can also select a reference plane in 3D or a 3D wireframe plane. For more information, refer to Creating an Offset Section Cut/Section View.
- The patterns which are used to represent the section cut are defined in the standards. For more information, refer to Pattern Definition in the Interactive Drafting User's Guide.
-
To add a diameter dimension to the section cut, click Dimension
") and click one edge only.
and click one edge only. 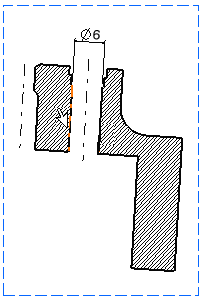
In our example, a larger font size has been applied to the dimension value. The resulting sheet now appears similar to what is shown here. Note that in this case, we re-positioned the views.
-
You can now print this sheet. To do so, select File > Print from the menu bar. Make sure the print format you set when defining the sheet is the same as the print format of the printer.
![]()