- moving objects (part, camera, ...)
- graphic attributes ( show/hide, colors, transparency)
You can also manage time with Gantt chart.
The Edit Sequence dialog box comprises two tabs:
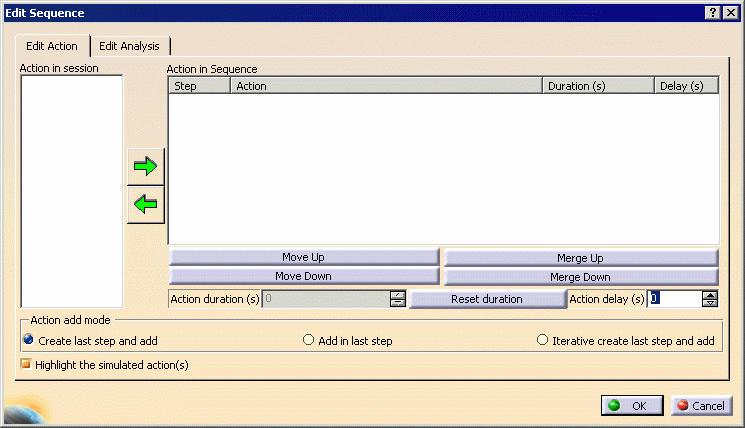
Using the Edit Action Tab
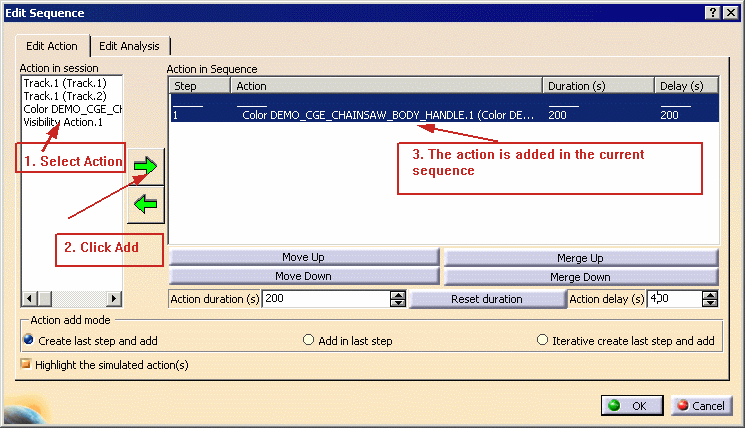
Add Actions
The action is added in the Action in Sequence list.
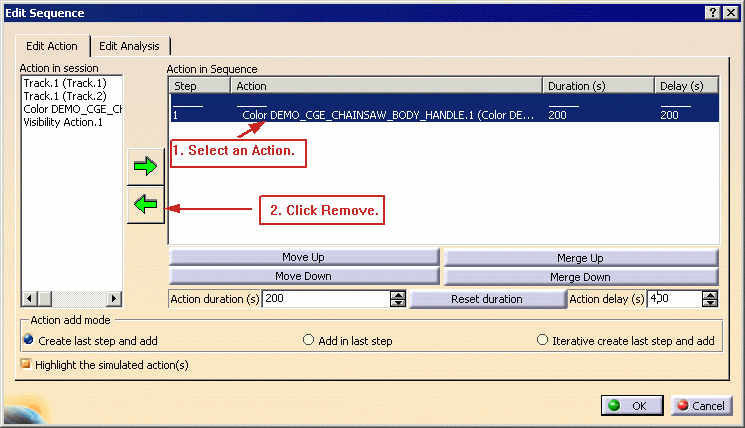
Remove Actions
The action is removed from the Action in Sequence list.
Customize the Action Add Mode Settings


Sequence Actions
- For consecutive mode:
- Move up: moves up a selected action
- Move down: moves down a selected action
- For simultaneous mode:
- Merge up: merges the selected action up
- Merge down: merges the selected action down
|
|
Please read About Sequence Capabilities. |
Customize the Action Duration
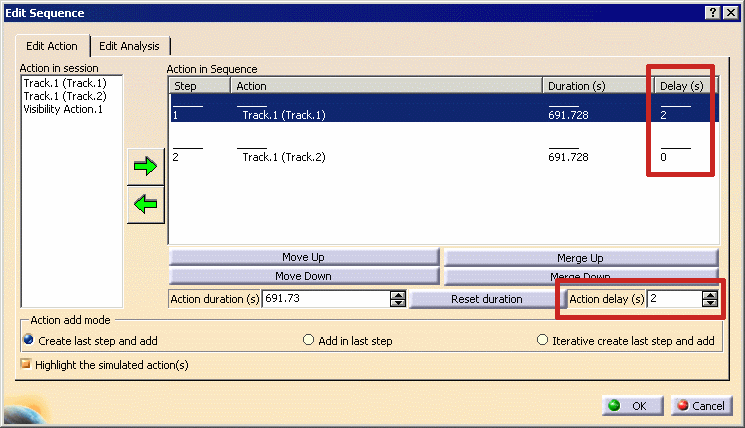
- Action duration: the numerical field lets you enter a specific duration for an action (this capability enables to simulate the same action with a different time scaling).
- Reset duration lets you reset the selected action to its intrinsic duration
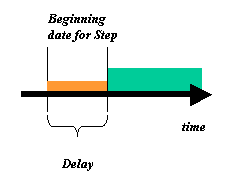
- Action delay: lets you delay the starting time of an action (i.e., it is now possible to overlap two actions)
For instance, two tracks within the same sequence step can be synchronized, in order to achieve passing by specific way or via points simultaneously.
For all actions contained in the sequence, the delay is a time attribute, just like their duration. It means the action will start with respect to the specified delay with the theoretical beginning of the step, which the action belongs to. Valid delay values are zero or positive.
|
|
Please read About Action Duration. |
Using the Edit Analysis Tab
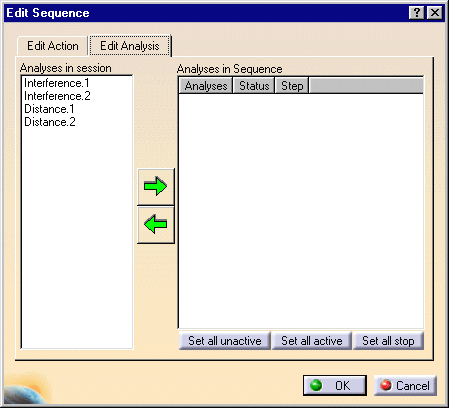
Add Interferences or Distances
The action is added in the sequence list.
Remove Interferences or Distances
Set the Clash Detection Mode
- Set all inactive option: (default mode) as you simulate your sequence, the detection is set to off, the interferences and/or distances defined in your sequence are not taken into account
- Set all active option: as you simulate your sequence the detection is set to on, the interferences and/or distances defined in your sequence are taken into account
- Set all stop option: as you simulate your sequence, the detection is set to stop (on collision), the simulation stops when an interference defined in your sequence is detected. The distances defined remain active.
Editing Actions and Analysis
Player Pop-up Toolbar
When you play the sequence, the action being performed is highlighted in the Edit Sequence dialog box. If you do not want the actions highlighted, clear the Highlight the Simulated Action(s) check box.
If you have a delay as part of the sequence, you may see some overlap in the highlighting.
