|
3. |
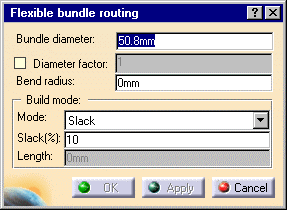
Use the Build Mode panel of
the Flexible Bundle Routing dialog box to increase or decrease the
Slack(%). To adjust the slack of a
segment in a 'flexible' see the section on
Managing Local
Slack. Change the values in Length and
Bend to achieve the desired effect. When
you are finished making changes, click Apply. The bundle adjusts
to reflect the additional slack, length or bend radius changes. Note
that the selected points remain in position. |
|
4. |
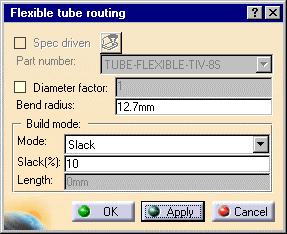
To route tubes through the bundle click the Flexible
Tube Routing button
 . The Flexible Tube
Routing dialog box opens. . The Flexible Tube
Routing dialog box opens.
|
|
5. |
Click to start your tube outside the bundle. Now
click the point at the entry point of the bundle, then on the exit point of
the bundle, and finally where the route will terminate.

|
|
|
Click Apply. The route will be updated as shown
below.

|
|
6. |
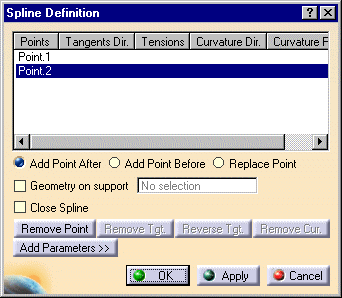
To resolve the misalignment of the two splines, double
click the spline on the segment you wish to correct. In this case we will
correct the first segment. Part Design will open. Double click the spline
again. The Spline Definition dialog box opens displaying the points of the
spline.
|
 |
The Spline Definition dialog box
will list the points of the route. The points are numbered in the order
they were placed. The last point will be highlighted when the dialog box
opens though it may not be the point you want to edit. The first point
(Point 1) contains the data that determines the flexible's shape. Do not
delete this point. |
|
7. |
Select the Point in the Spline Definition dialog box. In
this case, Point 2 is the point we will edit. |
|
8. |
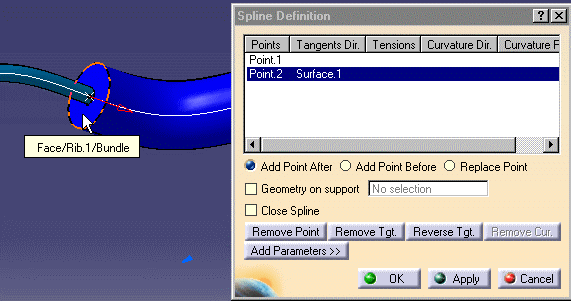
Zoom in as necessary to select the face of the bundle you
want to align with and click when the Face/Rib.1/Bundle cue appears. The
Tangents Direction value for Point 2 will display
Surface.1,the tangent will become normal to the face of the bundle
and the splines will be aligned.
 |
|
9. |
If the tangent selects the opposite (internal) face (as
shown below) click the red arrow, or click the Reverse Tangent
button in the Spline Definition dialog box, and the direction will be
reversed.

Click OK to close the Spline Definition dialog box after
correcting each spline. Double click Product
in the specifications tree to return to Tubing Design. |
|
10. |
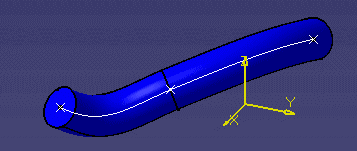
You can add more tubes to the bundle. Click OK
after completing each tube and the Flexible Tube Routing button to
begin a new one. |
|
 |


![]()