Managing Local Slack
|
|
This task shows you how to manage local slack. When you manage local slack, you adjust the slack of a segment of a flexible tube, conduit or waveguide. | |||
|
|
In the following
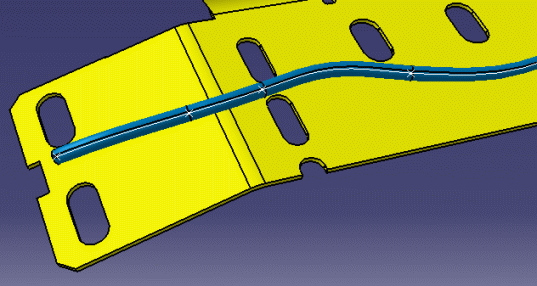
scenario a flexible tube has been routed on a design element - a plate in
this case. The first segment (on the left) has little or no slack
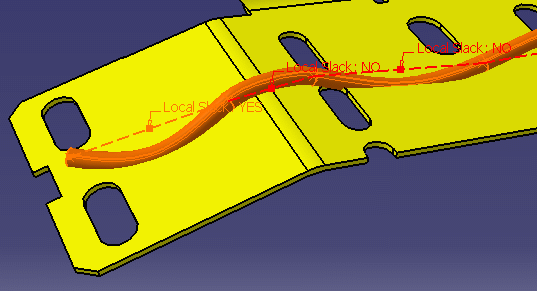
in it. This exercise shows you how to add more slack to it. The exercise
will also show how to remove all slack.
|
|||
|
|
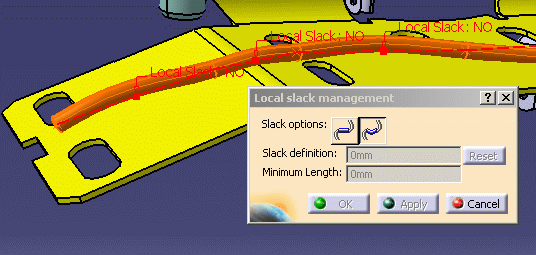
1. | With your document open, select the
flexible route and click the Manage Local Slack button
|
||
| 2. | To manage the slack of
a given segment, select the label of the segment
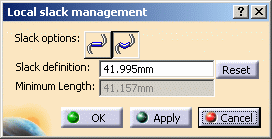
you want to adjust. The dialog box displays the length of the segment
in the Slack Definition field. The Minimum Length
field displays the minimum length needed to bridge the distance between
the two end points of the segment.
|
|||
| 3. | To increase slack in a segment,
enter a value in the Slack Definition field and click the Add
Slack Between Two Points button
The Reset button allows you to restore the original value of the Slack Definition field. You can use it even after you have saved and closed the document. |
|||
|
To make the segment straight, click the Ignore Slack
Between Two Points
button
|
|||
| 5. | Click Apply if you have more segments to adjust; or click OK to apply your changes and close the Local Slack Management box. | |||
|
|
||||


