-
Select File > New..., or click New
 in the Standard toolbar.
 The New dialog box is displayed.
-
Select Drawing from the List of Types, and click OK.
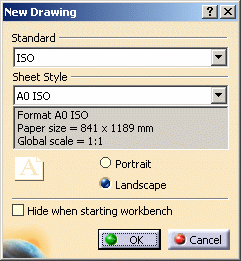
The New Drawing dialog box is displayed.
-
Select the ISO standard, and the A0 ISO format.


- We will use the ISO standard for the purpose of this tutorial, as well as all along the guide.
- You can add an unlimited number of customized standards using Standard files that you will create and/or, if needed, modify. Once created, this standard will appear in the New Drawing dialog box. For more details on standards and particularly generative view styles, see the Standards Administration section in this guide. For more details on standard, standard parameters and styles, see the Standards Administration section in the Interactive Drafting User's Guide. Remember that any user-defined standard is based on one of the four international standards (ANSI, ISO, ASME or JIS) as far as basic parameters are concerned.
-
Click OK.
-
In the Generative Drafting workbench, a grid is set by default. For the purpose of this tutorial, you will not use the grid. To hide it, de-activate Sketcher Grid
 in the Visualization toolbar (bottom right).
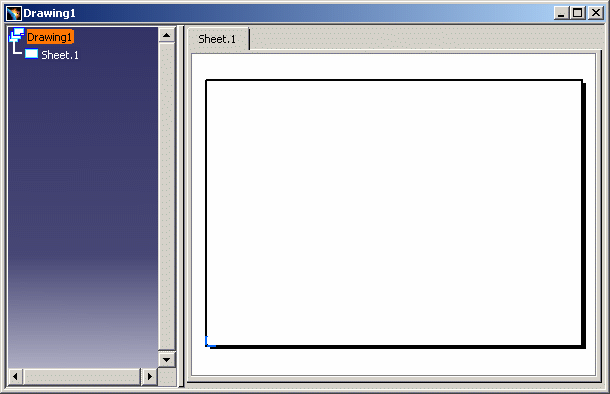
The drawing sheet appears as shown here:

From now on, you will work on this sheet. You can now either learn how to create part drawings or assembly drawings.
![]()