-
In the specification tree, select the platform.model.
-
In the DMU Review Creation toolbar, click the Enhanced Scene icon
 .
.
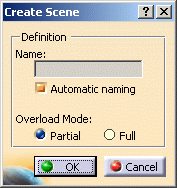
The Create Scene dialog box appears.

-
Leave the Automatic naming radio button selected in order to allow the automatic naming mechanism to determine the scene name.
Automatic naming enables you to automatically attribute names to Enhanced Scenes of the form Scene.1, Scene.2, Scene.3, etc. (The automatic naming mechanism is National-Language Supported.)
Note: To define the name of the Enhanced Scene yourself, click the Automatic naming radio button to deselect it and enter the name in the Name text-entry field. -
To define the Overload Mode, click the Partial radio button.
Overload Mode Partial: The scene will only overload attributes for a few products and modifications to the main assembly of those attributes not overloaded in the scene will impact the scene. Overload Mode Partial favors performance as long as you don't overload too many attributes. An Enhanced Scene created with Overload Mode Partial will be indicated in the specification tree by the symbol .
.
Overload Mode Full: All attributes supported for overloading of each element of the assembly (under the products selected at scene creation) will be overloaded by the scene. Products overloaded by the scene will henceforth not be impacted by modifications to the main assembly regarding attributes supported for overloading. Overload Mode Full favors Enhanced Scene independence from the Assembly. An Enhanced Scene created with Overload Mode Full will be indicated in the specification tree by the symbol .
.
-
In the Create Scene dialog box, click OK to create the scene.
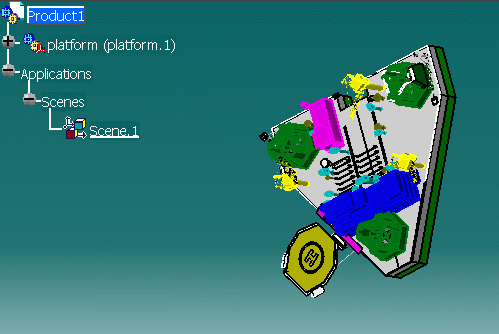
You are now in a scene window.
The background color has changed to green.
Scene 1 is identified in the specification tree.
The Enhanced Scenes toolbar appears.
-
Perform the required modifications, e.g. modify the viewpoint.

-
In the Enhanced Scenes toolbar, click the Save Viewpoint icon
 .
.
The viewpoint modification is saved in the Enhanced Scene. -
Click the Exit From Scene icon
 to swap to the initial window.
![]()