ATOMIZER.cgr
BODY_1_2.cgr
BODY_2_2.cgr
LOCK.cgr
NOZZLE_1_2.cgr
NOZZLE_2_2.cgr
REGULATION_COMMAND.cgr
REGULATOR.cgr
TRIGGER.cgr
VALVE.cgr
You have created a camera.
![]()
-
Right-click the camera in the specification tree and select the Properties item form the contextual menu. (You can also select the camera and use the Edit->Properties command.)
The Properties dialog box is displayed.
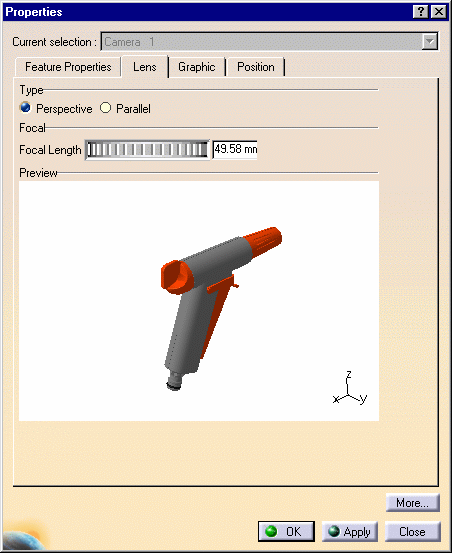
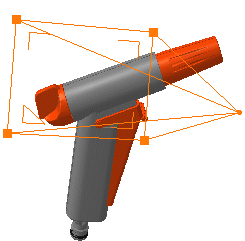
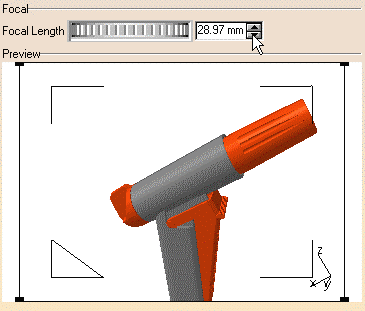
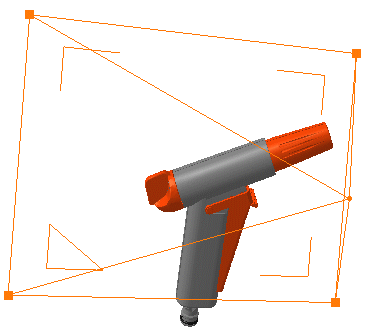
- Type (Perspective or Parallel, i.e. to obtain a conical or a
cylindrical projection)
Perspective
Parallel
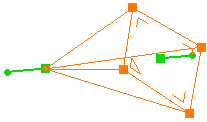
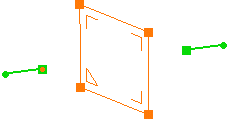
|
|
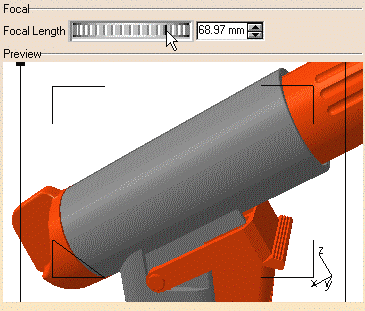
|
-
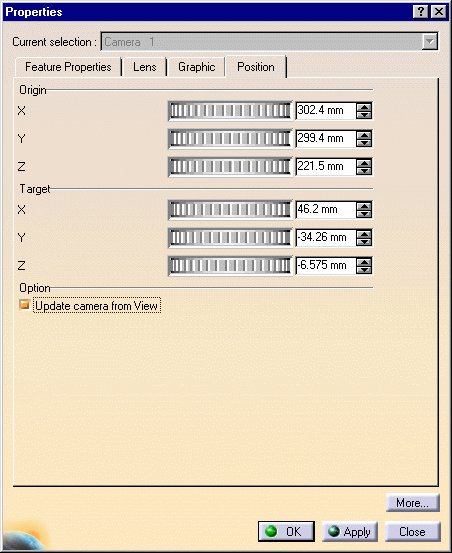
Click the Position tab to define the target and origin positions.
You can define the Origin and the Target position in millimeters along the X, Y and Z axes.
-
Select values for the Origin and Target distances.
-
When satisfied, click Apply.
It is now possible to have an active camera automatically
updated from the current view, exactly as if you'd selected Update from
View each time you change the view using any combination of translates,
rotations and zooms. (A camera is considered "active" when it is selected
or edited in a track.)
-
Click the Update camera from View radio button to have your camera automatically updated from the current view.
-
Click OK to confirm.
![]()