You can move cameras in four different ways:
- using the Pan, rotate, zoom commands directly in the camera window
- using the 3D compass
- using the Edit-> Properties... on Cameras
- using the
Update camera from viewoption
Pan, rotate, zoom commands
-
Select Window -> Camera Window and select the camera from the list to open a separate window showing the camera viewpoint.
-
Select Window -> Tile Vertically to organize opened windows vertically.
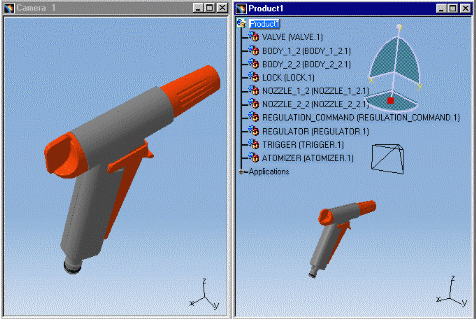
-
Pan, rotate and/or zoom the camera in the camera window until satisfied with the camera position.
The camera position in the document window is updated.
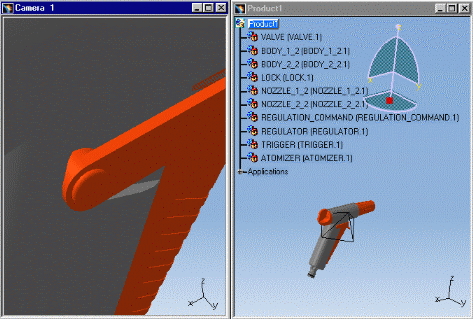
3D Compass
![]()
-
Select the camera to be moved in the specification tree.
The 3D representation is shown in the geometry area.
Note: To move the camera, you will attach the 3D compass to the 3D camera representation. If you cannot see the 3D representation, click the camera in the specification tree and select Camera object -> Hide / Show Representation from the contextual menu.
-
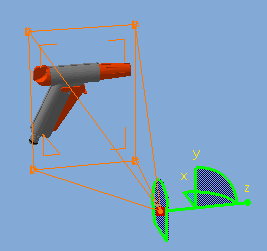
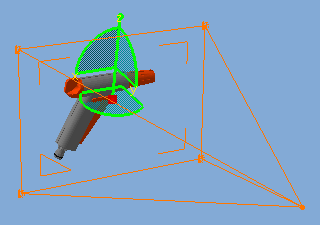
To attach the 3D compass to the 3D camera representation, press and hold down the left mouse button on the red square of the 3D compass, then drag the 3D compass to attach it to the camera representation.
Notice that the compass changes appearance as you drag it.


You can attach the 3D compass to two different positions of the camera representation as shown below: the eye and the target.
-
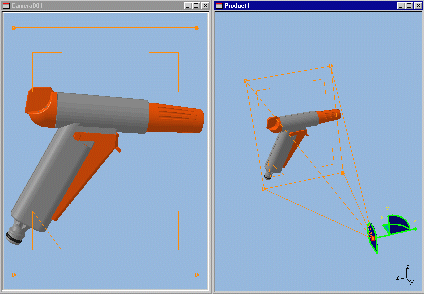
Select Window -> Camera Window and select the camera from the list to open a separate window showing the camera viewpoint.
-
Select Window -> Tile Vertically to organize opened windows vertically.
-
Click one of the translation axes of the 3D compass and drag to translate to the desired position.
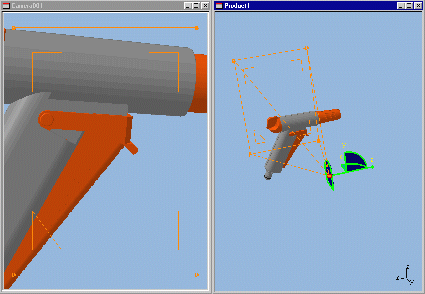
As you move the camera in the document window, the camera viewpoint in the camera window is updated.
-
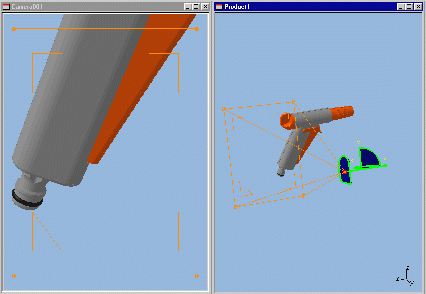
Click one of the rotation axes of the 3D compass and drag to rotate to the desired position.
-
Continue experimenting until satisfied with the camera position.
The camera viewpoint is automatically stored.
Edit-> Properties... on Cameras
-
Right-click the Camera in the specification tree.
-
Select the Properties item from the contextual menu displayed.
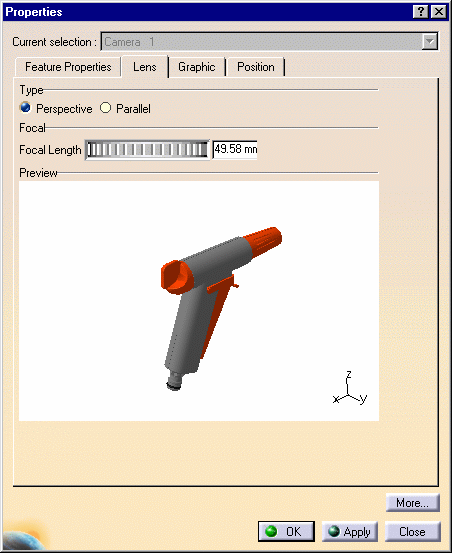
The Properties dialog box is displayed.
The Lens tab is active.
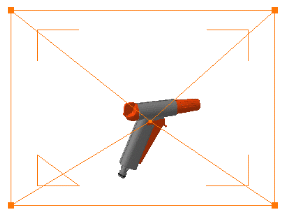
-
If you zoom, pan, rotate the camera within the Preview window, the camera position is updated accordingly in the geometry area.
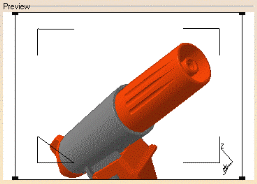
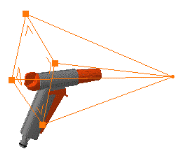
-
Continue experimenting until satisfied with the camera position.
-
Click Apply and click
OK.
This is the new camera position you obtain :
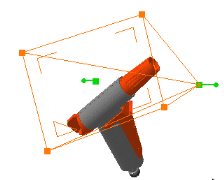
Update camera from view option
-
Right-click the Camera in the specification tree.
-
Select the Properties item from the contextual menu displayed.
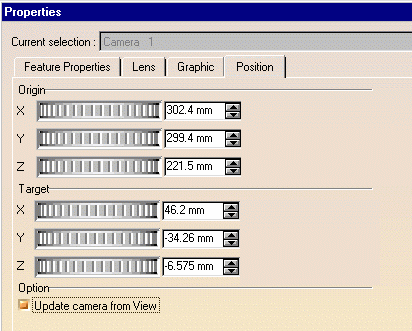
The Properties dialog box is displayed.

-
Select the Position tab.
-
Click the Update camera from view radio button and click the OK button in the Properties dialog box to confirm.
-
Pan, rotate and zoom in the main window to define the view that the camera will represent.
The camera is automatically updated from the view.