Case with one part:
- When a part with linked 3D Annotation is hidden, the annotation is also hidden.
- When the part is shown, the linked 3D Annotation is also shown.
Case with several parts:
- If one of the parts is hidden, the line joining the part and the 3D Annotation will also be hidden.
- If all the parts linked to the annotation are hidden, the 3D Annotation is also hidden.
- As soon as one of the linked parts is shown, the 3D Annotation is also shown.
-
Select Insert -> 3D Annotation from the menu bar or, in the DMU Review Creation toolbar, click the 3D Annotation icon
 .
.
-
Click an object at the point you want to place the text. (Note: You can select the object first. )
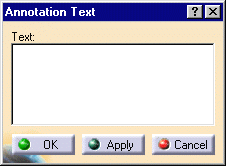
The Annotation Text dialog box and the Text Properties toolbar appear.
Inserting symbols (Windows only)
You can insert symbols in 3D annotations.
Click the arrow in Insert Symbol icon to display the Insert Symbols dialog
box:
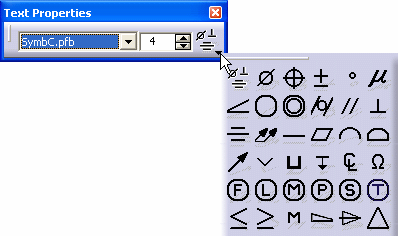
Using symbols forces the font to change to SymbC and can create problems if text will be associated to the added symbol; the only font that can be used with symbol is SymbC.
-
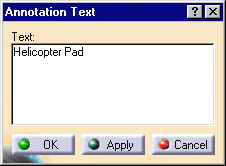
Enter the desired text in the 3D Text field.
Note: you can now change the font size and type if desired using the Text Properties toolbar.
-
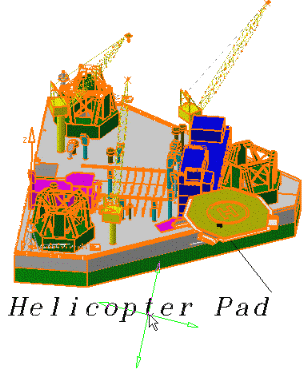
Use the green manipulator to position your 3D text.
-
Click OK when satisfied.
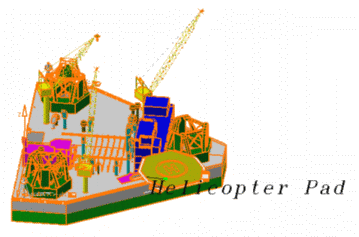
The text is added at the desired position. Annotations are attached to the point selected. You can move your document: annotations remain attached to the point at which you place them.
For more detailed information about moving annotations, please refer to Managing 3D annotations.
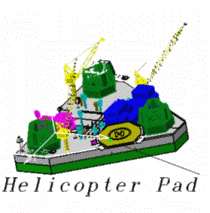
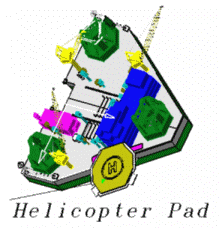
A text's drawing properties include its color. You can change the color of text that you've already added.
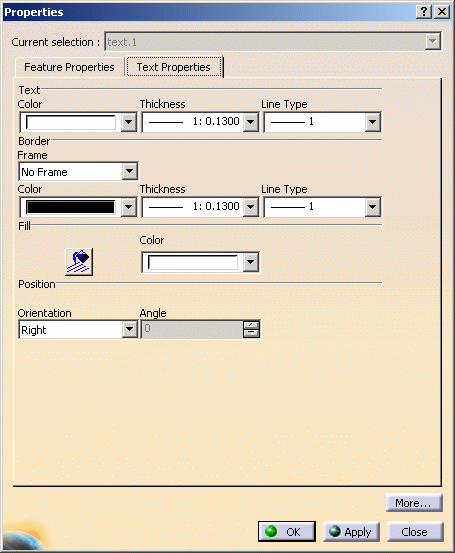
You can add a frame, define properties for this frame ( line type and thickness), fill it with the desired color and even change the orientation of the 3D text.
-
Right-click a text you've already added and select Properties from the contextual menu, or click the text and select Edit -> Properties from the menu bar.
The Properties dialog box appears.
Note: Dynamic highlighting as you move your cursor over objects helps you to locate them.
-
Click the Text Properties tab.
-
Make desired changes (e.g. add a Frame).
-
Click OK when done.
To delete annotation text, right-click the object and then select Delete from the contextual menu.
![]()
