As an example, selection sets are already stored in the sample document but that does not prevent you from creating other sets using the instructions below.
-
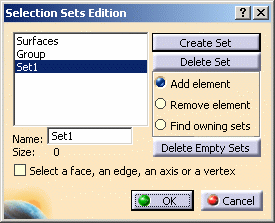
Select Edit > Selection Sets Edition:

-
A selection set named "Set1" is created. Each time you create a new selection set, the number is incremented. You can also rename the selection set using the text field at the bottom of the Selection Sets Edition dialog box.
Once a selection set has been created, just double-click the corresponding line in the list to reuse it.
-
Point to the selected objects to be included in the set.
For example, select two of the lines: 

You can use the selection traps to add and remove objects grouped in a selection set. The size (i.e. the number of elements included in the set) is displayed as well as the new name given to the set. In our example, we called it "Lines". Note that the default mode is Add element which means that clicking an element in the geometry automatically adds it to the set.

-
To add more elements to your selection set, click the selection set name in the list, check that Add element is selected then continue selecting elements.
In our example, add the hole to the selection set: 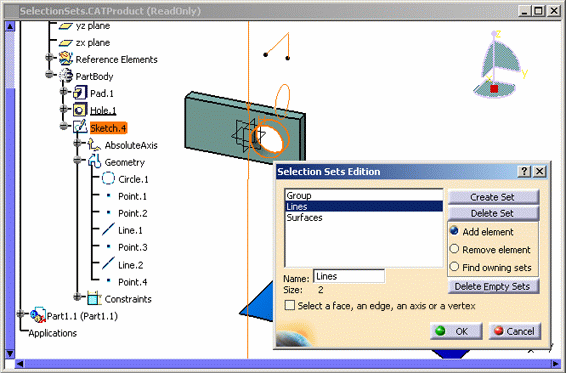
You can add objects to any selection set. If you want to delete an element from a selection set, click Remove element, select the selection set then select in the geometry area the element to be deleted.
If you want to delete selection sets that do not contain any element, click Delete Empty Sets.
-
Select the Select a face, an edge, an axis or a vertex check box to be able to store sub-elements (such as faces or edges) in the selection set.
-
Click OK.
About the Find owning sets option
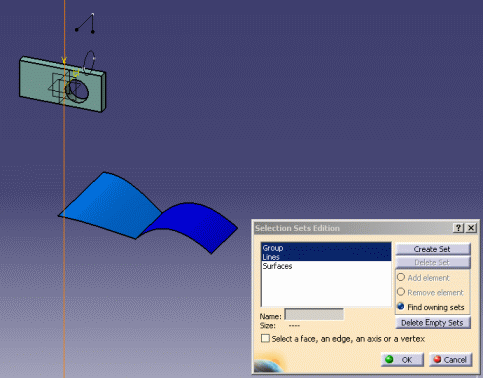
The Find owning sets option lets you find the set an element belongs to. To do so, select Find owning sets then click the desired element to highlight the corresponding group in the list:
You can also find the set an element belongs to using the Edit > Find Owning Selection Sets... command. Refer to Finding Owning Selection Sets for more information.
About geometries
This is illustrated in the example below:
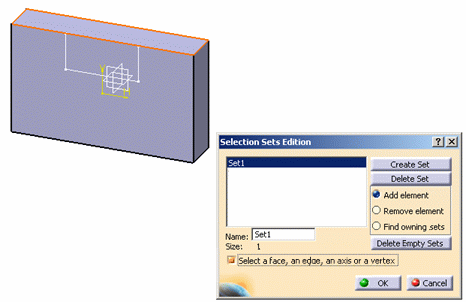
- Let's suppose a pad whose top face is stored in a selection set called "Set1":
As you can see, the Size box indicates that "1" element is stored in the set.
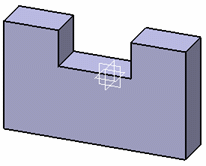
- After clicking OK to close the Selection Sets Edition dialog box, a pocket is created and the pad looks like this:
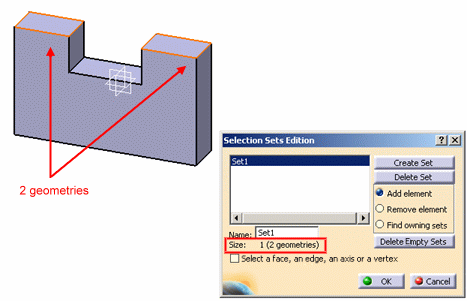
- Selecting Edit > Selection Sets Edition then "Set1" now gives the following result:
The information "(2 geometries)" has been added in the Size box to specify that the top face, however still considered as a single element, is now made of two geometries because of the transformation it underwent in step 2.
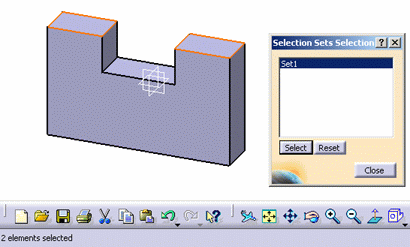
- If you select Edit > Selection Sets then "Set1", you can check that this corresponds to the information displayed in the status bar ("2 elements selected") and to what is displayed in the geometry area: there are two highlighted elements.
![]()
