Displaying the Preselection Navigator
Method 1
-
Click anywhere in the geometry area.
-
Position your pointer over the object you want to select.
-
Press any keyboard arrow (up, down, right or left) or Ctrl + F11.

You can also press Alt + the left mouse button (except when working on Sun Solaris operating systems). The preselection navigator appears.
Method 2
-
Select Tools > Options > General > Display then the Navigation tab.
-
Select the Display the preselection navigator after ... seconds check box, set the spinner to the time delay.
The spinner sets the amount of time, in seconds, which elapses before the preselection navigator appears after pointing at an object. -
Make sure that the following three check boxes are selected as well:
-
Display immersive list for preselection navigator
-
Prehighlight faces for preselection navigator
-
Display immersive viewer for preselection navigator.
-
-
Click OK to close the Options dialog box.
-
Point to the part of the object you want to select.
About display options
- Prehighlight faces
for preselection navigator
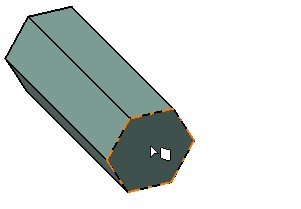
You can activate/deactivate the highlight of preselected faces by selecting/clearing the Prehighlight faces for preselection navigator check box under the Navigation tab.
By default, this option is deactivated and in that case, the preselected face looks like this:
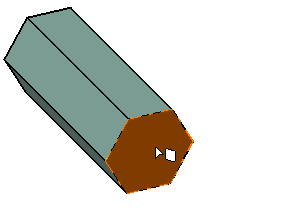
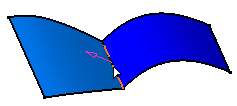
When the Prehighlight faces for preselection navigator check box is selected, the preselected face looks like this:
- Display immersive list for
preselection navigator
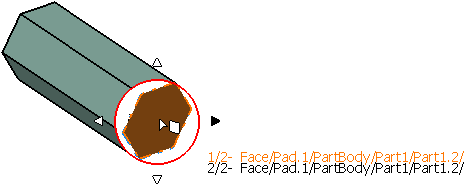
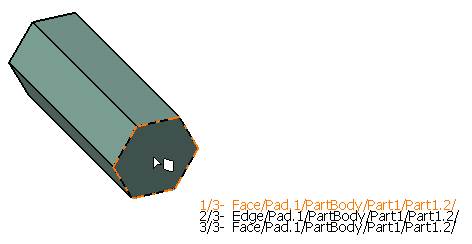
You can activate/deactivate the immersive list's display by selecting/clearing the Display immersive list for preselection navigator check box. The immersive list displays all the stacked elements you can preselect.
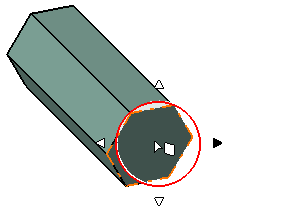
By default, this check box is activated which means that the immersive list is displayed as shown below:
- Display
immersive viewer for preselection navigator
You can activate/deactivate the immersive viewer's display by selecting/clearing the Display immersive viewer for preselection navigator check box. The immersive viewer provides a visual feedback on the preselected element and lets you validate your selection.
By default, this check box is selected which means that the immersive viewer is displayed as shown below:
When the Display immersive viewer for preselection navigator check box is cleared, the result is as follows:
- Display
auxiliary viewer for preselection navigator
You can activate/deactivate the auxiliary viewer's display by selecting/clearing the Display auxiliary viewer for preselection navigator check box. The auxiliary viewer lets you perform viewing operations with the mouse such as zoom, rotate or pan.
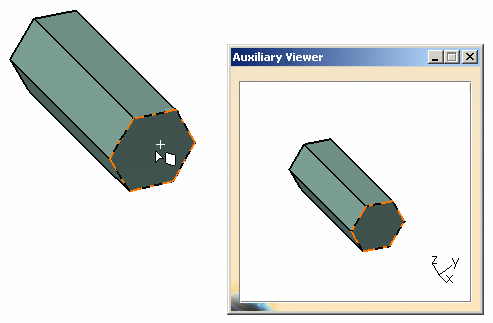
By default, this check box is cleared. When the option is activated, you see something like this in the geometry area:
The use of this check box is detailed further in this scenario.
- Color
The default color used to highlight selected and preselected elements is "orange" but you can choose other colors using the Selected elements and Preselected elements lists available in the Visualization tab.
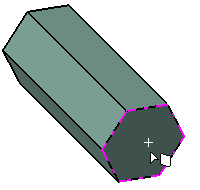
For instance, if you select a "pink" color in the Selected elements list, the result looks something like this:
Using the Preselection Navigator
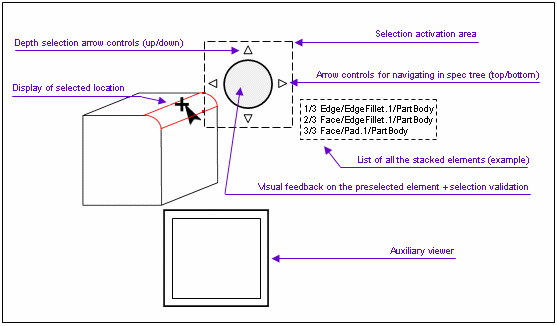
- a circle providing a visual feedback for the pointed object. This circle with an opaque background shows the preselected element and displays the surrounding elements in transparency. The circle keeps the proportions of the current viewer
- arrow controls to navigate:
- "in-depth" using up/down arrows
- up and down in the object hierarchy using left and right arrows
- a cross pinpoints the preselected location. Four arrows are used for navigating or scrolling through the object you point at. These arrows turn black when you reach an extremity
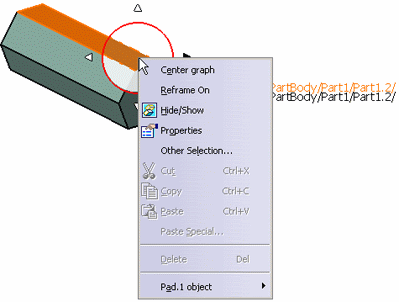
- a list of all the stacked elements you can preselect. This list
indicates the selection path and the identity of each element. This
information is identical to the one displayed in the status bar.
You can choose to display or not the immersive list of elements you can preselect (shown in the example below). To do so, select or clear the Display immersive list for preselection navigator check box in the Navigation tab - an auxiliary viewer displaying the preselected object. This viewer also lets you perform viewing operations with the mouse such as zoom, rotate or pan. By default, this viewer is not displayed and has to be activated via the Navigation tab as explained further in this task.
An invisible area around the selection tool determines the tool's sensitivity.
-
Once the preselection navigator is displayed, click the up arrow to navigate "in-depth", in other words, from the front to the back of the object, to highlight hidden, superposed or coincident elements.
This method is particularly useful for large parts since it lets you select, for example, edges, faces, etc. which are not visible or accessible near the front of the part. The cursor shape changes according to the type of the preselected element as shown below: point... edge... 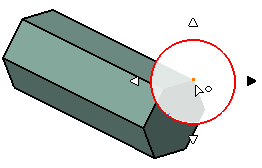
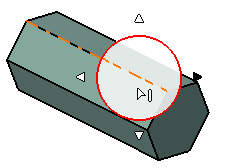
or face: 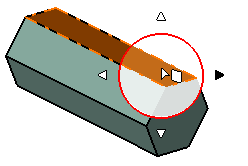
The identity of the preselected element is displayed in the status bar: 
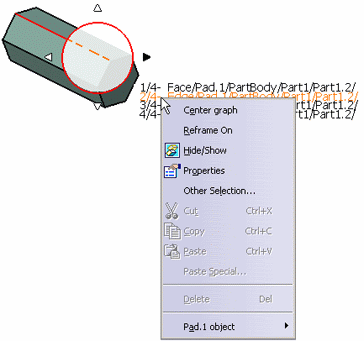
Note: the preselection navigator lets you use the contextual menu. You can also navigate between different objects, not just inside single objects. When one object hides another, the preselection navigator also lets you select elements belonging to the hidden object. -
Click the down arrow to navigate in the opposite direction, towards the front of the object.
-
Click the left and right arrows to navigate up and down in the object's hierarchy.
-
Select Tools > Options > General > Display then access the Navigation tab and select the Display auxiliary viewer for preselection navigator check box.
-
Click anywhere in the geometry area, then position your pointer over the object and restart navigating by clicking the up or left arrow.
An additional window opens and displays the object with the element you have preselected: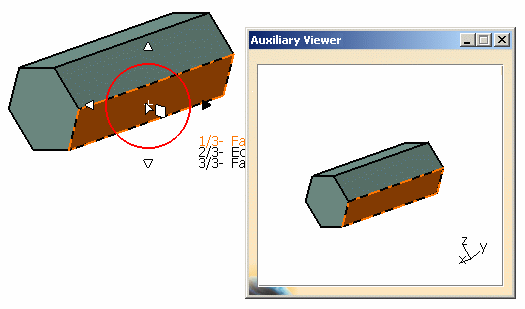
The Auxiliary Viewer window lets you manipulate the object and perform viewing operations with the mouse such as rotate, zoom or pan as shown below: 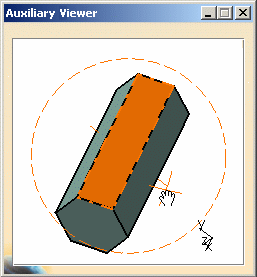
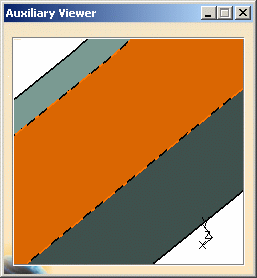
Rotate Zoom To hide the viewer, simply re-access the Navigation tab then clear the Display auxiliary viewer check box. -
To validate your selection and exit the preselection navigator, use one of the following methods below, depending on the display options that have been activated:
-
click the circle in the center of the immersive viewer
-
or, click the desired item in the immersive list
-
or, click the element directly on the object.
The item is selected:
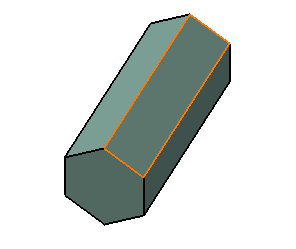
-
The selection tool disappears, in any case, once a selection has been made, or if you point or click outside the selection activation area around the selection tool.
![]()
