![]()
![]()
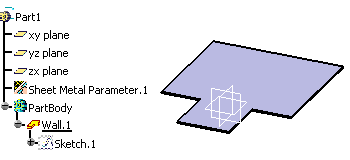
You must be in the Sheet Metal Workbench, with a .CATPart
document open, and you must have defined the
sheet metal parameters.
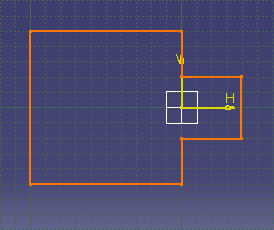
Set the sketcher grid to H = 100mm and V = 100mm,
using the Tools > Options > Mechanical Design > Sketcher,
Sketcher tab, Grid area.
![]()
-
Click Sketch
 then select the xy plane.
 -
Click Profile
 .
. -
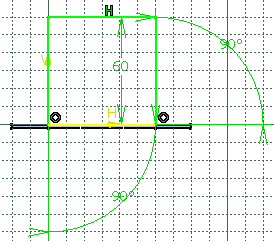
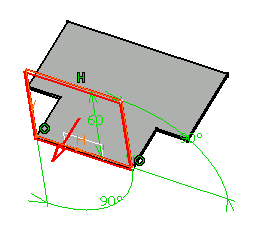
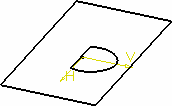
Sketch the profile as shown below:
-
Click Exit workbench
 to return to the 3D world.
 -
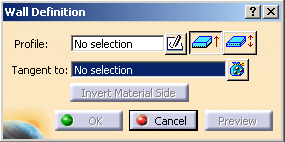
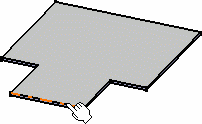
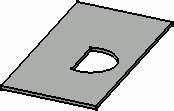
Click Wall
 in the Walls toolbar.
The Wall Definition dialog box opens.
")
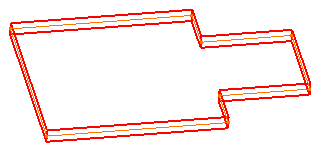
By default, the material side is set to the top.
-
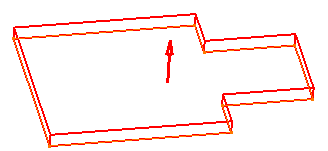
Select the desired profile positioning option.
- Click
 to set the sketch at middle position of the wall thickness
- Click
 to
set the sketch at extreme position of the wall thickness
to
set the sketch at extreme position of the wall thickness
The Invert Material Side button is available only when the sketch is set at extreme position. - Click
-
Click OK.
![]()