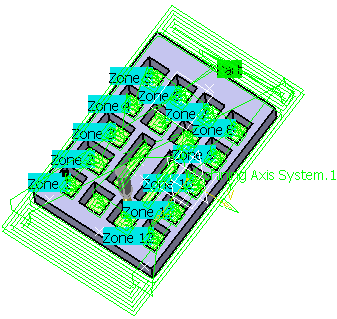
Zones can be either pockets or the outer part.
on the workbench you are working in.
Areas that will be machined with a path of ZLevel type and horizontal areas cannot be ordered.
-
Open ZoneOrder.CATProcess from the samples directory.
-
Click the Roughing icon
 .
. -
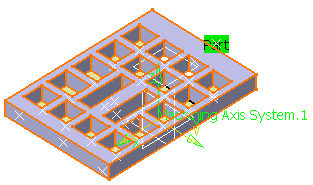
Click the red sensitive area and select the whole part to be machined.
-
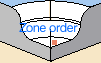
Click Zone order
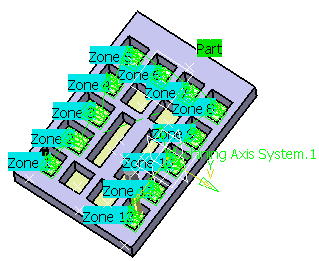
and select the zones to machine by clicking on the point in each as shown below:

When you select a face, an annotation appears. If this annotation is not in the pocket to be machined, you must create a point in this pocket and select it as explained above. -
Click Replay. The zones will be machined in the order they were selected.
-
Use the Video from last saved function (
 )
to check that the zones were machined in the right order.
)
to check that the zones were machined in the right order. -
Now create another Roughing cycle with the same ordered zones and, in Zone order contextual menu,
deactivate the Machine only ordered areas option.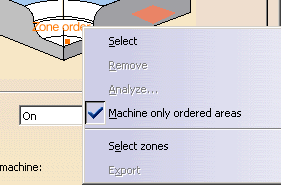
-
Click Replay.
- Note that the whole part is machined (including the outside of
the part)
and not only the zones you ordered.
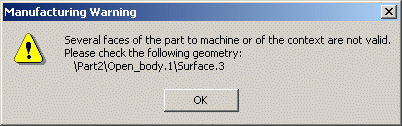
- If a tool path cannot be computed because of invalid faces,
an explicit error message like this one will appear:
- Note that the whole part is machined (including the outside of
the part)
![]()