-
Select Insert > Simulation... from the menu bar.
The Select dialog box is displayed and lets you select the shuttle you want to use in your simulation. 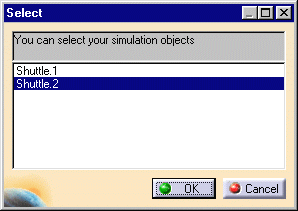

Note that you can also choose to select the shuttle first, and the simulation command afterwards. In that case, the Select dialog box is not displayed. -
Select the shuttle (e.g., Shuttle.2) you want to use, and click OK.
The Edit Simulation dialog box and Preview window appear. 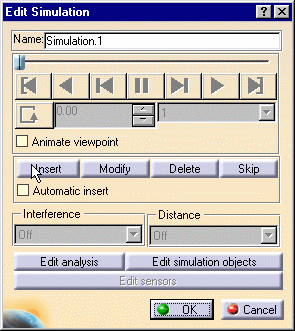
-
Click the Insert button and record the starting shot.

Insert means that you record and insert shots inside the scenario. The initial location of the shuttle is automatically recorded as a starting shot. If you need to reposition the shuttle, please delete the first position or modify it. 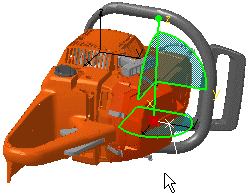

For more detailed information about the Edit sensors button and sensors generally, please refer to DMU Kinematics Simulator User's Guide: User Tasks: Using Sensors. -
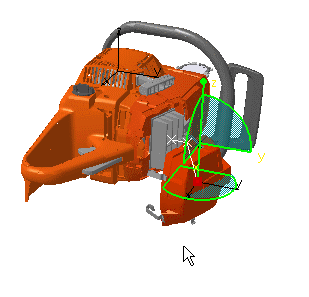
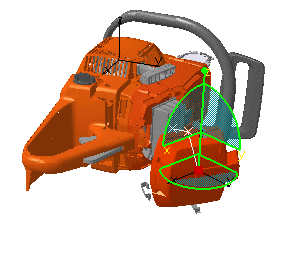
Move the shuttle to the desired location via the manipulator.
-
Click the Insert button and record the desired shot.
-
Move the shuttle as often as necessary, clicking Insert to record shots.

You can activate the automatic insert at any time. For more detailed information, please refer to the DMU Fitting Simulator User's Guide: Basic Tasks: Mono-Shuttle Fitting Simulation: Recording a Simulation Automatically. 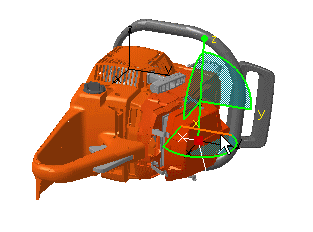
-
Select the appropriate interpolation, for instance 0.04.
You can modify or choose the Automatic insert at any time. -
Click OK to confirm your operation.
The simulation is identified in the specification tree. 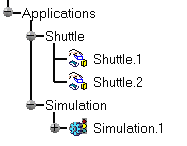
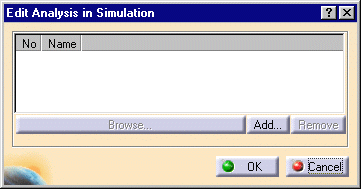
At any time, you can press the Edit Analysis button from the Edit Simulation dialog box. In that case, the Edit Analysis in Simulation dialog box appears. In the case of this task, it is empty because you have not defined interferences. 