About the Recorder Toolbar
Recorder Toolbar

|
|
|
||
|
|
|
||
|
|
Deletes one shot after another. The cursor must be
position on the shot to be deleted. Note: In track edition context, if you need to delete multiple shots at a time, multi-select them (hold down Ctrl, and select with the left mouse button) and use Del. |
||
|
|
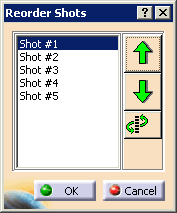
Reorders shots. To use:
|
||
|
|
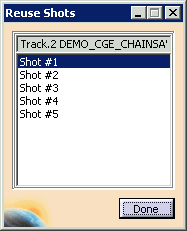
Reuse enables you to use
shots from another track while creating or editing a track.
To use:
|
- Step Backward
 (lets you to jump to the previous shot -- e.g., to be modified).
- Step Forward
 (lets you jump to the next shot).
| Shot times have a minimum spacing of 0.00020 seconds. Shots must always be in sequential order, i.e., second, third, fourth, etc., shots must have a time at least 0.00020 seconds beyond the previous shot. |
About the Track Editor
|
|
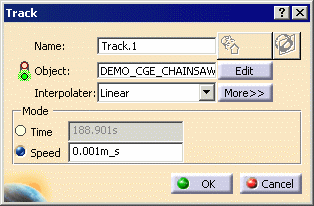
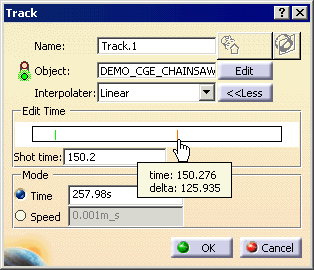
The Track dialog boxes shown below show the
Activate Analysis For a description of how to use Activate Analysis, see Analyzing in Track Context. |
| For a description of how to use Sectioning with tracks, see DMU Fitting Simulator User's Guide : Basic Tasks : Tracks : Associating Sections with Tracks. |
Track Interpolator
- linear (default type for product, shuttles, and section planes)
- spline (default for cameras and lights)
- composite spline (enables users to minimize the impact of positions modifications on the entire trajectory)
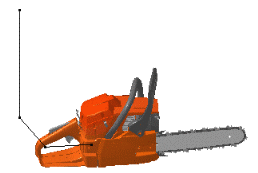
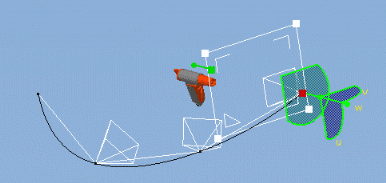
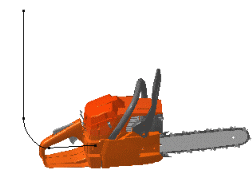
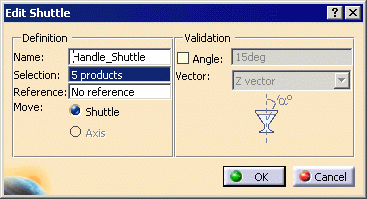
Objects and the Dialog Boxes Associated with Editing Them

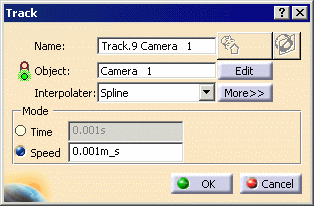
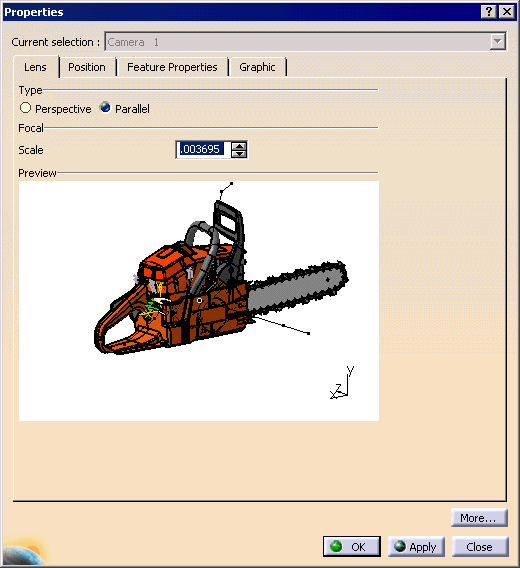
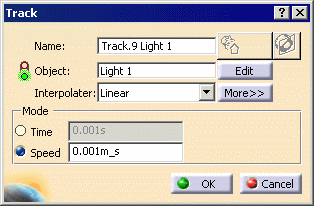
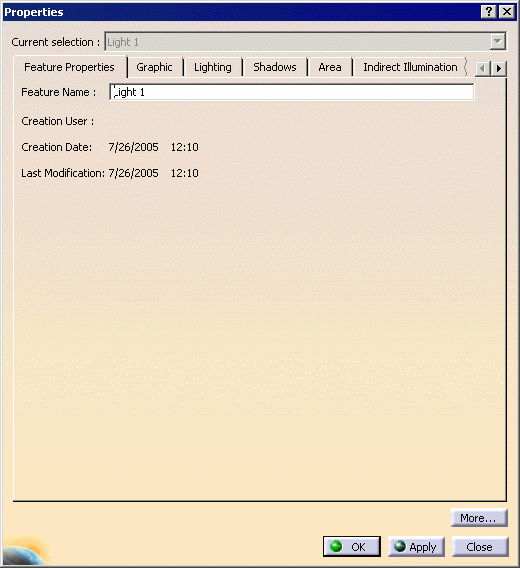
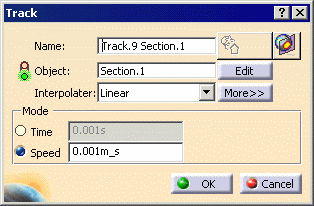
Using the More Button
- Edit segment duration within the Track dialog box.
- Modify quickly the segment duration using drag and drop capability.
- Enter a value to modify this duration.
Selecting an Object and Track Positioning
- Click on the Object field, and the Track positioning dialog box appears:


- Keep positioning: Lets you keep the current track position.
- Do not keep positioning(default): Lets you locate the track on the new object.
- Select a new object either in the geometry or in the specification tree.
About Selecting in Editing Mode
Note: In edition mode, you can select objects to be applied only one track at a time.
Keyboard Shortcuts
| Use this keyboard key (or combination) | To |
| Insert | Record |
| Shift + M | Modify |
| Delete Key | Delete |
| Page Up | To go to the previous step |
| Page Down | To go to the next step |
Another useful shortcut
Clicking an icon lets you run the command associated with that icon only once. However, double-clicking an icon lets you use the associated command as many times as you want without having to click on the icon several times.
Pop-up Toolbar Command Availability During Track Editing
| Icon | Command | Available |
|
|
Expand Preview Window | Shuttle modification |
|
|
Reframe | Shuttle modification |
|
|
Smart Target | Shuttle and track modification; all Recorder and Player commands are unavailable when using Smart Target |
|
|
Dynamic Smart Target | Shuttle and track modification; all Recorder and Player commands are unavailable when using Dynamic Smart Target |
|
|
Invert | Shuttle modification |
|
|
Editor | Shuttle and track modification |
|
|
Reset | Shuttle modification, after initial change made |
|
|
Define Snapping Axis | Shuttle and track modification |
|
|
Attach/Detach | Shuttle and track modification |
|
|
Save Initial State | Track modification (applies to DPM Assembly Process Simulation workbench only) |
|
|
Record | Track modification |
|
|
Modify Track | Track modification |
|
|
Delete Track | Track modification |
|
|
Reorder Shot | Track modification; all Player and all other Recorder commands are unavailable when using Reorder Shot |
|
|
Reuse Shot | Track modification |
