There are three ways to do this:
- using the contextual menu
- using the Insert > Instantiate From Document menu item
- using a catalog
Using the Contextual Menu Item:
-
Select the PowerCopy feature from the specification tree.
-
Right-click to display the contextual menu, and choose the PowerCopy.1 object > instantiate menu item.
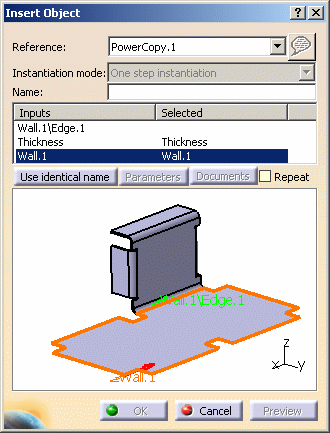
The Insert Object dialog box is displayed. -
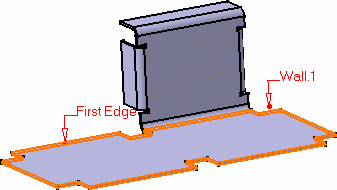
Complete the Inputs within the dialog box by clicking the use identical name button.
-
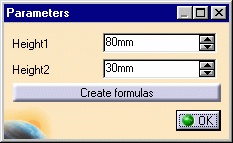
You can also click on the Parameters button to display the Parameters dialog box and modify values, if needed.
-
Use the Create formulas button to automatically create a formula on every parameters with the same name provided there are any.
-
Click OK in the Parameters dialog box.
-
Click OK to create the PowerCopy instance.
The PowerCopy is instantiated in context, meaning its limits are automatically re-defined taking into account the elements on which it is instantiated. 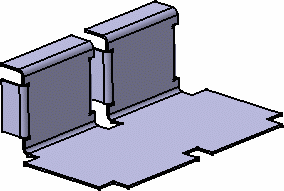
Using the Insert Menu:
-
Select the Insert > Instantiate From Document menu item.
The Select PowerCopy dialog box is displayed allowing you to navigate to the document or catalog where the power copy is stored. 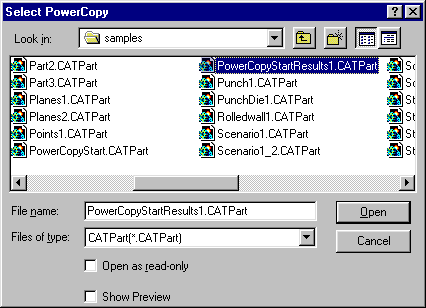
-
Select the document containing the Powercopy.
The Insert Object dialog box is displayed. Use the Reference list to choose the correct PowerCopy when several have been defined in the document.
-
Continue the instantiation as described in Using the Contextual Menu item, step 3.
Using the catalog:
- using the Catalog capability, see the Infrastructure User's Guide.
- using the Insert > Knowledge templates > Save in Catalog... menu item.
-
Click Catalog
 .
.If accessing a catalog for the first time, you need to navigate to the catalog location. This location is stored in the settings for faster access later on. -
Select the catalog containing the PowerCopy you wish to instantiate.
-
Select the PowerCopy to be instantiated, then you can:
-
drag and drop it onto the reference element
-
double-click the PowerCopy
-
or right-click on the PowerCopy in the dialog box and use the Instantiate contextual menu.
From then on, you instantiate the PowerCopy as described Using the Contextual Menu item, step 3.

- You can only instantiate a PowerCopy if the PowerCopy itself and the features making it up have been created in the current view mode: i.e. you will be able to instantiate a PowerCopy created in 3D mode, only on a feature in 3D mode, not on an unfolded feature.
- The
 icon is always
grayed when instantiating Power Copies. It is available with User
Features and allows you to create and modify URLs.
-
![]()
