![]()
Using the File > New Command
-
Click New
 in the Standard toolbar or select File > New (or
press CTRL+N):
The new document types you can create are listed. The list contains only the document types for the configurations/products you installed and for which you have a license.
-
In the New dialog box, double-click the document type or select it then click OK. Choose the document type from the following:
-
Part
A document like this appears:
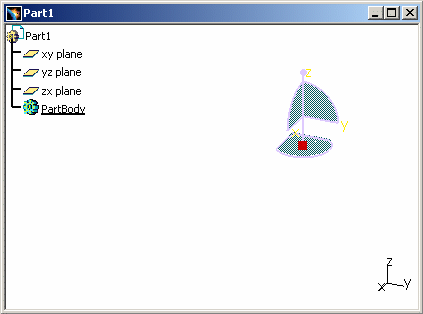

Bear in mind that the geometry you create in Version 5 is contained in a "box" whose dimensions are 2.e+6mm (the coordinates can vary from -1,000,000 mm to +1,000,000 mm). Therefore, creating elements exceeding these dimensions may lead to unpredictable results.
For more information about the Part Design workbench, see the Version 5 - Part Design User's Guide.
-
Drawing
After selection of the standard to be used, a dialog box like this appears:
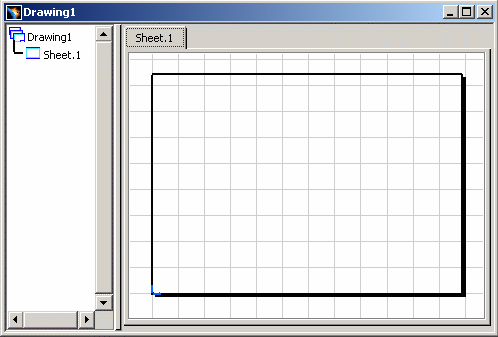
For more information about the Generative Drafting and Interactive Drafting workbenches, see the Version 5 - Generative Drafting User's Guide and Interactive Drafting User's Guide. -
Product
A document like this appears:
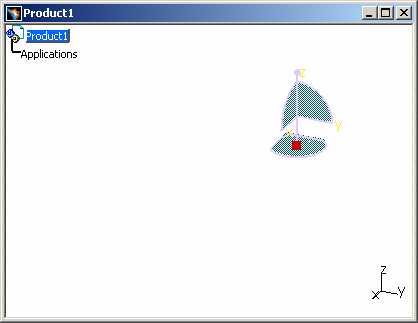
For more information about the Assembly workbench, see the Version 5 - Assembly Design User's Guide.
-
Analysis
A document like this appears:
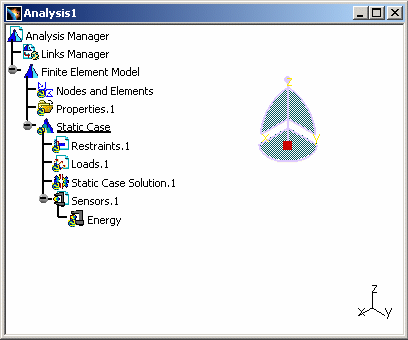
For more information about the Generative Structural Analysis workbench, see the Version 5 - Generative Structural Analysis User's Guide. -
CatalogDocument
A document like this appears:
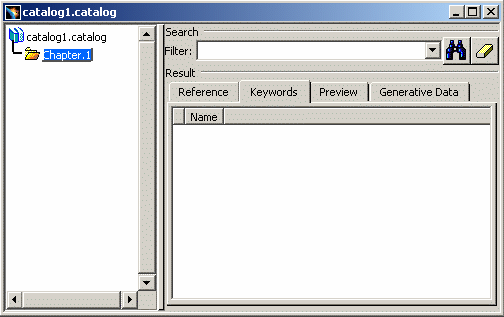
For more information about the Component Catalog Editor workbench, see the Version 5 - Component Catalog Editor User's Guide. - Process
- ProcessLibrary
- ZipMill
For more details about the above three document types, refer to the Version 5 - Prismatic Machining User's Guide and the Version 5 - Surface Machinist User's Guide.
-
Using the New Contextual Command on the Desktop
-
Either on the Desktop area of Windows or in the appropriate directory of the Windows Explorer (making sure you do not select any items when doing so), right-click once then select New:

-
Select the document type you want to open:

An empty icon indicating the document type is created (see Starting a Session Using Document Icons). -
Click in the name box that appears with the icon just created and replace the default name with a name of your own choosing (for example, replace NewPart.CATPart with MyFile.CATPart).
-
Double-click the icon that is created.
The new document is created. If you do not have a session running, a session is opened.
![]()