RADE
|
Data Model Customizer for ENOVIA
|
Adding an Attribute to Enovia Product Structure VPMPartVersion Object
The basics for customizing data models |
| Use Case |
Abstract
This article is a comprehensive customization sample on the ENOVIA Product
Structure Application.
|
Creating a UML Project
- From the
File
menu, select New->Other->UML
Project. Click
Next>.
- Enter the name of the UML project. Click
Next> and
Finish.
- In the
Navigator
view, right-click your project and select
Open as a DMC Project.
- In the
Open a DMC
   Project
window, select the tool level and click
Next>.
- Click
Close
in the Initializing tools
window.
- Click
Add
and select your prerequisite frameworks. Click
Finish.
- Click
Close
in the Installing Prereqs
window.
[Top]
Creating a New Customization Application
- From the
File
menu, select New->Other->DMC
Elements->New LCA Customization. Click
Next>.
- Enter the application name in the
Application Name field,
CusProduct in this example.
- Click
...
in the Customize LCA application
field. In the Select a framework window, select
Product Structure.
- Click
Finish. The wizard
creates a new workspace.
[Top]
Creating a Modeler Object
-
In the
Navigator view,
expand the MyProduct node and double-click the .emx file.
-
From the
File menu, select
New->Other->DMC
Elements->New Modeler Object. Click
Next>.
-
Enter the name of the new Modeler Object,
CustPartMaster in this example.
-
Select the
VPMPartMaster in the Combo Box.
Click Next>.
-
Click Insert to add
an attribute to VPMPartMaster.
- Optional: Add a new index by using the second
Insert button.
- Click
OK to finish the command.
- Repeat the above steps to customize
VPMPartVersion
and VPMItemInstance.
[Top]
Generating the Dictionary File
- Select
 DMC Project->Generate
   VPM Dictionary file
.
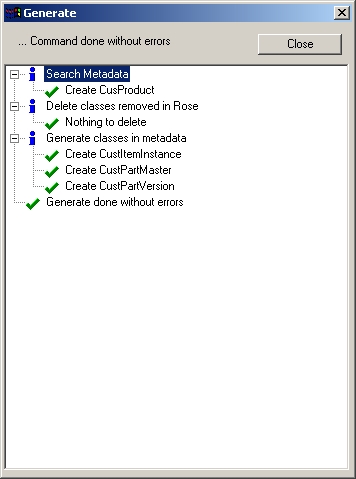
The wizard creates CusProduct.metadata under the directory CusProduct/CNext/code/dictionary.
[Top]
Publishing Enovia Data
- Select
 DMC Project->Publish
   VPM Dictionary file in Database.
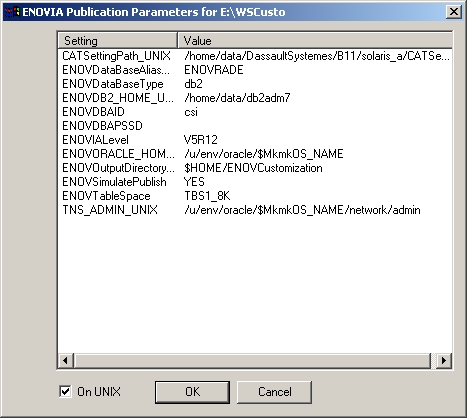
Check if the settings are correctly valuated and click
OK to start the Publish command to finish
the scenario.
[Top]
History
| Version: 1 [Mar 2000] |
Document created |
| Version: 2 [Mar 2006] |
Document updated |
| [Top] |
Copyright © 1994-2006, Dassault Systèmes. All rights reserved.