 |
RADE |
Data Model Customizer for ENOVIA |
Customizing the Action Modeler |
| Use Case | ||
AbstractThis article provides you with a comprehensive customization example on Enovia Actions. |
| An action is used in Enovia V5 to request, define, and
track a modification performed on a product. It contains the information (methodological
documentation, affected parts, configuration specifications, CAD/CAM
models, and electronic documents) necessary to implement the requested
modification.
All major events which the action undergoes (creation, promotion, transfer, completion, association of documents, etc.) are recorded and can be used to communicate the progress of a modification throughout its lifecycle, or for later historical analysis. Depending on your applicative products, you may need new fields to take internal processes into account for example. |
|
|
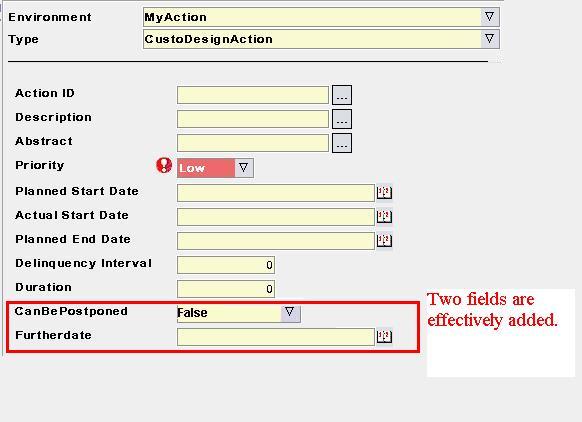
You are going to add 2 new fields:
A boolean CanBePostponed to specify if this action can be postponed
The date Furtherdate if this action is postponed
File
menu, select New->Other->UML
Project. Click
Next>.
Next> and
Finish.Navigator
view, right-click your project and select Open as a DMC Project.
Open a DMC
   Project
window, select the tool level and click
Next>.Close
in the Initializing tools
window.Add
and select your prerequisite frameworks. Click Finish.Close
in the Installing Prereqs
window.[Top]
File
menu, select Other->DMC elements->New LCA
Customization. Click
Next>. The
Create New Enovia PLM Customization
window opens.
Application Name field.... in the
Customize LCA Application field. The
Select a framework dialog box opens.

Actions
in the list and click OK.Actions. The
Customize LCA application
field is automatically updated with the Use Package corresponding to
the application.Finish. The wizard
creates a new workspace.
 |
[Top]
File
menu, select Other->DMC elements->New
Modeler Object. Click
Next>. The
New Modeler Object window opens.
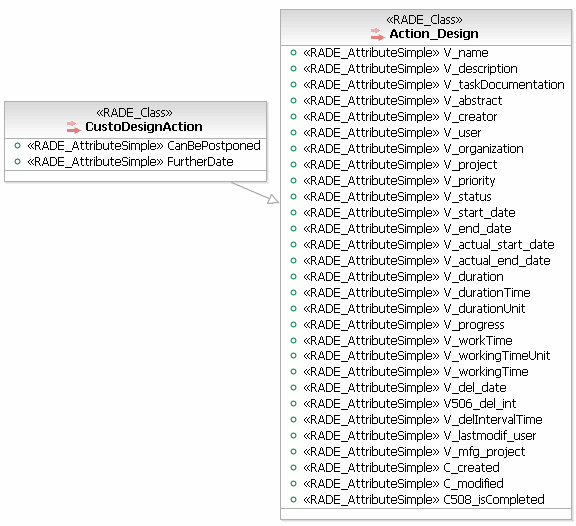
Class name field,
CustoDesignAction in this example.Super
Class in the list (Action_Design
in this example). Click Next>.Insert
in the Attributes
field to add
an attribute to your CustoDesignAction.CanBePostponed
in the Name
field.Boolean
in the list.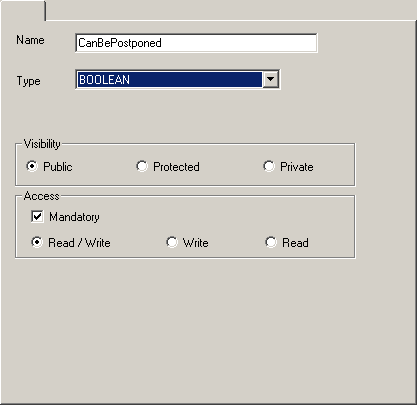 |
Insert
in the Attributes
field to add
another attribute to your CustoDesignAction.
Name field.Date
in the list.OK to
close this window. Click Finish
when done. The following graphic is displayed describing your
customization.[Top]
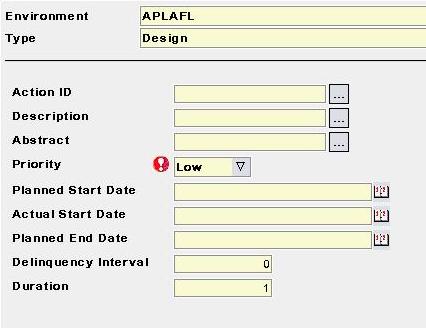
DMC Project menu, select Generate
VPM Dictionary file. The following window is displayed.
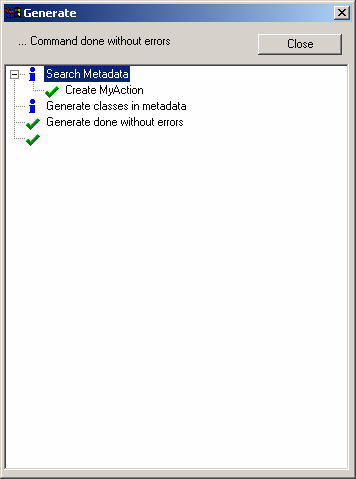
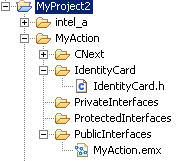
The wizard creates MyAction.metadata under the directory MyAction/CNext/code/dictionary.
[Top]
DMC Project->Publish
   VPM Dictionary file in Database
. Click
OK. The data are published. Check if the settings are correctly valuated and click
OK to launch the Publish command to finish
the scenario.[Top]
Now it is time to test your customization. To use this customization, launch ENOVIA with the environment of the customization. Indicate the location of your customization on the server, as follows:
On UNIX:
$ENOVIA_INSTALLATION_PATH$/$OS$/code/command/enoviastart -direnv $EnvDir$ -env $EnvName$
where:
)On Windows:
$ENOVIA_INSTALL_PATH$/$OS$/code/bin/CATSTART -run "ENOVIA.exe" -direnv $EnvDir$ -env $EnvName$ -object "-senv $sEnvName$ -sdirenv $sEnvDir$"
where:
Now we can use your new "CustoDesignAction" which contains 2 new fields.
 [Top]


 History


     Version: 1
     [Mar 2004]
     Document created


     Version:
     2
     [March 2006]
     Document
     updated


     [Top]


 Copyright © 2006, Dassault Systèmes. All
 rights reserved.