 |
This task shows you
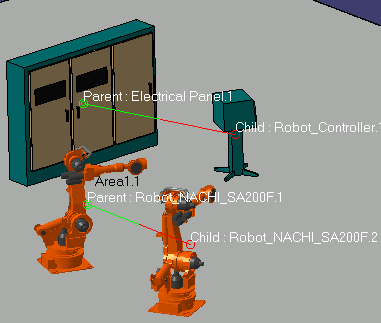
how to create a parent-child relationship between two elements. This
function can be used to create a relationship between resources, between a
resource and an element like an area; or between products in a process. The
example below uses electrical parts and robots. The procedure is the same
for all types of objects and elements. |
 |
1. |
Click the
Attach button
 . . |
|
|
2. |
Select the parent (or master)
element. |
|
|
3. |
Select the child (or slave)
element. The attachment is created. If you move the child, the connection
between the two will remain; however, unlike a master-slave relationship,
the child element will not snap back to its original position. If you move
the parent the child will follow.

|
| |
4. |
To
hide all the
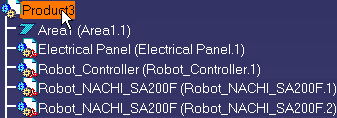
Parent/Child symbols and text (attachments) in a product, click the Hide
Attachment button, then click the Product in the specifications tree. All
attachments in the product will disappear.

To hide individual attachments, click the Hide Attachment button, then
click the object. The attachment will be hidden. |
 |
If a local Attachment
is selected, e.g., an attachment between two elements in a product, only
that attachment is hidden or shown.
If a Product is selected you not only Hide/Show all attachments of the
selected product but also all attachments to the children of the selected
product.
If you open a product and don't know if there are existing attachments,
click the Swap Visible Space button
 to reveal any
attachments that may have been hidden. to reveal any
attachments that may have been hidden. |
| |
5. |
To
show all previously
hidden attachments, click the Show Attachment button, then click the
Product in the specifications tree. All attachments will be shown. To
show a previously hidden
"local" attachment, click the Show Attachment button, then click the object
or select it in the specification tree. The attachment will be shown. |
| |
6. |
To delete an attachment select it
and use the delete key. |
|
 |


![]() to reveal any
attachments that may have been hidden.
to reveal any
attachments that may have been hidden.![]()