 |
This task shows you
how to shift parts in your design document. The angle of affected runs
changes as a result. See also Adjust Layout by
Shifting Parts. |
 |
You can shift parts
in a design by selecting a connector, entering a value to adjust a run
and entering a value to adjust a pipe. All three options are explained
below using this design.
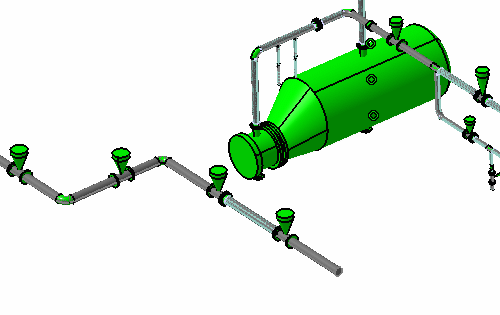
Note the following characteristics:
- There must be two elbows in your design to carry out this operation.
- The two elbows must be on the same run, and on the same plane.
- The end result of the operation must not be such that one of the
elbows is angled at more than 90 degrees.
|
 |
1. |
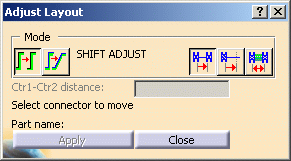
Click the Adjust Layout button
 to display the Adjust Layout dialog box, select the mode
Change Angle About an Elbow
 and proceed as described below. and proceed as described below.
 |
| |
2. |
 Move Connector to Connector: Use this to shift a part by selecting a
connector. If the part is attached to a run - such as an elbow - then
the run will change angle. This is shown below.
Move Connector to Connector: Use this to shift a part by selecting a
connector. If the part is attached to a run - such as an elbow - then
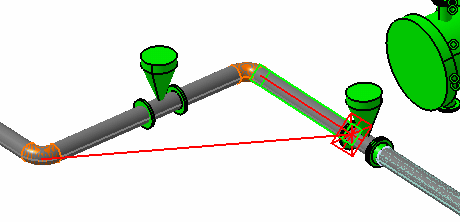
the run will change angle. This is shown below.Click the Move
Connector to Connector button and select a connector on the part you
want to move - the part will move in the direction of the connector
vector. In the scenario below the user wants to move the elbow. Red
markings display to show the location to which the elbow will move and
the angle to which the attached run will be adjusted.
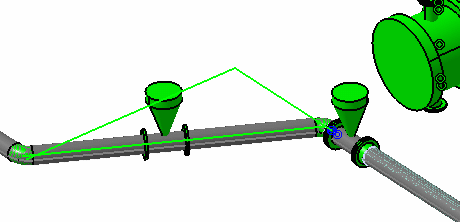
Click Apply to complete the operation. The elbow shifts to
the new location. The run
it is on changes angle, and the parts on that run move with it. If the
Auto Parts option is enabled then automatic parts will also be placed,
as required by the design rule.
|
|
3.
|
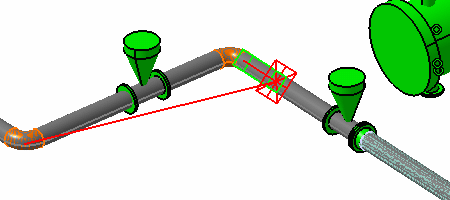
 Key Distance to Adjust Run: Use this to shift a part along a run by
keying in a distance. Click the Key Distance to Adjust Run button.
Select a connector on the part you want to shift - the Key in New Length
field becomes available. Enter a value - this is the distance by which
the part will shift - and press Enter. A red square displays
the location to which the part will move. Red highlights display to show
the run that will be adjusted.
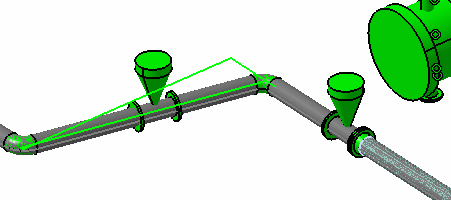
Click Apply to complete the operation. The elbow shifts to
the new location. The run
it is on changes angle, and the parts on that run move with it.
|
| |
4. |
 Key New Length: This is used to adjust - both lengthen and shorten - the
length of a stretchable or bendable in a design. In addition, the part closest to
the location where you click will move with the adjusted stretchable.
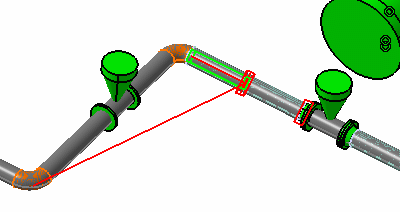
Click the Key New Length button and select the stretchable
you want to adjust. The Key in New Length field is enabled
when you select a stretchable, and displays the length of the selected
stretchable. Enter a value in the Key in New Length field and press
Enter.) Note
that the value you enter should be the new length of the
stretchable - red squares will display to show the proposed new length. In the image below, the
highlighted elbow will shift, and the new length of the stretchable is
shown by the two red squares.
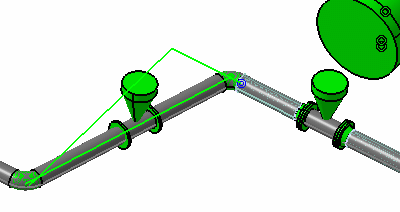
Click Apply to complete the operation. The elbow shifts to
the new location. The run
it is on changes angle, and the parts on that run move with it.
|
|

|


