Snap Resources Together
|
|
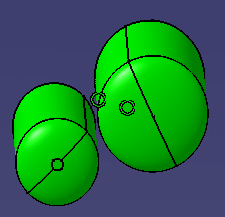
This task shows you how to snap two resources together. | |
|
|
Resources can be joined at existing connectors, you can create new connectors to join them, or you can snap them together without using connectors. All procedures are described below, beginning with the procedure for snapping resources in which you create connectors. | |
|
|
1. | To snap resources together by
creating new connectors, click the
Snap button
|
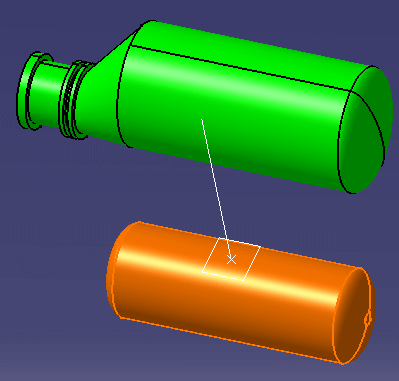
| 2. | Click one of the resources you
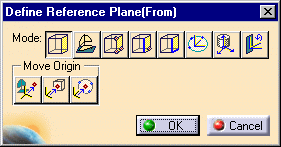
want to snap together. The resource changes color and the Define Reference
Plane (From) dialog box displays.
By default the Define Plane button is selected, allowing you to select a plane for the connector you will create. See Creating Connectors for information about using the Define Plane functions. |
|
|
|
The two resources will
have a Master-Slave relationship to each other - but only if you choose to
add a constraint (see below). If you add a constraint the first object you
select becomes the slave, and the second object becomes the master.
Also note that the first resource you select will move to snap - the second resource you select remains stationary. |
|
| 3. | Select the second resource. The Define Reference Plane (To) box will display - make your selections as explained above. You can also select an existing connector. Click OK when done. The two resources will snap together and the Constraint Options dialog box will display. | |
| 4. | You can clear the Align, Face and
Orientation check boxes and click OK if you want the two resources to
remain snapped together without any new connectors being created.
To add one or more constraints - which will also result in creating connectors - follow the steps given below. |
|
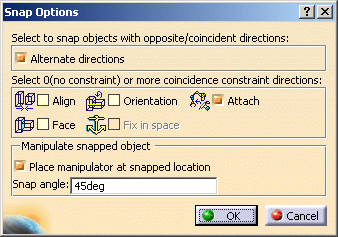
| 5. | Make your selections in the Snap
Options box.
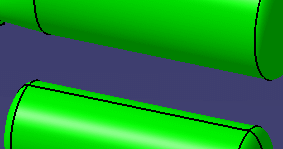
Align: You can increase distance between the two resources, but if you change the alignment the slave will snap back to the original alignment. In the image below the distance is increased but the alignment remains the same.
Face: The two resources will maintain the face if you move one of them. In the image below the two maintain the same face, though the alignment has changed.
Orientation: The two connectors will maintain the same orientation if you move them, i.e. the red arrows visible in the connectors will align. It is therefore important to make sure that the red arrows in the connectors are pointed correctly and oriented correctly with reference to the part. The red arrow is usually set to the "Up" position of the resource, which means that on both resources they should point in the Up direction. If the red arrow points "down" in one resource and "up" in the other, then the resources will snap together incorrectly. You can toggle the position of the red arrow by clicking on the green arrow that is parallel to the plane. Fix in space: If you select this option the position of the master resource is fixed - if it is moved it will snap back to its original position. Attach: Checking this option allows you to attach the two objects. Place manipulator at snapped location: Check this if you want to rotate the snapped object after placing it. The manipulator is placed on the object if you check this. You can then click on the bottom curve of the manipulator (see image below) and rotate the object. It will rotate in increments, based on the value entered in the Snap Angle field. In the image above it is 45 degrees.
|
|
|
|
To remove a constraint select it in the specifications tree and delete it. To remove the 'Fix in space' option right click on the Fix line in the specifications tree, click Properties, go to the Constraints tab, and uncheck the Fix in space box. | |
| 6. | Click OK when done. | |
| 7. | To snap resources together using preexisting connectors: | |
|
||
|
|
||
