|
This task shows you how to move one
or more elements to the opposite side of a selected plane, as a mirror
image. It also shows how to copy one or more elements to the
opposite side. |
 |
1. |
Select the element(s) you want to
move. (You can also select after Step 2.) |
|
2. |
Click the Mirror
icon  . . |
|
3.
|
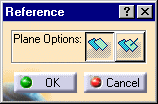
The Reference
panel will display if you already have a reference plane defined (by having
used the offset
plane command).

Click the New Reference Plane button and follow Step 4 to
define a new reference plane. Follow Step 4.b if you want to use the
existing reference plane. |
 |
|
The Reference panel will not display if you do
not have a reference plane already defined. |
|
4. |
Define a reference plane across
which to mirror the element by doing the following: |
|
|
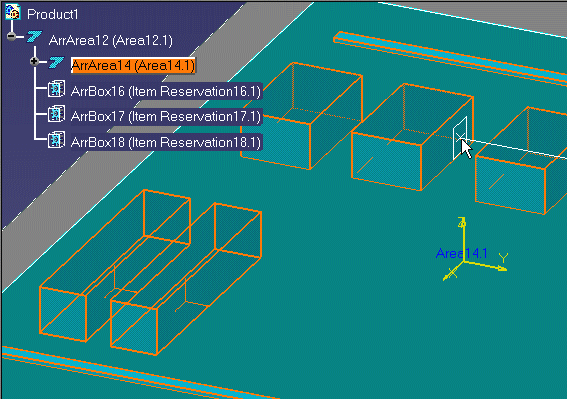
- Place your cursor over a geometric element that defines the
plane (e.g., a construction plane, boundary, area contour, item
reservation).
As you move the cursor, a small white rectangle is displayed to show
the selectable planes, as shown below.
|
 |
If you do not see the
white rectangle, zoom out from the drawing. The white rectangle cannot be
displayed if the element under your cursor is displayed too small. |
|
|

|
|
|
b. Click to select the plane.
|
|
|
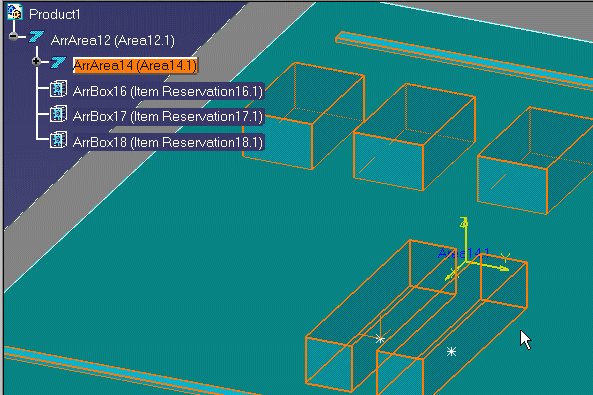
The selected elements are mirrored to the other side of the plane, as
shown below.
|
|
|

|
|
5.
|
To Mirror and Copy the elements,
follow the steps outlined above and then click the Mirror and Copy
icon
 .
The selected elements will be copied to the other side of the plane. In the
illustration above, the selected elements will stay where they are and two
similar elements will be added to the other side of the plane. .
The selected elements will be copied to the other side of the plane. In the
illustration above, the selected elements will stay where they are and two
similar elements will be added to the other side of the plane. |
|
 |

![]()

