 |
This task explains creation of a functional volume. |

|
- You first need to create a functional volume set
so that you can create functional volumes within it.
- The geometry you intend to use to create the
functional volume should already have been created. This geometry should
consist of closed surfaces.
- The functional volume should not be limited by the
hull or shell plate.
You can create the geometry using various
applications, Generative Shape Design being one of them. |

|
1. |
Enter the
Structure Functional Object Design workbench and select the system under
which you want to create the functional volumes. Click the Functional
Volume button  to
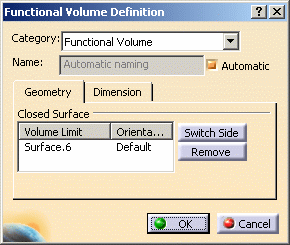
display the Functional Volume Definition dialog box. The image
below shows the box with the Geometry tab selected, and a block
displayed in the Closed Surface field. to
display the Functional Volume Definition dialog box. The image
below shows the box with the Geometry tab selected, and a block
displayed in the Closed Surface field.
 |
| . |
2. |
CATEGORY:
Select a category by clicking the down arrow in the Category
field. Only Functional Volume is included as a sample. If your
administrator has created other categories then click More to
display the Class Browser and make your selection. |
| |
3. |
NAME: The
application can assign a name to the system you are creating using the
object naming
function if you check the Automatic checkbox. If you want to
assign your own name then uncheck the box and enter a name, in this case
Middle Block System. Click OK to create the system. |
| |
4. |
Select the
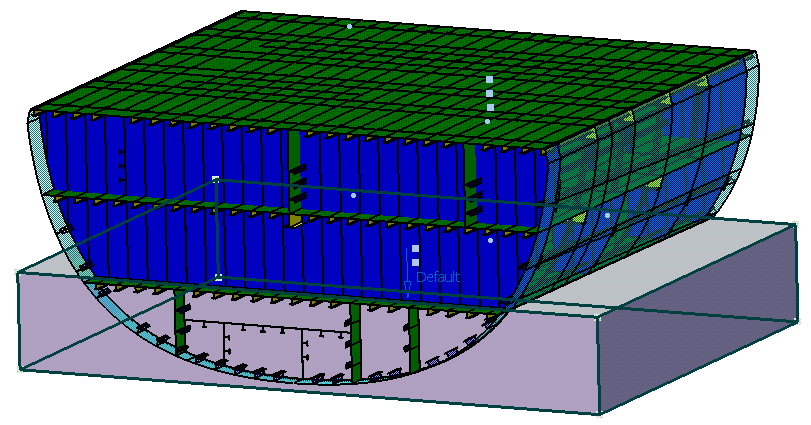
geometry of the functional volume you want to create. The image below shows
a functional volume in preview, along with the orientation arrow. A
bounding box also displays, showing the dimensions and footprint of the
functional volume. 
|
| |
5. |
Click the
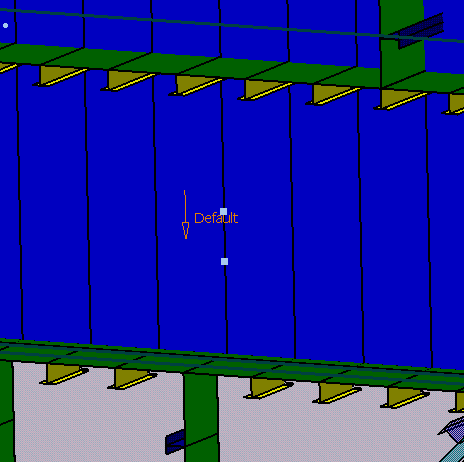
Switch Side button to change the display of the orientation arrow. It
is shown in inverted position below. Or select the Z-direction arrow.
 |
| |
6. |
Select the
functional volume and click Remove if you want to delete it. |
| |
7. |
Click the
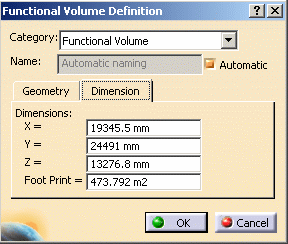
Dimension tab to see the dimensions of the functional volume and the
area of its footprint, shown below in square meters. You cannot edit these
values. 
The footprint of the functional volume is calculated
by 'drawing' a square around it. The area of the footprint will therefore
be larger than the area of the functional volume alone. |
| |
8. |
Click OK
to create the functional volume. |


