-
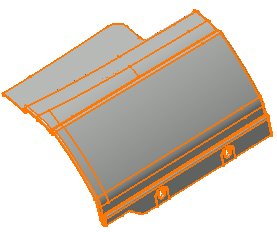
Drag-select all of the surfaces in the part.
-
Click Face Checker
 in the Check Topology toolbar.
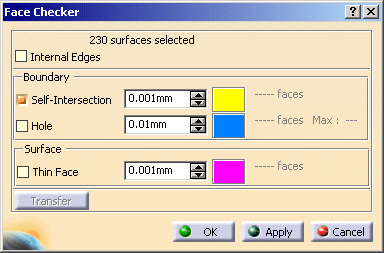
The Face Checker dialog box appears, with the number of surfaces selected.
-
To perform the analysis on the surfaces and not on the faces of the surfaces, clear the Internal Edges check box.
As you will perform a join with a Merging distance of 0.01mm, enter the same value in the Self-Intersection box.
Click Apply.
A progress bar indicates the status of the search.

-
The dialog box is updated with the number of problems found for each type (Self-Intersection, Hole, Thin Face), and with the size of the greatest hole.

-
The sites of anomalies are highlighted in the graphic area, in the color displayed at the end of the problem line.
Select the check box of the anomaly you want to inspect.

1 self-intersecting face is found:
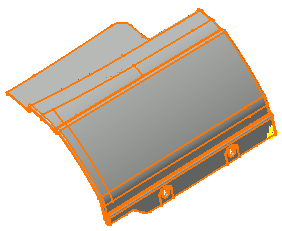

27 faces with holes are found:

-
Select the Self-Intersection check box and click Transfer .
The Transfer dialog box appears:
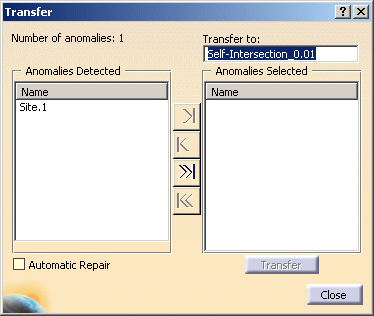
- Number of anomalies:1 indicates only one self-intersection site has been found.
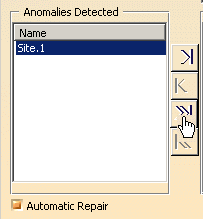
- This self-intersection site (Site.1) is listed in the Anomalies Detected box.
-
Optional: right-click Site.1 and select
Reframe On to get a better view of the site.

-
Transfer to proposes an Geometrical Set
into which you can transfer this site.
By default it is named Self-Intersection_0.01 (this name varies with the type of anomaly and the tolerance used).
You can edit this name.
-
Select the Automatic Repair check box to heal the defective surface as it is transferred,
click the >>| button to transfer the site to the Anomalies Selected pile.
-
Then click Transfer to transfer the defective surface.
When done, click Close to revert to the main dialog box.
The defective surface is sent to the Geometrical Set Self-Intersection_0.01.1 and sent to the No Show.
The repaired surface is created in the Geometrical Set Automatic-repaired_0.01.1.
These surfaces are removed from the selection to analyze.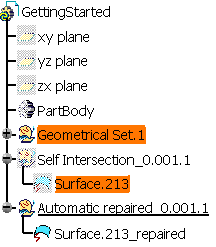
![]()