-
Click Detail View
 in the Views toolbar (Details sub-toolbar).
 -
Click where you want to position the callout center.
-
Drag the cursor to define the callout radius, and click when you are satisfied.
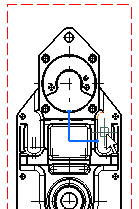
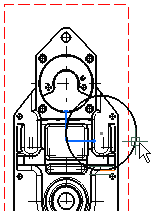
A dashed, blue circle appears at the position of the cursor.
-
Move this circle to where you want to position the detail view, and click to generate the view.
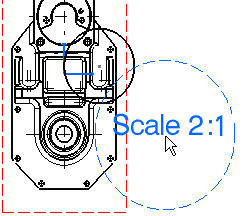
A progress bar appears while the view is being created.
-
If you are not satisfied with the position of the detail view, you can drag and drop it to a new position.
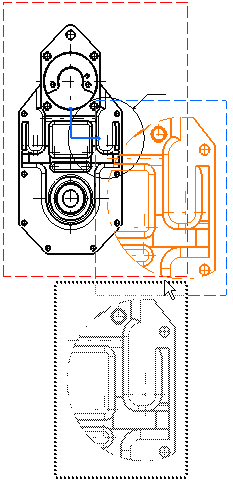
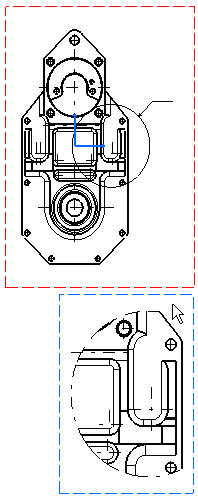
As in step 4, the scale is, by default, twice that of the active view. You can modify this scale.
-
To do so, right-click the detail view, select Properties and then click the View tab.
-
Enter 4:1 in the Scale field and click OK.
-
For the purpose of this exercise, you will now add a dimension to the detail view. To do so, click Dimension
 in the Dimensioning toolbar.
 -
Click two elements in the view, as shown here.
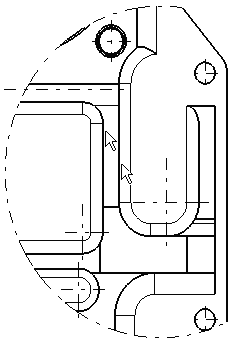
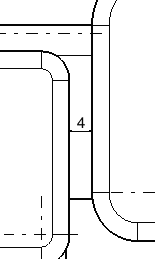
The dimension is created. Move your cursor to where you want to position the dimension, and click to generate the dimension. If you are not satisfied with the position of the dimension, you can drag and drop it to a new position.
![]()