-
From the menu bar, select Start > Mechanical Design.
-
Select the Drafting workbench.
The New Drawing Creation is displayed with information on the drawing standards, as well as with information on the types of sheets that can be created.
-
 : empty
sheet
 -
 : sheet
containing all views
 -
 :
sheet containing the front, bottom and right views
 -
 : sheet
containing the front, top and left views
-
-
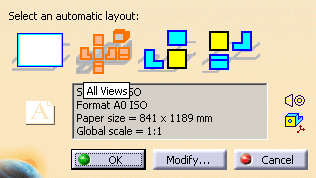
Select All Views as shown below and click OK.
-
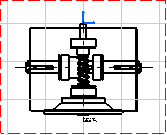
Right-click the front view.
-
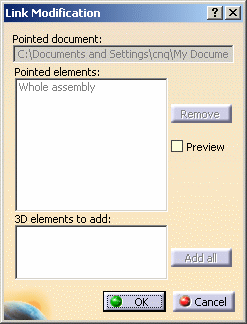
Select Front View object > Modify Links.
The Link Modification dialog box is displayed.
-
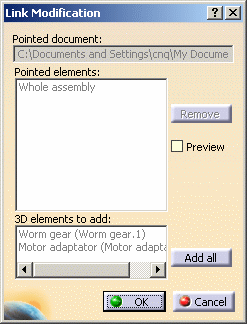
In the 3D product, press Ctrl key, then select Worm gear and Motor adaptator parts.
Back in the drawing, the parts are both displayed in the Link Modification dialog box.
-
Click on Add all and then on OK to close the Link Modification dialog box.
An update icon is displayed in the specification tree under the front view node.
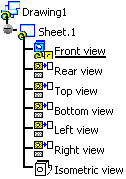
-
Click on Update.
The front view is updated accordingly.
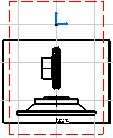
-
Right-click the front View and select Front View object > Apply Links To.
-
Select the Bottom view.
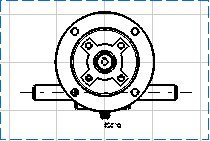
An update icon is displayed in the specification tree under the bottom view node.
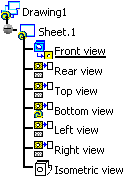
-
Click Update: the view is updated accordingly.
- Only one view can be selected.
- Do not try to apply the same links to the view.
- The view must have the same 3D associated document.
![]()