![]()
|
|
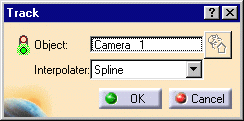
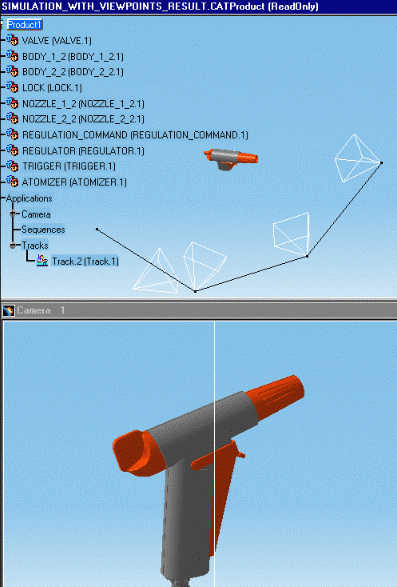
This task shows how to create a camera track recording viewpoints through the simulation functionality. | |
|
|
Open the
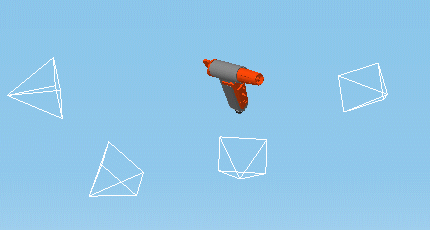
SIMULATION_WITH_VIEWPOINTS.CATProduct document A camera and 3 viewpoints are already defined: |
|
|
|
|
|

|
||
|
||
|
|
The camera viewpoint is stored in the track
object each time you click Insert. You can, in this way, record a series of
viewpoints which when combined and compiled create your animation. Note: The default interpolator for camera tracks is Spline. |
|
Defining a track using the Update camera from view optionIt is now possible to indicate that you wish to permanently update a camera from the current view. This enables you to create a camera track by simply navigating in the main window using the pan, rotate and zoom commands and clicking the record button of the track recorder each time you wish to insert the current view as a position in the recorded track. You no longer need to open a camera window.
|
||
Replaying your simulation |
||
|
||
 |
||

|
||
|
|
Use track capabilities in this way to produce
an animated inspection of your design.
For more information on track capabilities, see the DMU Fitting Simulator User's Guide. |
|
|
|
||