It will also be possible to display in the same
window Annotated View 1 and Annotated View 2 (or more) if they share
exactly the same viewpoint and if they are in the same context.
Sharing the same context means that they are in the same DMU Review or that
one Annotated view is in a DMU Review and that the other one is in the
Annotated View container underneath the Applicative container.
Note: When multiple Annotated Views are simultaneously displayed in the same window, hitting the exit icon in the DMU 2D Marker toolbar exits the currently active view and those annotations associated to it will no longer be visible, whereas the annotations associated to the other Annotated Views sharing the same viewpoint will still be visible.
ATOMIZER.cgr
BODY_1_2.cgr
BODY_2_2.cgr
LOCK.cgr
NOZZLE_1_2.cgr
NOZZLE_2_2.cgr
REGULATION_COMMAND.cgr
REGULATOR.cgr
TRIGGER.cgr
VALVE.cgr
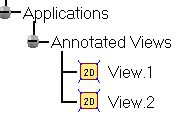
Create at least two views. These 2D views are identified in the specification tree.
-
Click the Manage Annotated Views icon
 .
.
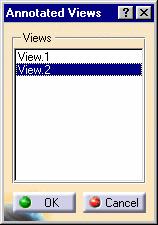
The Annotated Views dialog box appears.
-
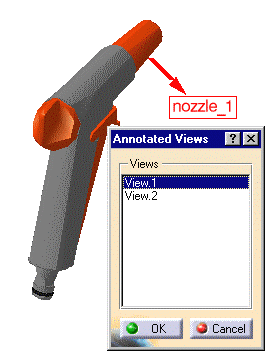
In the Annotated Views dialog box, double-click View.1.
View.1 is displayed and you can edit it.
-
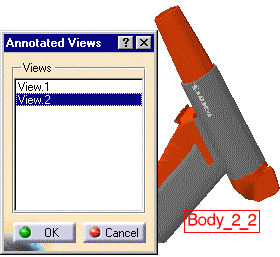
Double-click View.2.
View.2 is displayed and you can edit it.
-
To keep the selected view and exit the Annotated Views dialog box, click OK.
The selected view is activated and you can edit it. -
To exit the Annotated Views dialog box without selecting a view, click Cancel .
![]()


