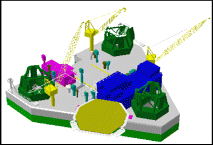
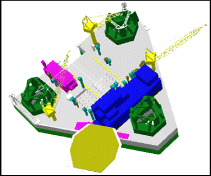
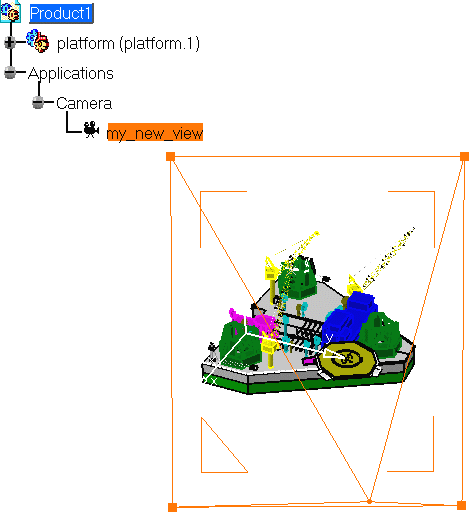
Note that user-defined views are stored with the document.
-
Select the View->Named Views... command and double-click the desired view.
![]()
-
Adjust the different view parameters (zoom, rotation, etc.) as desired.
-
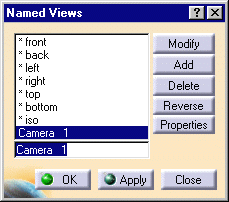
Click the Add button to add the view to the list.
The default name of the view is Camera 1.
![]()
-
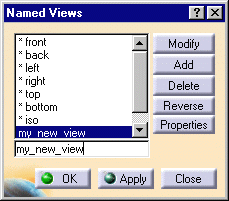
Rename the view as required and press Enter.
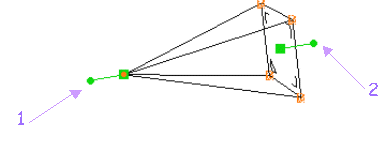
Use the two spheres and the two squares displayed in green on the 3D
representation to interactively manipulate and position the camera:
- the source point (1) rotates the camera around its target point
- the target point (2) rotates the camera around its source point
- the source green square translates and rotates the camera around its target point
- the target green square translates and rotates the camera around its source point
-
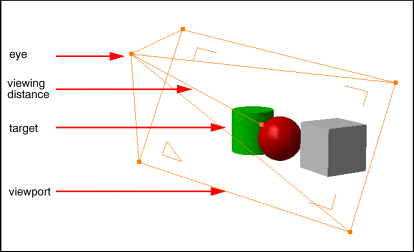
Manipulate the 3D representation to define your view parameters.
-
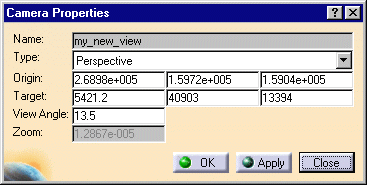
In the Named Views dialog box, click the Properties button to access the Camera Properties dialog box.
![]()
-
Double-click anywhere on the 3D representation to apply the view parameters, and click Apply to perform the changes to your view.
-
If you want to modify any customized view you have already saved, select it, modify the view parameters again, then click the Modify button.
![]()
You can view the object from the reverse angle by clicking the Reverse button.
![]()
