ATOMIZER.cgr
BODY_1_2.cgr
BODY_2_2.cgr
LOCK.cgr
NOZZLE_1_2.cgr
NOZZLE_2_2.cgr
REGULATION_COMMAND.cgr
REGULATOR.cgr
TRIGGER.cgr
VALVE.cgr
-
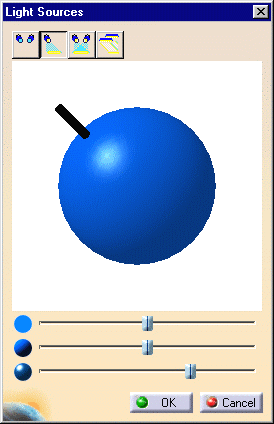
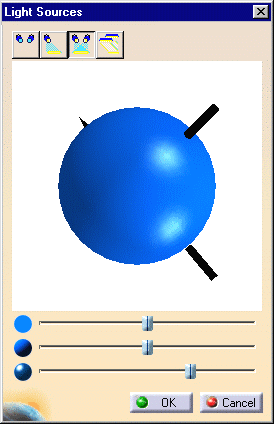
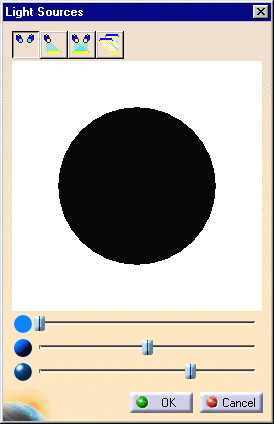
Select the View->Lighting... command or the Lighting icon in the DMU Viewing toolbar to display the Light Sources dialog box.
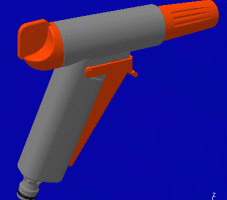
The default light source setting looks as follows:
![]()
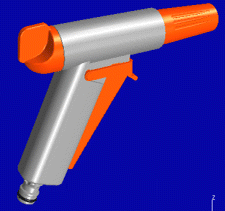
You can drag the handle around (using the left mouse button) to change the lighting direction. The new lighting effect is created instantaneously as you drag the handle.
The first slider at the bottom of the dialog box lets you adjust light source brightness.
-
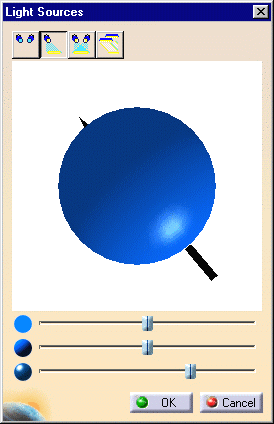
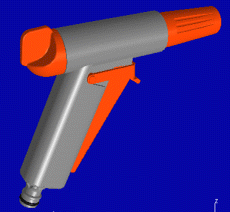
Drag the handle down and towards the bottom right.
The light is now coming from the bottom right.
![]()
-
Click the Two Light Source icon
 to add another light source.
![]()
![]()
-
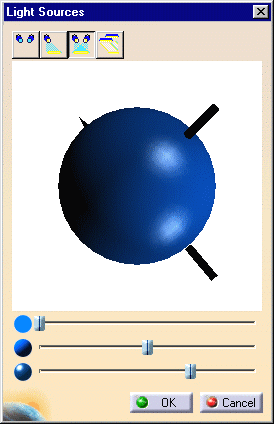
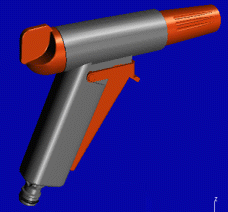
Drag the brightness slider (the first slider in the list) to the left to reduce the brightness.
-
Now drag the lower handle up towards the top left to change the direction of the corresponding light source.
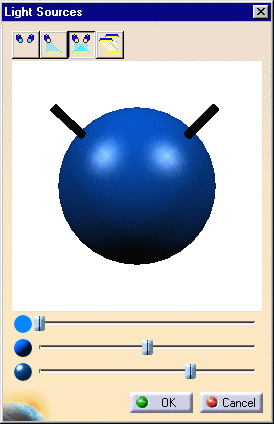
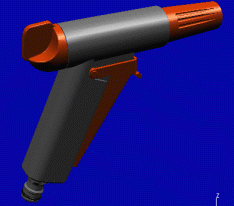
-
Click the Neon Light icon
 to produce a neon light effect.
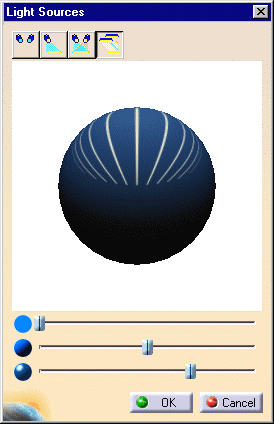
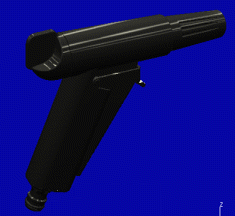
-
Click the No Light Source icon
 to switch off all light sources.
![]()
