 |
This task shows you
how to navigate through a document in beginner's walk mode. |
 |
Beginner's walk mode commands are
single-action commands. Releasing the mouse button means you exit the
command. You can only move forward in beginner's walk mode. |
 |
Insert the
platform.model document from the samples
folder. |
 |
-
Select View->Navigation Mode->Walk.
The icons used in the beginner's walk mode appear in the View toolbar.
(These commands are also available via View->Modify in the
menu bar.)

|
|
-
Click the Turn Head icon
 in the View toolbar then drag (left mouse button) to define your starting
position (the direction in which you look at the object).
-
Release at desired location.
-
Click the Walk icon
 ,
then click the left mouse button to begin to walk. ,
then click the left mouse button to begin to walk.
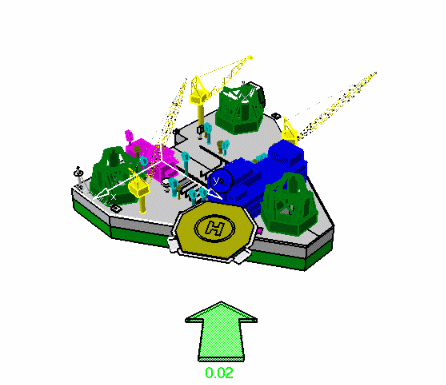
You begin to walk straight forward in the chosen direction. A green arrow
appears along with a circular target located at the center of the view.
The number below the arrow specifies the speed at which you are
walking.

The speed at which you first approach the object depends on the initial
distance from the object, and is calculated automatically. The speed is
optimized so that you reach the point you target in approximately 10
seconds. |
|
-
Still holding the left button down, drag to the right or
left to change direction.
You walk in the direction in which you drag. The further you drag away
from the center of the view (represented by the circular symbol ), the greater the change in direction.
Dragging to the left lets you view the object as if you had turned
your head to the left; dragging to the right lets you view the object as
if you had turned your head to the right.
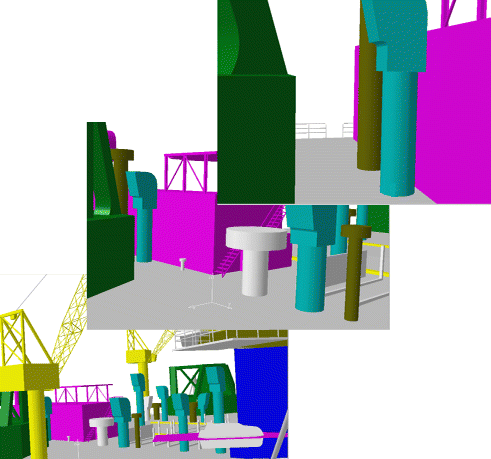
As you drag, the shape of the arrow changes to reflect the direction
in which you are walking.
 |
|
-
Drag the cursor back towards the center of the view to
continue walking forward in the new direction.
-
To modify your speed, click the Accelerate  or Decelerate
 icon one or more times.
-
To continue your walk, click the Walk icon
 again and then click in the view.
Notice the different speed at which you now walk.
-
To return to the default navigation mode, click the
Examine mode icon
 in the View toolbar.
You can also set mouse sensitivity and collision detection using the
appropriate options in the Visualization tab, accessed via the
Tools->Options command. For more information, see the
Infrastructure User's Guide.
|
 |
 |
This task shows you how to
navigate through a document in Walk mode.
|
 |
Insert the platform.model document from the
samples folder. Before using the
Walk navigation mode, you must be in a perspective view (View ->
Render Style -> Perspective).
Note: It is easier to walk through documents in contexts where you would
find a virtual ground, i.e. in buildings, planes or ships for example.
|
 |
-
Select View ->Navigation Mode ->Walk.
-
Press and hold down the Middle Mouse button to define the
horizontal view plane.
-
Still holding the button down, drag to the left or to the
right to determine the direction in which you wish to walk.
-
In the Walk mode, press and hold down the Middle Mouse
button until you've finished navigating.
-
When in the direction in which you wish to walk, click
the left mouse button to begin walking.
You begin to walk forward in the chosen direction.
A green arrow indicating the direction in which you are walking
appears along with a circular target located at the center of the view,
as in Beginner's walk mode.

|
|
-
Still holding the middle button down, drag left or right
to change direction.
Dragging to the left lets you view the object as if you had turned your
head to the left; dragging to the right produces the same effect in the
opposite direction.
-
Drag the cursor back towards the center of the view to
continue your walk forward in the new direction.

|
 |
Pressing the PageUp and PageDown keys modifies your speed. Speed is
indicated in the status bar.
-
Click the Left Mouse button again to reverse direction.
You begin to walk backward, away from the target.
Note: The left and right are now defined as if you were walking away
from the target with the your back towards it.
You can also set mouse sensitivity and collision detection using the
appropriate options in the Visualization tab, accessed via the
Tools->Options command. For more information, see the
Infrastructure User's Guide.
|
 |
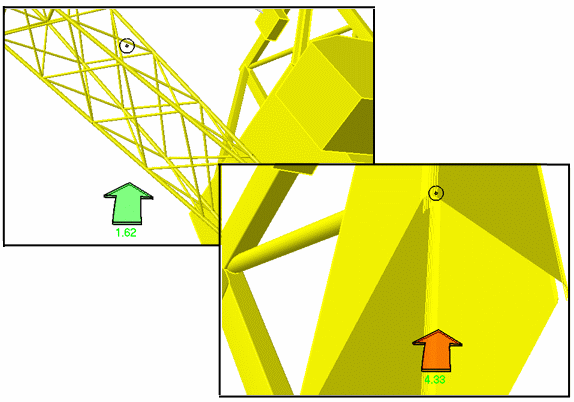
When a collision is detected, the green arrow turns red, whether you
navigate in beginner's or advanced Walk mode: |
|
 |
|
 |
![]()


