A delay lasts for a user-specified time; once the time has elapsed, the simulation recommences without any intervention from the user. The need for no user intervention differentiates a delay from a pause, which halts the simulation until the user takes an action.
-
Click Delay
 from the Simulation Activity Creation toolbar.
 The Activity Creation Options dialog box appears asking where to place the activity. 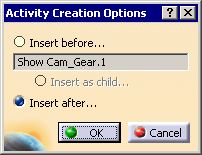
-
Select the location for the activity and click OK.
The Delay dialog box appears in the bottom right corner. 

You can reverse Steps 1 and 2. -
Enter the length of the delay (in seconds) in the Duration box and click OK.