Generative view styles are defined by an administrator and specify the appearance and behavior of a generated view.
 |
-
Go to Tools > Options > Mechanical Design > Drafting > Administration tab, and clear the Prevent generative view style usage check box. This activates the generative view style functionalities.

If you deactivate the Prevent generative view style usage option in Tools > Options > Mechanical Design > Drafting > Administration, Generative view style field, then the 3D colors option is not available in the view properties any more.
-
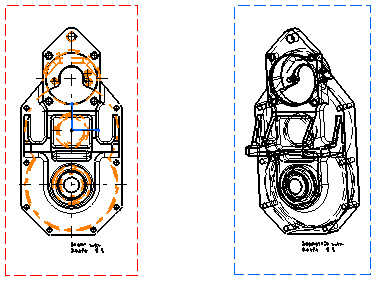
Right-click the front view and select Front view object > Generative View Style > Apply View Style to.
-
Click the isometric view to indicate that you want to apply to it the generative style of the front view.
-
Update the view by clicking Update
 ,
for example.
,
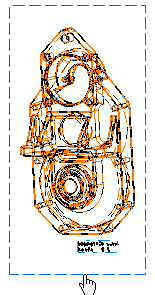
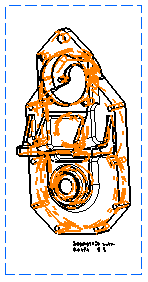
for example. The isometric view is updated and the generative view style of the front view is applied to it.
![]()