-
Select Insert> Dress Up> Arrow from the menu bar.
-
Click a point or select an object to define the arrow starting point (the tail). For example, select a circle.
-
Click another point or select another object to define the arrow extremity (the head). The arrow is created.
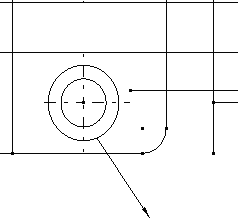

- The arrow and the selected object are associative.
- To modify the general appearance of the arrow, either click the arrow and then use the Graphic Properties toolbar, or right-click the arrow and then use the Properties dialog box (select Properties and click the Graphic tab).
- To modify the position of the arrow, click the arrow and use
the manipulators to drag it to its new location.
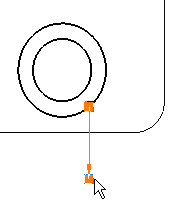
-
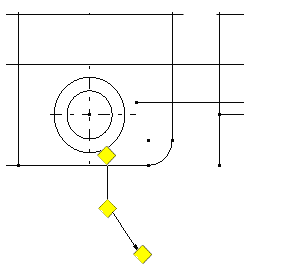
You will now add a breakpoint to the arrow. Select the arrow and right-click a yellow manipulator. A contextual menu appears.
-
Select Add a Breakpoint. A breakpoint is added to the arrow; you can drag it to change the arrow path.
-
You will now choose a symbol for the arrow tail. To do this, right-click the yellow tail manipulator.
-
In the contextual menu, point to Symbol Shape and select a symbol, Filled Circle for example.
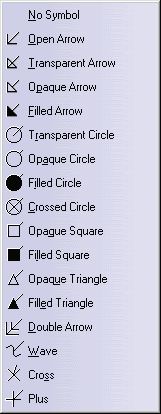
The symbol you choose now appears on the arrow tail. You can also change the symbol used for the arrow head by repeating steps 6 and 7.
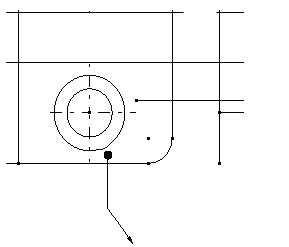
-
You will now create an interruption on the arrow tail. Right-click the yellow tail manipulator again.
-
In the contextual menu, select Add an Interruption. An interruption is added to the arrow.
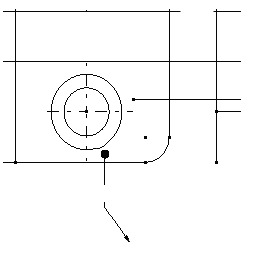
- You cannot add another extremity to an arrow.
- Arrow angle and length are defined by standards. For more information, refer to Dimension Parameters in Administration Tasks > Setting Standard Parameters and Styles > Setting Standard Parameters.
![]()