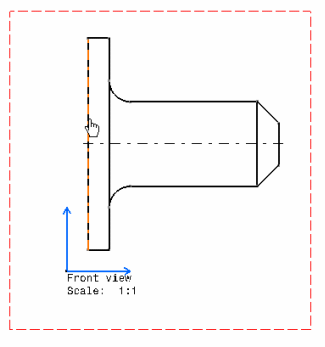
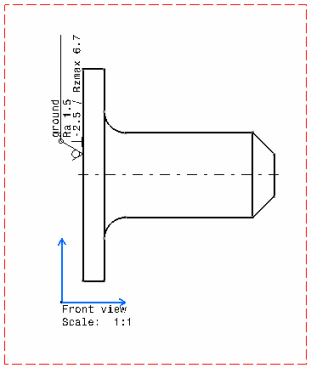
This task will show you how to create a roughness symbol.
Open the Roughness.CATDrawing document.


| Symbols | Definition |
|
|
Surface texture |
|
|
Surface texture and all surfaces around |
|
|
Basic |
|
|
All surfaces around |
|
|
Lay approximately parallel to the line representing the surface |
|
|
Lay approximately perpendicular to the line representing the surface |
|
|
Lay angular in both directions |
|
|
Lay multidirectional. |
|
|
Lay approximately circular |
|
|
Lay approximately radial |
|
|
Lay particulate, non-directional, or protuberant |
 |
Basic surface texture |
 |
Material removal by machining is required |
 |
Material removal by machining is prohibited. |
3. Enter the required values in the various field(s).
4. Click OK. The roughness symbol is created.

5. If needed, modify the roughness symbol position by dragging it to the required location. Note that an extension line may be displayed between the roughness symbol and the element to which it is attached (providing this element is linear), depending on where you drag the roughness symbol.
- By default, there is a 1 millimeter space between the geometry and the extension line, as well as a 1 millimeter space between the end of the extension line and the roughness symbol. Those spaces cannot be customized.
- The roughness symbol default parameters are 1 for thickness and solid for line type. They cannot be customized.
- If you have selected the Use style values to create new objects
option in Tools> Options> Mechanical Design> Drafting>
Administration tab, the Roughness Symbol dialog box is pre-filled
with custom style values (as defined in the Standards Editor). In this
case, Properties toolbars and the Tools Palette are disabled during the
creation of the roughness symbol.
On the other hand, if you have not selected this option, the Roughness Symbol dialog box is pre-filled with the last entered values (if any). In this case, Properties toolbars and the Tools Palette are active during the creation of the of the roughness symbol. - If you have selected the Use style values to create new objects option, you can reset the current style values in the Roughness Symbol Editor dialog box at any time using the Reset button.
- At any time, you can modify the roughness symbol. For this, double-click the roughness symbol to be modified and enter the desired modifications in the displayed Roughness Symbol dialog box.
- By default, the roughness symbol's orientation is determined according to the orientation of the line it is associated with. You can modify this orientation using the Invert button available in the Roughness Symbol dialog box.
- When this is not already the case, you can link roughness symbol position and orientation to another element, see Making an Existing Annotation Associative.
![]()