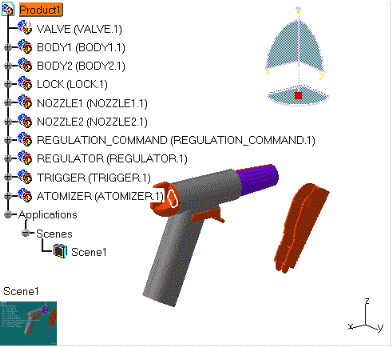
- ATOMIZER
- BODY1
- BODY2
- LOCK
- NOZZLE1
- NOZZLE2
- REGULATOR
- TRIGGER
- VALVE
- REGULATION_COMMAND
Make sure you work in Design Mode. Select Product.1 and use Edit > Representations > Design Mode menu.
-
Click Create Scene
 . The
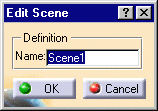
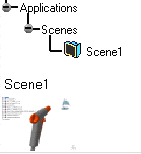
Edit Scene dialog box and a scene representation in the document
window are displayed.
-
Click Ok to end the scene creation.
-
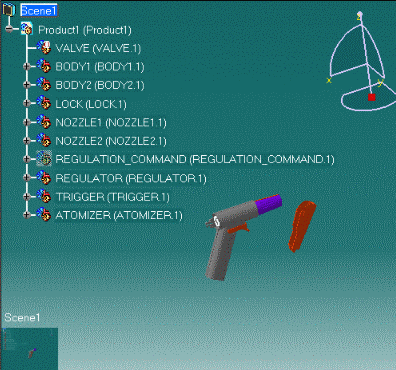
Right-click VALVE (VALVE.1) in the specification tree.
-
Select Representations > Deactivate Node from the contextual menu.
-
Right-click NOZZLE1 (NOZZLE1.1) in the geometry area and change the color using Properties from the contextual menu.
-
Hide REGULATION_COMMAND (REGULATION_COMMAND.1) using Hide/show on the View toolbar.
-
Move TRIGGER (TRIGGER.1) using the 3D compass.
-
Click Exit From Scene
 to return to the initial window.
 -
Right-click Scene.1 in the geometry area and select Scene.1object > Apply scene on Assembly.

The Apply Scene.1 to Assembly dialog box appears.
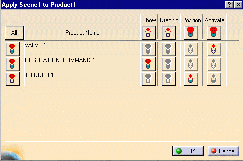
-
Click All if you want all your modifications to be taken into account and applied on the assembly.
Note: To select the required modification click the red symbol which will change to green. -
Click OK when all changes are made.
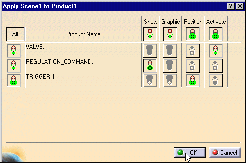
Your assembly reflects the scene created. All your modifications performed (Graphic Properties, Position, show/Hide..) are taken into account.
