- ATOMIZER
- BODY1
- BODY2
- LOCK
- NOZZLE1
- NOZZLE2
- REGULATOR
- TRIGGER
- VALVE
- REGULATION_COMMAND
-
Click Create Scene
 . The
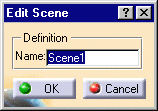
Edit Scene dialog box and a scene representation in the document
window are displayed:
-
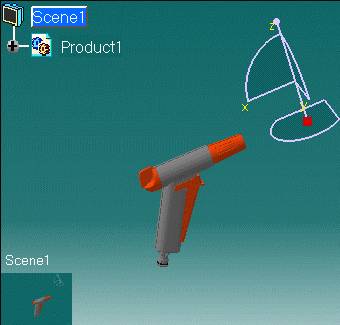
Click Ok to end the scene creation. You are now in a scene window:
-
The background color changes to green.
-
Scene 1 is identified in the specification tree.
-
The default viewpoint is the initial product viewpoint.
-
-
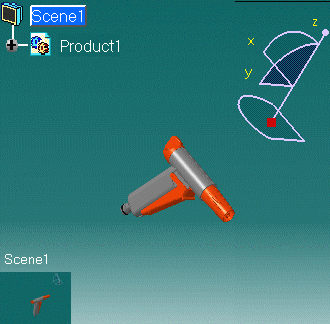
Modify the viewpoint.
-
Click Save Viewpoints
 on the DMU Select toolbar.
 -
Click Exit From Scene
 to return to the initial document window.
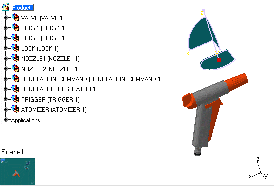
The initial product viewpoint is displayed.
-
Double-click Scene1 in either the specification tree or the geometry area to swap to the scene window.
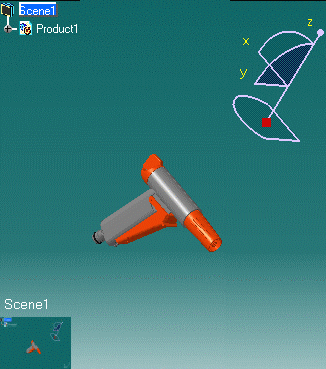
The viewpoint saved is taken into account in the scene.
If you did not use the save viewpoint command, the default viewpoint is used.