-
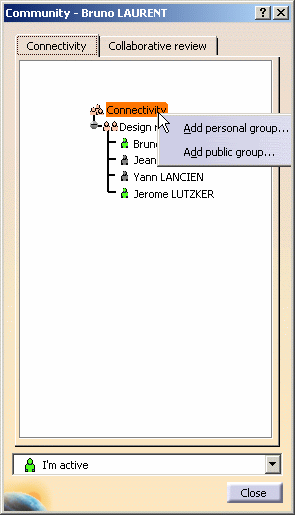
In the Community dialog box, right-click the Community and select Add personal group or Add public group in the contextual menu.
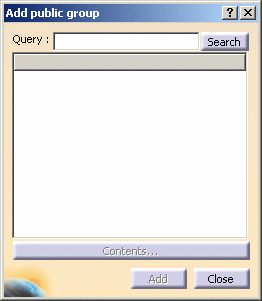
The corresponding dialog box appears.
Adding a Personal Group
-
In the Name text entry field, enter the group name.
-
Click the OK button.
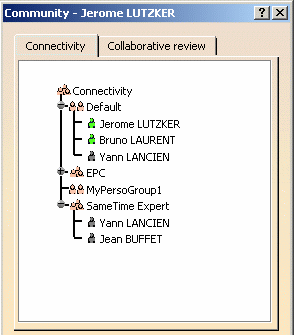
The group is added to the Community.
The icon indicates that this is a personal group.
Adding a Public Group
Public groups are groups defined in your company's LDAP.
You can add these groups and their content to your Community, but you
cannot modify them.
-
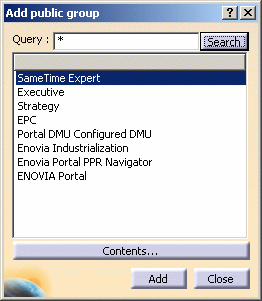
In the Query text entry field, enter the group name. (You can enter "*" as a wildcard.)
-
Click the Search button.
The list of groups corresponding to the query criteria is displayed.
-
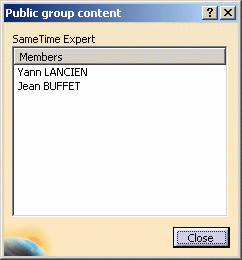
To view the content of a group, click the group name in the query result list to select it, then click the Contents button.
-
To add the group to your Community, click the Add button.
The group is added to your Community.
![]()

