This task shows you how to create several points and planes at a time.
Display the Points toolbar by clicking and holding the arrow from the Point icon.
-
Click Point & Planes Repetition
 in the Repetitions toolbar..
The Points & Planes Repetition dialog box appears: 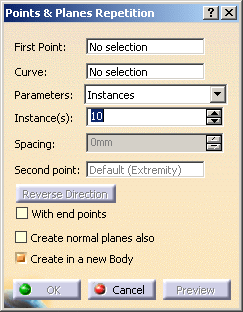
-

- If only the curve is selected to create multiple points on it, the First Point field is updated with Default Extremity.
- If the selected First Point is not of type On Curve, you have to manually select a curve in the Curve field.
- If Clear Selection is selected from the contextual menu for First Point, and the point type is On Curve, the default curve selection will also be cleared.
-
Choose the side on which the points are to be created in relation to the initially selected point. Simply use the Reverse Direction button, or click on the arrow in the geometry.
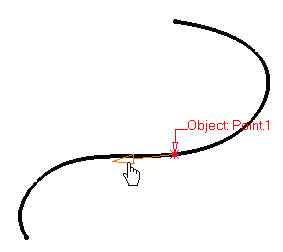
-
Select the repetition Parameters: Instances or Instances & spacing.
-
Define the number of points to be created in the Instance(s) field. Here we chose 5 instances.
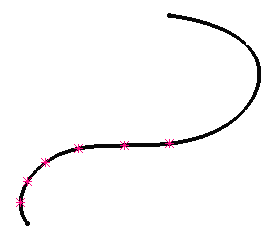
When you select a point on a curve, Instances & spacing is available from the Parameters drop-down list. In this case, points will be created in the given direction and taking into account the Spacing value.
For example, 3 instances spaced by 10mm.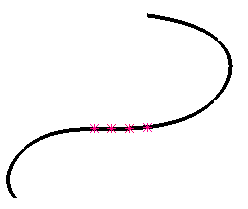
-
Click OK to create the point instances, evenly spaced over the curve on the direction indicated by the arrow.
The points (identified as Point.xxx as for any other type of point) are added to the specification tree. Selecting a Second Point
- If you selected a point on a curve, you can select a second
point, thus defining the area of the curve where points should be
created.
Simply click the Second point field in the Multiple Points Creation dialog box, then select the limiting point.
If you selected the Point.2 created above as the limiting point, while keeping the same values, you would obtain the following:
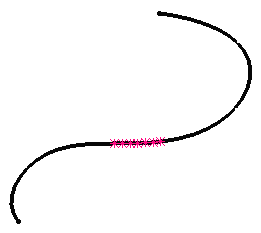
- If the selected point on curve already has a reference point
(as described in Creating
Points - on curve), this reference point is automatically taken
as the second point.
By default, the Second point is one of the endpoints of the curve.
Optional Parameters
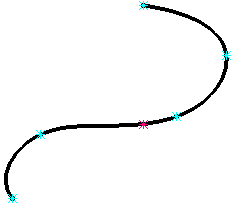
- You can check Create normal planes also to automatically generate planes at the point instances.
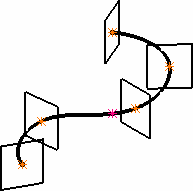
-
You can check Create in a new Body if you want all object instances in a separate body.
A new Geometrical Set or Ordered Geometrical Set will be created automatically, depending on the type of body the points or planes to be repeated belong to.
In case an Ordered Geometrical Set is created, it is considered as private: it means that you cannot perform any modification on its elements (deleting, adding, reordering, etc., is forbidden).If the option is not checked the instances are created, in the current body.
- If you selected a point on a curve, you can select a second
point, thus defining the area of the curve where points should be
created.