-
Select Tools > Image > Album to display the album contents.
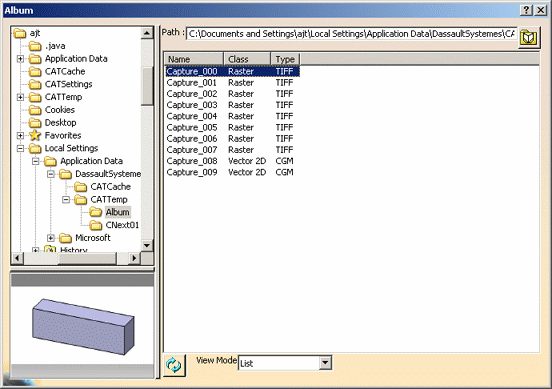
The system automatically assigns names to each image. Images are named "Capture_xxx", where "xxx" is a number from 001 to 999. For each captured image, the name, class (Raster, Vector 2D, etc.) and type (TIFF, BMP, AVI, MPEG, etc.) are displayed.
You can also preview images in SVG (Scalable Vector Graphics) format.To sort images by class or type, click the corresponding column title.
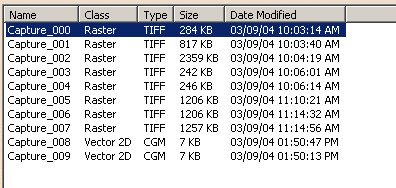
To display more information (such as the size and the modification date), select Details in the View Mode list:
Selecting an image from the list lets you display it in the preview area in the bottom part of the dialog box. This allows you to identify easily the image content. You can also perform the following viewing operations using your mouse:
- center the display at a specific location: click the middle mouse button
- pan: drag using the middle mouse button
- zoom: press and hold down the middle mouse button, then click the left (or right) mouse button and drag (still holding the middle mouse button down).
-
By default, captured images are stored in the Album temporary folder located in:
C:\Documents
             and Settings\user\Local
             Settings\Application
             Data\DassaultSystemes\CATTemp\
on Windows and in theCATTempdirectory, in your home directory on UNIX.This path is displayed at the top of the Album dialog box when selecting an image from the list.
However, you can use the file tree to the left to navigate to the folder containing images you want to view in the Album. In the example below, the Album displays images stored in the folder "E:\users":

If you want to reaccess the images stored in the default folder, you do not need to browse the file tree again, you can click  :
the path to the default folder is displayed in the Path field and
the images contains in this folder are displayed in the image list
below.
Clicking Refresh  lets you update in real time the list of files stored in the
current path. This is especially useful, for instance, when an
image displayed in the Album is opened and modified simultaneously
in another editor.
 -
Right-click a raster image then select Properties to open the image information window which gives you information on the selected pixel image (name, path, creation date and time, etc.) under the File tab...
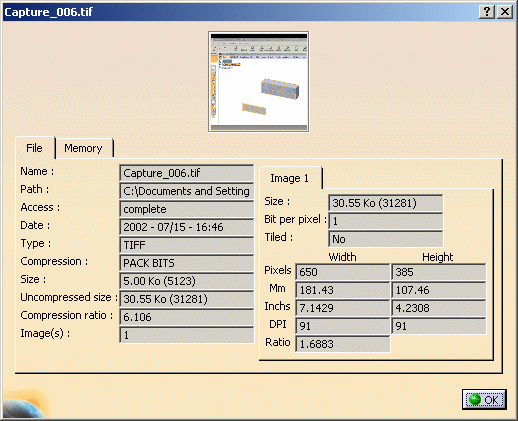
... as well as memory information (memory size, pixel format, pixel width and height, etc.) under the Memory tab: 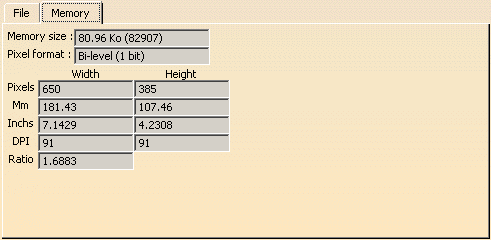

The look of the information window varies according to the image format you selected. For instance, when selecting a vector image, the information window is slightly different from the one above but also gives file and memory information: 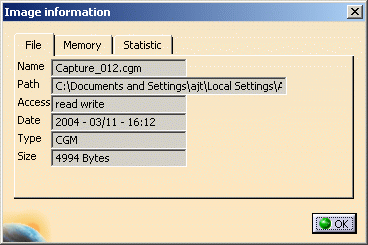
Just click OK to close the information window and go back to the album contents. -
Right-click an image from the list and select Preview or double-click the image name in the list to display the Print Preview window:

-
Select OK to exit the Print Preview window.
-
This time, select several images in the list.
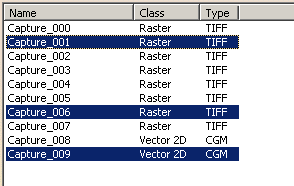
You can perform multiple selections by holding down Ctrl then clicking, holding down Shift then clicking or dragging using the left mouse button. Our example shows that three images in the album have been selected:
-
Right-click then select Preview.
All selected images are now displayed together in the Print Preview window. Performance and image quality is determined by the number of images on the preview page. 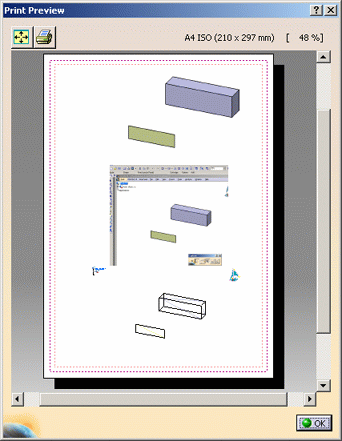

You can use Fit All In  as well as the viewing commands
detailed above inside the Print Preview window.
as well as the viewing commands
detailed above inside the Print Preview window.Note that when you right-click an image you can also use the following contextual commands: - select Copy to copy the desired image from the album to the clipboard. For detailed information, refer to Copying Images to the Clipboard (Windows Only)
- select Edit to open the Image Editor window which lets you edit pixel images. For detailed information, refer to Editing Images in the Album
- select Rename to rename images in the album. For detailed information, refer to Renaming Images in the Album
- select Erase to delete images from the album. For detailed information, refer to Deleting Images from the Album
- select Print to print images from the album. For detailed information, refer to Printing Images from the Album
- select Play to replay your video in the Video Player window. This additional command only appears when selecting a video file. For detailed information, refer to Replaying Videos from the Album.
However, keep in mind that depending on the image format you select, some contextual commands might be grayed out. For instance, when right-clicking a MPEG or AVI file, you are not able to select Edit, Print, Save As and Copy. -
To save the edited image under another name and/or another format, right-click it then select Save As. Then, give a name to the image and navigate to the desired location before clicking OK to confim the save.
Refer to Saving Images to Other Formats for detailed information.
![]()