Input placeholder used in this Doc task
Signification
Source
<database_name> name of the database that you want to use for storing settings ORACLE Administrator <dba_username> database administrator user name ORACLE Administrator <dba_password> database administrator user password ORACLE Administrator
Output placeholder used in later Doc task
Signification
Task used in
<database_name> name of the database that you want to use for storing settings Creating the Enterprise Archive File <settings_username> name of database user corresponding to settings persistency Creating the Enterprise Archive File <settings_password> password of database user corresponding to settings persistency Creating the Enterprise Archive File
Creating ORACLE Database for Settings Persistency
The following steps describe a way to create the database user for Settings persistency using the ORACLE Enterprise Manager Console.
On a machine where ORACLE database administration tools are installed
-
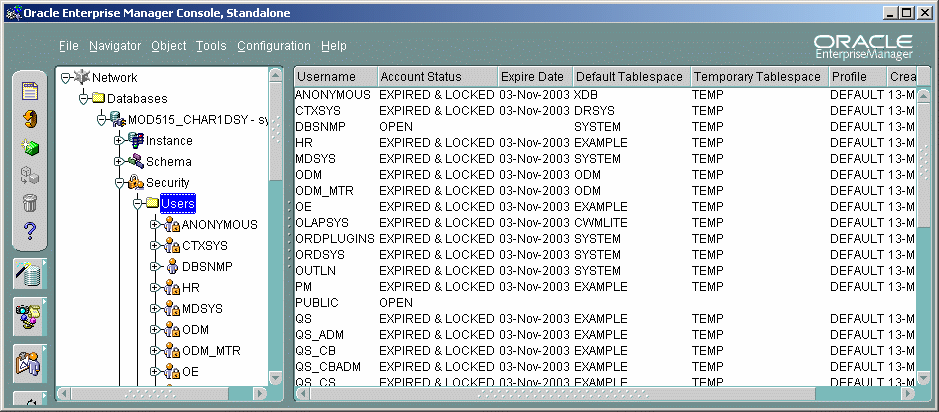
On Windows, start the ORACLE Enterprise Manager Console using the <dba_username> and <dba_password> in order to log on as the database administrator and expand the navigation tree to Network / Databases / <database_name> / Security / Users (where <database_name> is the name of the database that you created for storing settings).
On UNIX, the ORACLE Enterprise Manager Console can be started by typing the following command from an X terminal having ORACLE commands in its path:
oemapp console
 µ
µ
-
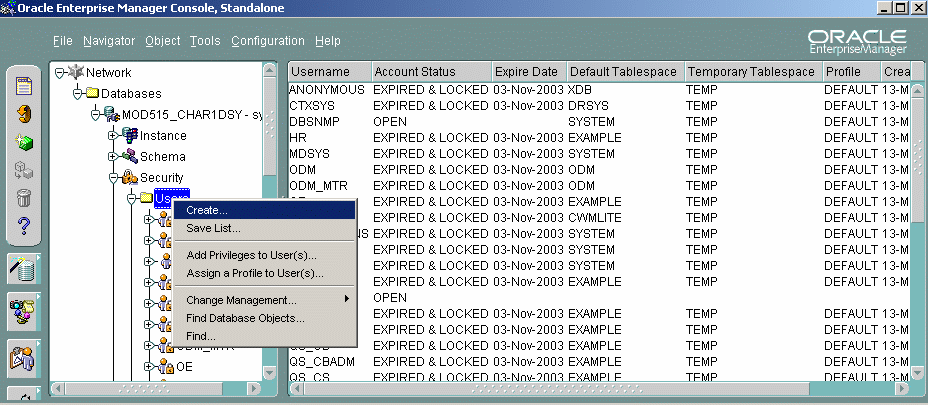
Right-click on the Users node and select Create from the contextual menu.
-
In the Create User dialog box, set the following fields as follows:
Name: <settings_username>, database user name that will be used for Settings persistency.
Enter Password: <settings_password>, database password that will be used for Settings persistency.
Confirm Password: <settings_password>, database password that will be used for Settings persistency.

-
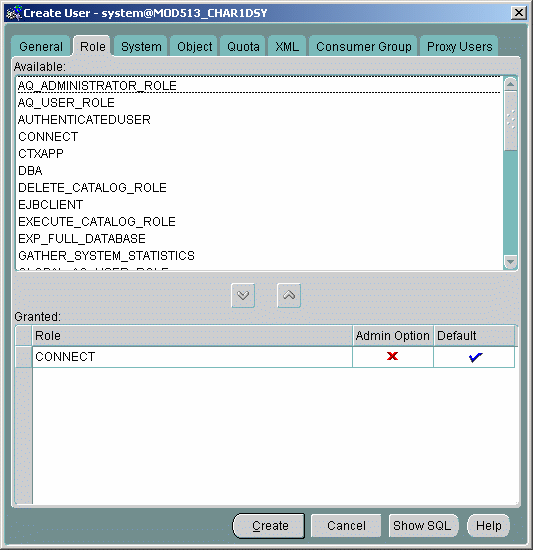
Click the Role tab:
-
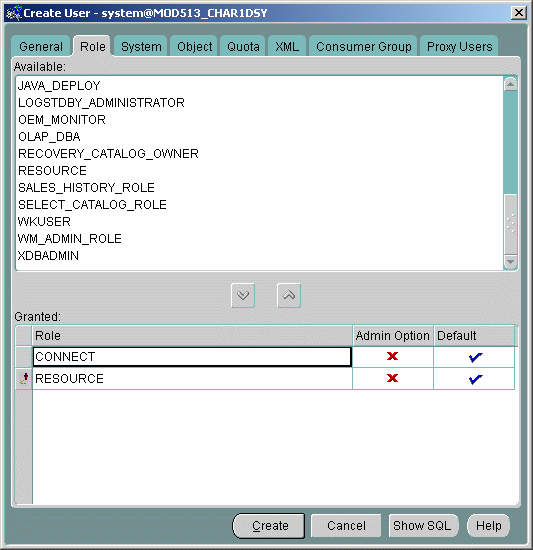
In the Available list, select RESOURCE.

-
Click on the "down arrow" located between the Available and Granted lists:
-
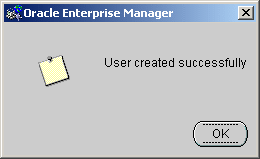
Click the Create button, the following message should appear:
Testing
-
To test the Settings persistency database, user and password, use the command line tool on the machine where the web application will run on a WebSphere Application Server to run the following command:
sqlplus <settings_username> / <settings_password>@<database_name>If the sqlplus command fails to connect to the database with these credentials, check with a database administrator if the <database_name> definition is properly defined on the machine (check files such as tnsnames.ora, etc.), and if the ORACLE database is installed on a remote server, check if the ORACLE port (default 1521) is accessible from the machine to that remote server.
![]()