Installation and de-installation rely on Windows-compliant tools enabling anyone familiar with Windows procedures and concepts to install the software without assistance.
The installation process installs RADE by default in the directory where you have installed CATIA, DELMIA, or ENOVIA, and their CAA APIs. You can choose another location. In this case, you are prompted to enter an identifier.
You must belong to the Administrators group, or have the privileges assigned to the Administrators group. Otherwise, you will not be able to start the installation.

Click Next to move to the next step.
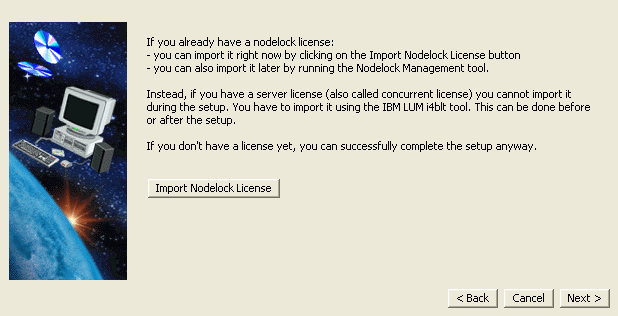
Note that the target id of the computer on which you are performing the installation is displayed after the dialog box title.

C:\ifor\LS\CONF\NODELOCK
If you already installed LUM elsewhere, the nodelock file will be updated in the correct LUM environment.
On Windows, if the nodelock file is new, it will be created in:
C:\Documents and Settings\All Users\Application
     Data\IBM\LUM\nodelock
If you decide to skip the licensing step, or if you have a license enrollment certificate in paper format only (and not in electronic format), you can enroll your licenses later, after the installation has been completed. For more information, refer to "Enrolling Nodelock Licenses After the Installation" in the CATIA, DELMIA, or ENOVIA Infrastructure documentation.
The Choose Destination Location box appears to let you choose the installation folder. A default destination folder is already proposed:
C:\Program Files\Dassault Systemes\B19

If you already installed configurations and/or products at the chosen location, they are displayed in the Installed Configurations and Products box.

Providing you have enough disk space, you can install several identical releases in different locations on the same computer. For example, you may want to install the same release in two places. Your first installation could be, for example, the production version. Then, once a service pack becomes available, you could apply it to the second installation which would then become the test version, enabling you to test it before it becomes the official production version.
To install another identical release, when you reach the Choose Destination Location box, this time click the Browse... button, specify the new destination folder, then click OK. You will be prompted to create the folder if it does not already exist, so click Yes.
Click Next.
With Windows only, the Enter Ident for your new installation box is displayed:
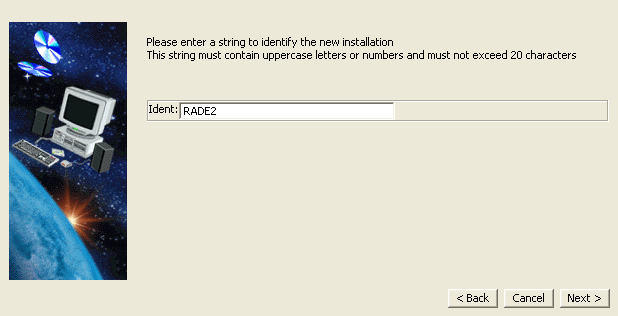
Enter an identifier which will enable you to identify all the components of your new installation. The string must contain uppercase characters or numbers, no blanks, and must not exceed 20 characters.
The identifier for your new installation is preceded by an underscore and is visible:
- In the environment name
- In the appropriate registry entries
- In the Start->Programs->CAA RADE->Tools menu
- In the Add/Remove Programs control.
If identical releases belonging to the same product line are installed, the OLE behavior is the same for both. However, if the installations involve different product lines, the OLE behavior registered for the last installation takes priority. Note also that two identical product lines installed in different locations share the same nodelocked license: no new license is needed for the second installation.
The Choose Destination Location box appears again to let you choose the environment folder if you installed in an empty folder. Otherwise, this step is skipped.
A default destination folder is already proposed:
C:\Documents and Settings\All Users\Application
     Data\DassaultSystemes\CATEnv
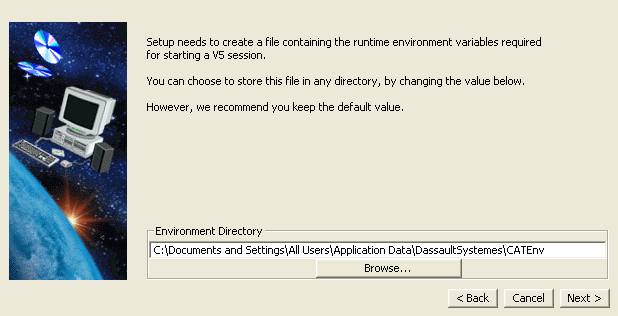
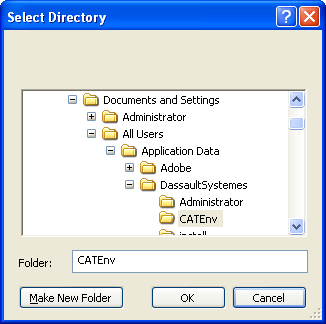
The folder you choose must be empty. You can also specify a new folder: the folder will be created after confirmation.
For more about environment files, refer to "About the Environment Created on Windows" in the CATIA, DELMIA, or ENOVIA Infrastructure documentation.
The Setup Type box appears:
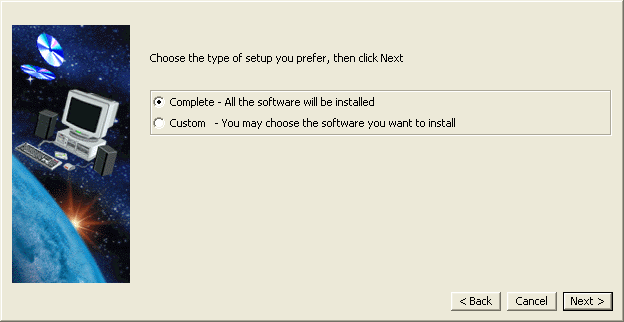
This box lets you specify whether you want to install all of the software on the CD-ROM, or select the configurations and/or products to be installed:
- Check Complete to install all the products, and click Next to move to the next installation step
- Check Custom to choose the configurations and/or products to be installed.
The Install Language-Specific Files and Fonts box appears:
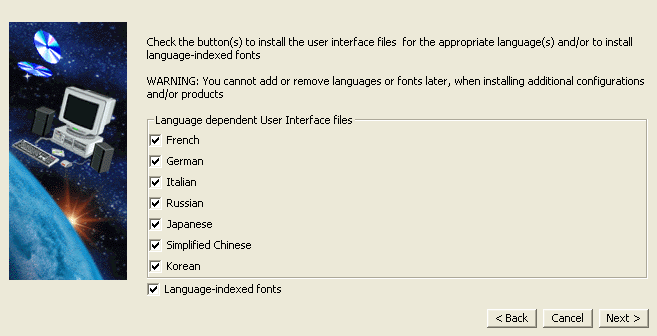
Check the buttons to install the user interface files for the appropriate language(s) and/or to install language-indexed fonts. Uncheck the buttons for the language files you do not want to install. This will enable you to save disk space.
Note that the choice you make at installation is definitive: you cannot add or remove languages or fonts later when installing additional configurations and/or products.
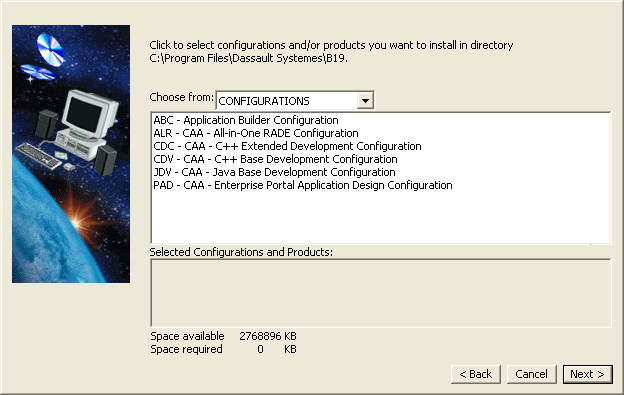
By default, the list of all the configurations on the CD-ROM is displayed.
The selected configurations and/or products are listed in the Selected Software list.
The space available for the installation is displayed. Clicking on each configuration or product also specifies the amount of space required for installing those configurations or products; the space required is updated progressively as you select from the list.
In our example, we choose to install the CDC - CAA - C++ Extended Development Configuration:

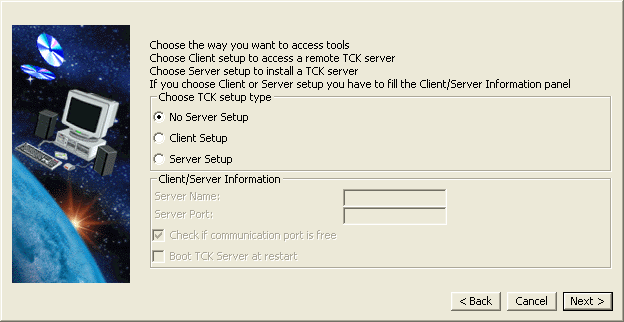
Choose the default setup No Server Setup. Refer to the Environment Manager (TCK) articles in the RADE Tools part of the CAA V5 Encyclopedia for more information and possible future customization.
- The CAA RADE configuration and product names
- The required disk space
- The destination folder
- The environment folder.
Note that the dialog box reflects our choice to install the CDC configuration.
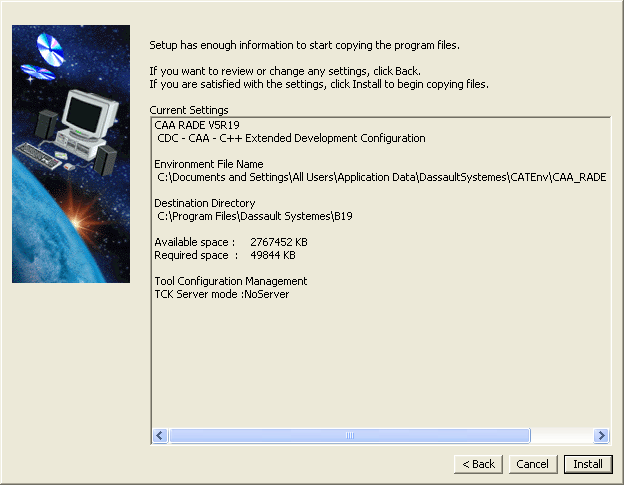
Depending on what you choose, the list will display the names of all the configurations or products on the CD-ROM.
On Windows only, if LUM is already installed on your machine, and the LUM license server has been started, you will be prompted to stop the LUM server before proceeding. If you choose not to stop the LUM server, the installation will be stopped.
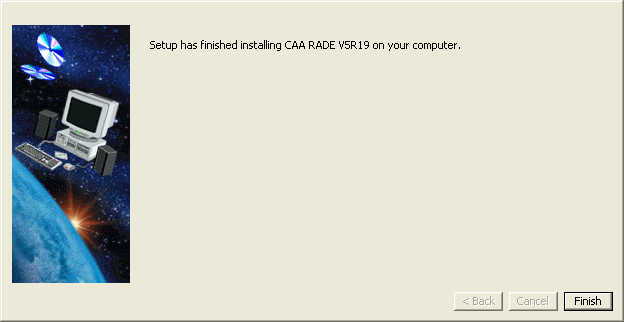
A progress indicator appears, and an animated sequence starts showing you images. Once the product files have been copied, the Setup Complete box informs you that the installation has been completed.
Start the licensing manager tool by running the following command:
| Windows | $RADE_INSTALLATION_PATH$/$OS$/code/bin/CATVBTLicenser.exe |
| UNIX | $RADE_INSTALLATION_PATH$/$OS$/code/command/catstart -run
CATVBTLicenser |
where:
RADE_INSTALLATION_PATHis the CAA RADE CD-ROM installation folder, that is c:\Program Files\Dassault Systemes\B19 we choose for this installationOSis the operating system directory (intel_a for Windows 2000 or Windows XP, aix_a for AIX, hpux_b for HP-UX, solaris_a for SOLARIS.)
With Windows, you can also start the licenser manager from the Start menu. Click the Start menu, then point to Programs, CAA RADE, Tools and click RADE Licenses Manager V5R19.
The RADE Tools Licensing box is displayed.

The left-hand part shows you the products available with CAA RADE.
The right-hand part shows you the licenses available either on the
licensing server or in your nodelock file cross-referenced with what you
have installed.
Check the licenses you need, click Apply. A prompt confirms that the licenses are set.
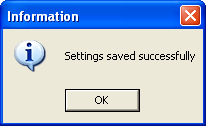
Then close the box by either clicking Exit in the File menu, or clicking x. You can also refer to Setting up the Licensing for RADE Tools to know more about RADE product and configuration licensing.
A CAA CATIA V5 API Products CD-ROM, CAA DELMIA V5 API Products CD-ROM, CAA ENOVIA LCA V5 API Products CD-ROM, or CAA ENOVIA Portal V5 API Products CD-ROM has to be previously installed to perform this configuration step.
In order to access the CAA V5 documentation (for the APIs or for the add-ins themselves) you must use the Setup tool - with administrator privileges. The Setup tool is accessible in your installation folder in intel_a\code\bin. In our example, it is c:\Program Files\Dassault Systemes\intel_a\code\bin.
Run CATVBTSetup.exe. The CAA V5 Development Environment Setup box appears.
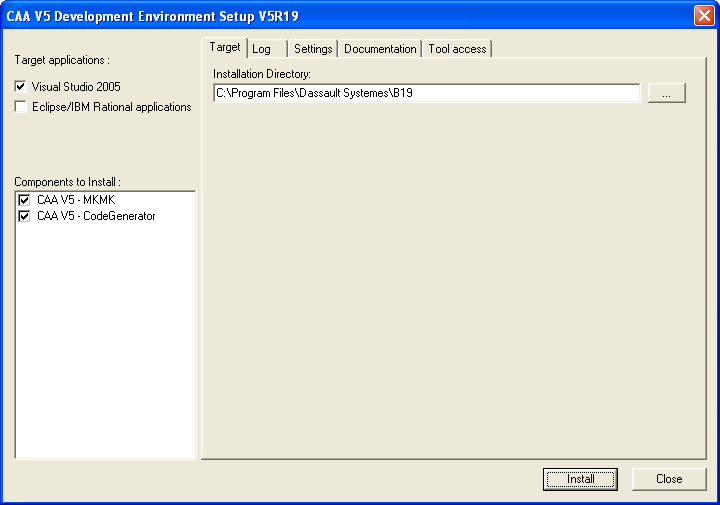
Select the Documentation tab.
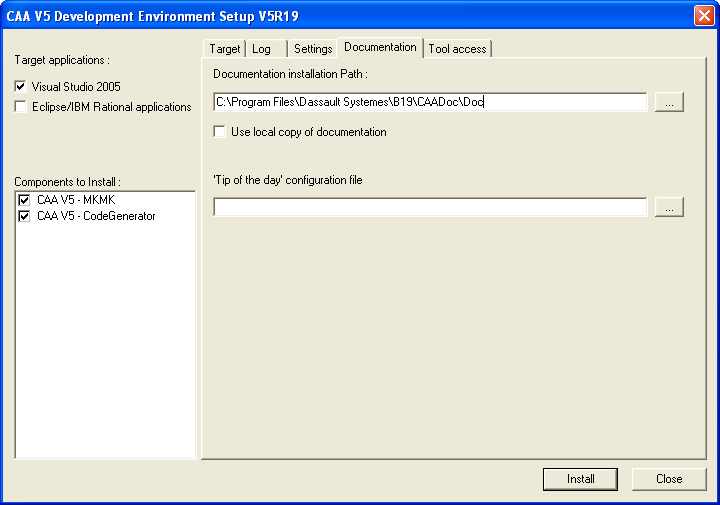
Enter the location of the documentation in Documentation installation Path. (The documentation is installed with the CAA CATIA, CAA DELMIA, CAA ENOVIA LCA, or CAA ENOVIA Portal APIs installation.) It is located in the CAADoc directory below the one into which you installed the CAA APIs. Then click Install.
A confirmation prompt is displayed:
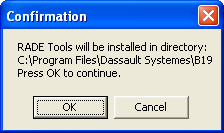
Click OK. The installation proceeds and the following box is displayed:

Click Close.
CAA-RADE V5 Products CD-ROM should have been previously installed on Unix before running this optional step.
In order to access the CAA-RADE V5 Products under Unix from your customization of Microsoft Developer Studio you must use the Setup tool - with administrator privileges. The Setup tool is accessible in your installation folder in intel_a\code\bin. In our example, it is c:\Program Files\Dassault Systemes\B19\intel_a\code\bin.
Run CATVBTSetup.exe. The CAA V5 Development Environment Setup box appears.

Click the Tool access tab.
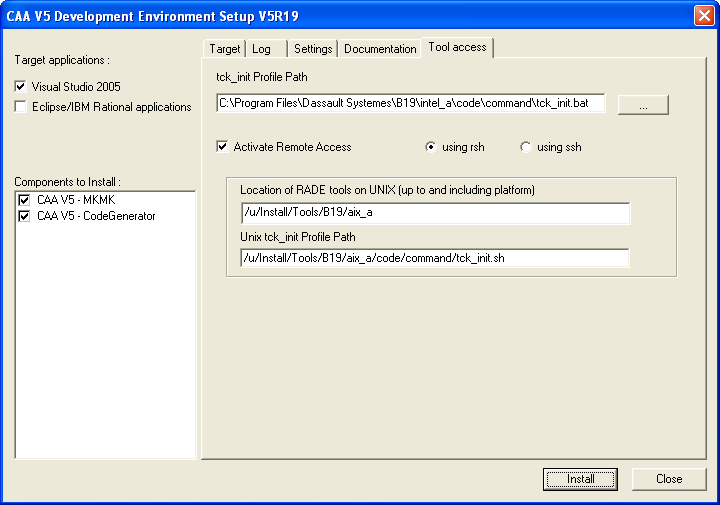
In Target applications, possibly uncheck the application you do not intend to run.
In Components to Install, uncheck the components you do not want to install.
Check the Activate Remote Access box, and enter:
- In Location of RADE tools on UNIX: The pathname of the directory in which the RADE tools were unloaded. Pay attention to enter this pathname up to the operating system directory: aix_a for AIX, hpux_b for HP-UX, solaris_a for SOLARIS.
- In Unix tck_init Profile Path: The location of the tool initialization shell on your Unix machine. This shell was provided when you installed the CAA RADE V5 Products on Unix.
A confirmation prompt is displayed:

Click OK. Then click Install. The installation proceeds and the following box is displayed:
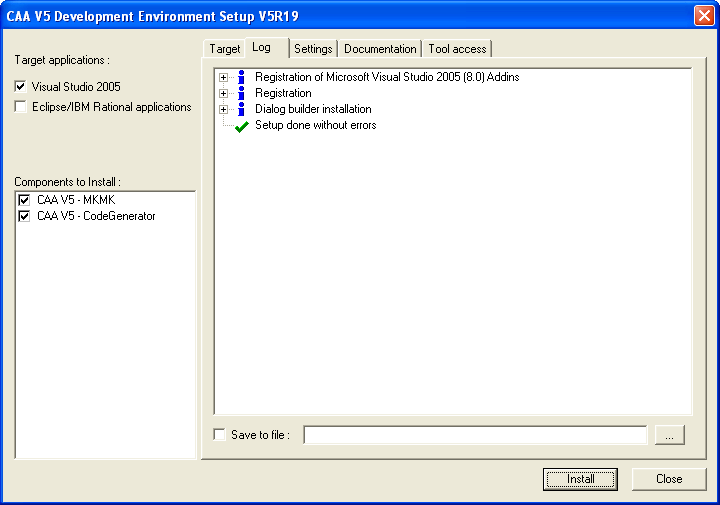
Click Close.
- on UNIX, you need to launch four commands:
$RADE_INSTALLATION_PATH/$OS/code/command/catstart
			-direnv $EnvDir -env $EnvName -run "TCKUninstall"
$RADE_INSTALLATION_PATH/$OS/code/command/catstart -direnv $EnvDir -env $EnvName -run "-delcatenv -d $EnvDir -e $EnvName -unregserver"$RADE_INSTALLATION_PATH/$OS/code/command/catstart -direnv $EnvDir -env $EnvName -run "-delcatenv -d $EnvDir -e $EnvName -a global -desktop no"rm -rf $RADE_INSTALLATION_PATH
where:
RADE_INSTALLATION_PATHis the CAA RADE CD-ROM installation folderOSis the operating system directory (aix_a for AIX, hpux_b for HP-UX, solaris_a for SOLARIS.)EnvNameis the name of the RADE environment (Default isCAA_RADE.V5R19.B19)EnvDiris the environment folder (Default is/CATEnv)
- on Windows
- Start->Settings->Control Panel->Add/Remove Programs->Dassault Systemes Software B19