 |
|
This task explains how to customize Visual
Studio 2005, create a workspace
with an existing framework supplied with CAA V5, build an existing use case of this framework, and run this use
case. It
can be performed with Windows only. |
 |
|
From start to finish, this task should take
approximately 15 minutes. |
 |
|
You should be familiar with Windows and with
Visual Studio 2005. You should have installed the C++ Interactive Dashboard
(CID) product from the CAA RADE CD-ROM, as well as a brand CD-ROM (CATIA,
DELMIA, or ENOVIA), and the associated CAA API CD-ROM. |
 |
1. |
Log on as a user. |
| |
2. |
Start Visual Studio 2005. |
| |
3. |
Using Windows Explorer, copy the
CAASystem.edu framework folder from the CAADoc folder below, for example if
you have installed CATIA, the CAA CATIA
V5 installation folder to another one that you will use as workspace for
this getting started. In the following scenario, assume that this workspace
folder is e:\V5R19\CAAWorkspaceR19. |
|
4. |
On the File menu, click Open
CAA V5 Workspace. If you have not chosen
which license you wish to use with the C++ Interactive Dashboard (CID)
product yet, the License Manager Tool appears. Select the licenses you wish
to use, and click Apply. Close the box, and restart
Microsoft Visual Studio 2005.

- In the With box, select Mkmk
- In the Workspace Directory field, type the path of the workspace
folder, or click
 to select it from a list.
- In the Tool level combo box, select the option that
corresponds to the TCK level you are running.
- Click OK.
A prompt reminds you that no prerequisites are defined.
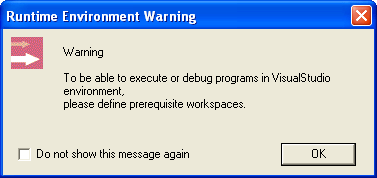
Click OK in this prompt. The Prerequisites will be displayed in a further step.
Since there is no CAA V5 project in the workspace, the following prompt
appears.

Click OK. |
|
5. |
The Select Modules to generate Developer
Studio projects box appears.
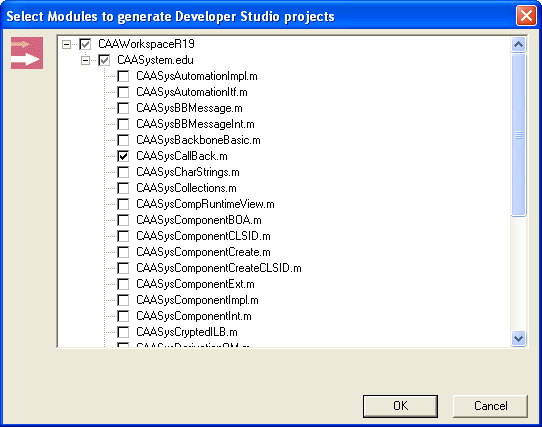
Click the + signs to expand the tree nodes and check the CAASysCallBack.m module box, and click OK.
The Solution Explorer View tab is
displayed then as follows.

New menus appears: Project, CAAV5 Workspace, Build,
Debug, and Data.

New commands and submenus appear in most of the menus, such as Build.
They are denoted using


Microsoft Visual Studio 2005 is now
customized with CAA RADE Version 5.
|
|
6. |
On the CAAV5 Workspace menu, click
Locate Prerequisite Workspaces...
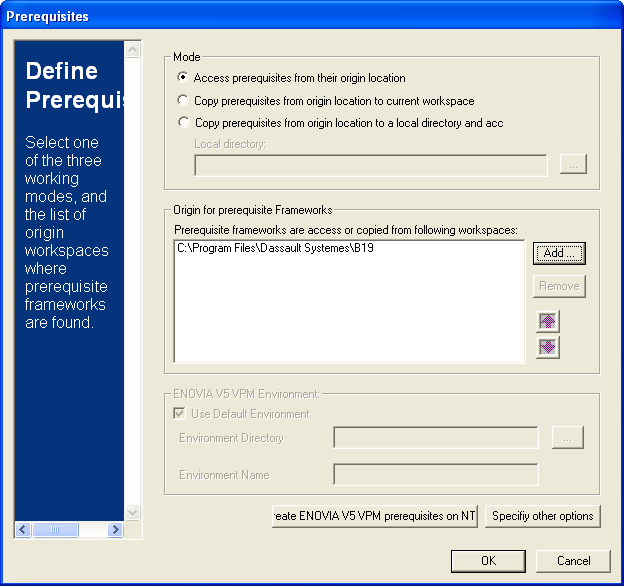
- In the Mode frame, check Access prerequisites from their
origin location
- In the Origin for prerequisite Frameworks frame, click Add,
and select the CAA CATIA V5 installation folder.
Click OK. The following prompt appears at the end of the
prerequisite framework access step.
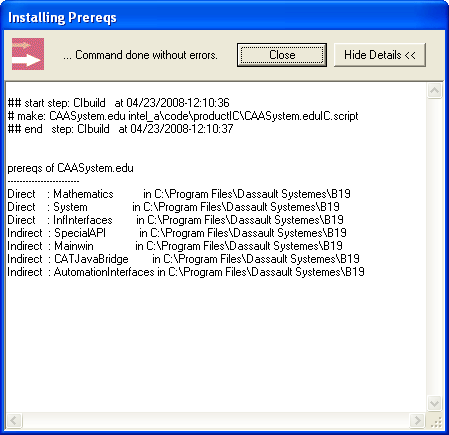
Click Close. |
|
7. |
On the Build menu, click mkmk....
The Code Builder (mkmk) box appears.
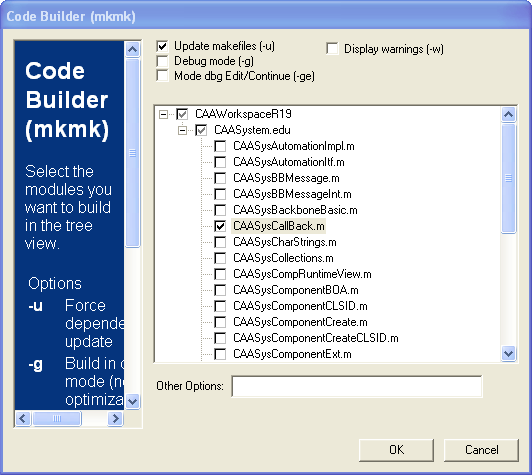
Check the Update makefiles (-u) and click the + signs to expand
the tree nodes. Check CAASysCallBack.m, and click OK. The CAASysCallback.m is built. During
this step, the following dialog box is displayed.
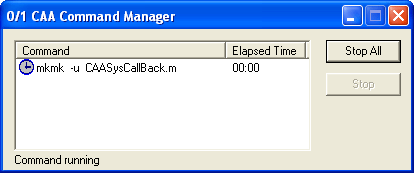
You can follow this step in the Output tab. |
|
8. |
On the CAAV5 Workspace menu, click
Create/Update Runtime View.... The Create RunTimeView dialog
box appears.
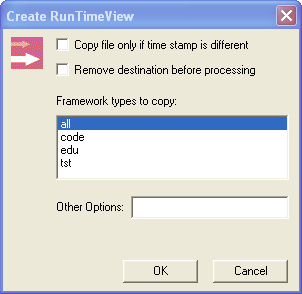
Click OK. The following prompt appears.
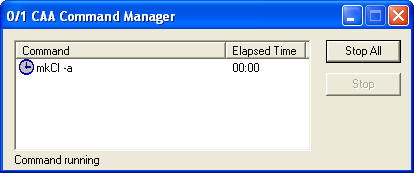
The Runtime View is up-to-date. |
| |
9. |
In the Class View tab, right-click the CAASysCallback.m project and click Set as StartUp Project to set
CAASysCallback.m as the active project. Note that you can also select
Set as StartUp Project from the Project menu. |
|
10. |
From the Debug
menu, click Start Without Debugging to
run the use case. The use case is executed. |
|
|
 |

 to select it from a list.


![]()


