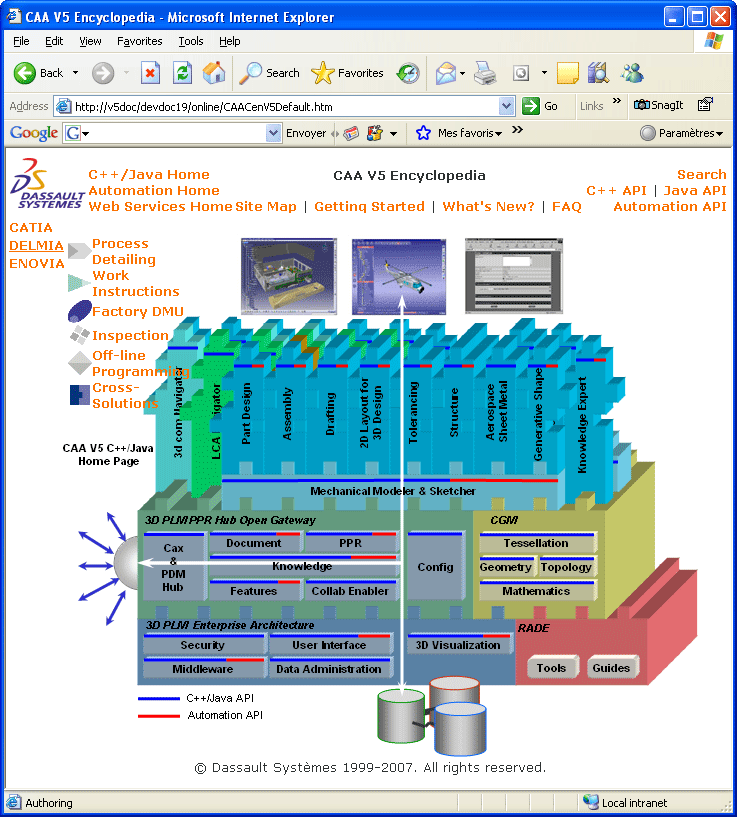
Installation and de-installation rely on Windows-compliant tools enabling anyone familiar with Windows procedures and concepts to install the software without assistance.
You must belong to the Administrators group, or have the privileges assigned to the Administrators group. Otherwise, you will not be able to start the installation.
The Welcome dialog box is then displayed on a background window. Note that the screenshots illustrating the installation procedure were taken without the background window:

With UNIX, the CAA APIs can be installed either in the same directory than the code, or in a separate directory.
- A first dialog box prompts you to enter the directory where you have installed DELMIA V5R19
- A second dialog box prompts you to enter the CAA APIs directory. You can use the same directory than for the code.
The Setup Type dialog box appears:

This dialog box lets you specify whether you want to install the CAA APIs of all the configurations/products you have installed from the DELMIA CD-ROM, or select among those installed a subset of the configurations and/or products to be installed:
- Complete: specifies you want to install the CAA APIs of all the configurations/products you have installed from the DELMIA CD-ROM. Go to the next installation step (Step 7)
- Custom: lets you choose the configurations and/or products for which you want to install the CAA APIs among configurations and/or products you have installed from the DELMIA CD-ROM.
If you leave the Complete option checked, the list of all the configurations and products you have installed from the ENOVIA CD-ROM is displayed.
The Select Software dialog box appears:
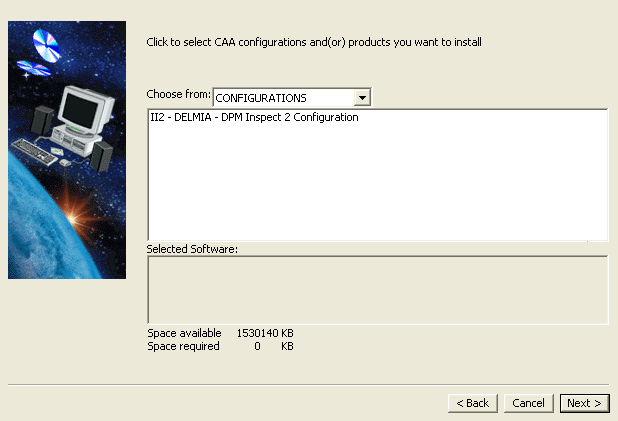
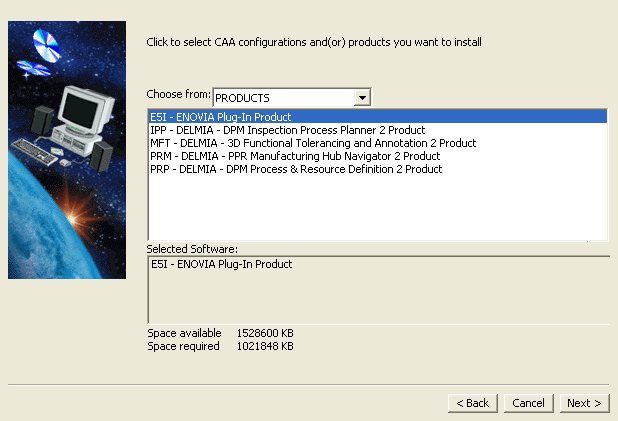
Depending on what you choose, the list will display the names of all the configurations or products you have installed from the DELMIA CD-ROM.
The selected configurations and/or products are listed in the Selected Software list.
The dialog box specifies the space available for the installation. Clicking on each configuration or product also specifies the amount of space required for installing those configurations or products; the space required is updated progressively as you select from the list.
In our example, we choose to install the E5I - ENOVIA Plug-In Product:
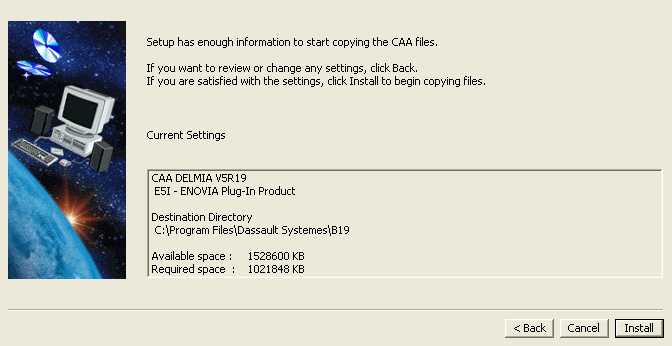
The central area lists the current settings you set in the previous steps:
- CAA DELMIA V5R19
- The selected configurations and/or products
- The destination folder
- The available and required disk spaces.
The result looks something like this (depending on which software you chose to install).
Note that the dialog box reflects our choice to install the ELR product.
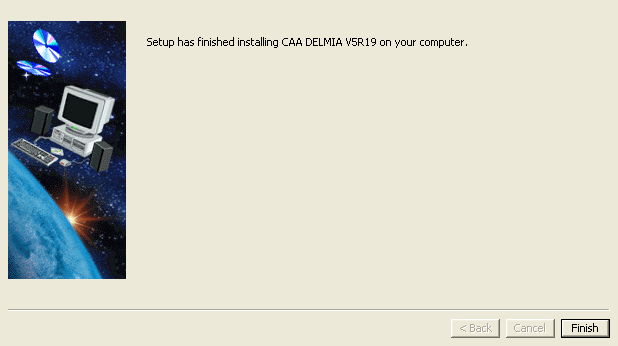
A progress indicator appears, and an animated sequence starts showing you images. Once the product files have been copied, the Setup Complete dialog box informs you that the installation has been completed.
<ROOT_INSTALLATION_PATH>\CAAV5HomePage.htm<ROOT_INSTALLATION_PATH>\CAADoc\Doc\online\CAACenV5Default.htm
and will provide you with all necessary information helping you starting with and using CAA.
